The Michigan Grand Prix took place on Saturday, July 13, 2019, at the Guild of Blades game store in Clawson, Michigan. Thirteen drivers participated, and at the end of the race it was found that Bill Worrel had won his third race of the season, edging out Mike Cook at the finish line. Completing the podium, in 3rd place, was Garry Kaluzny. There were three DNFs during the race, one crash and two brake failures.
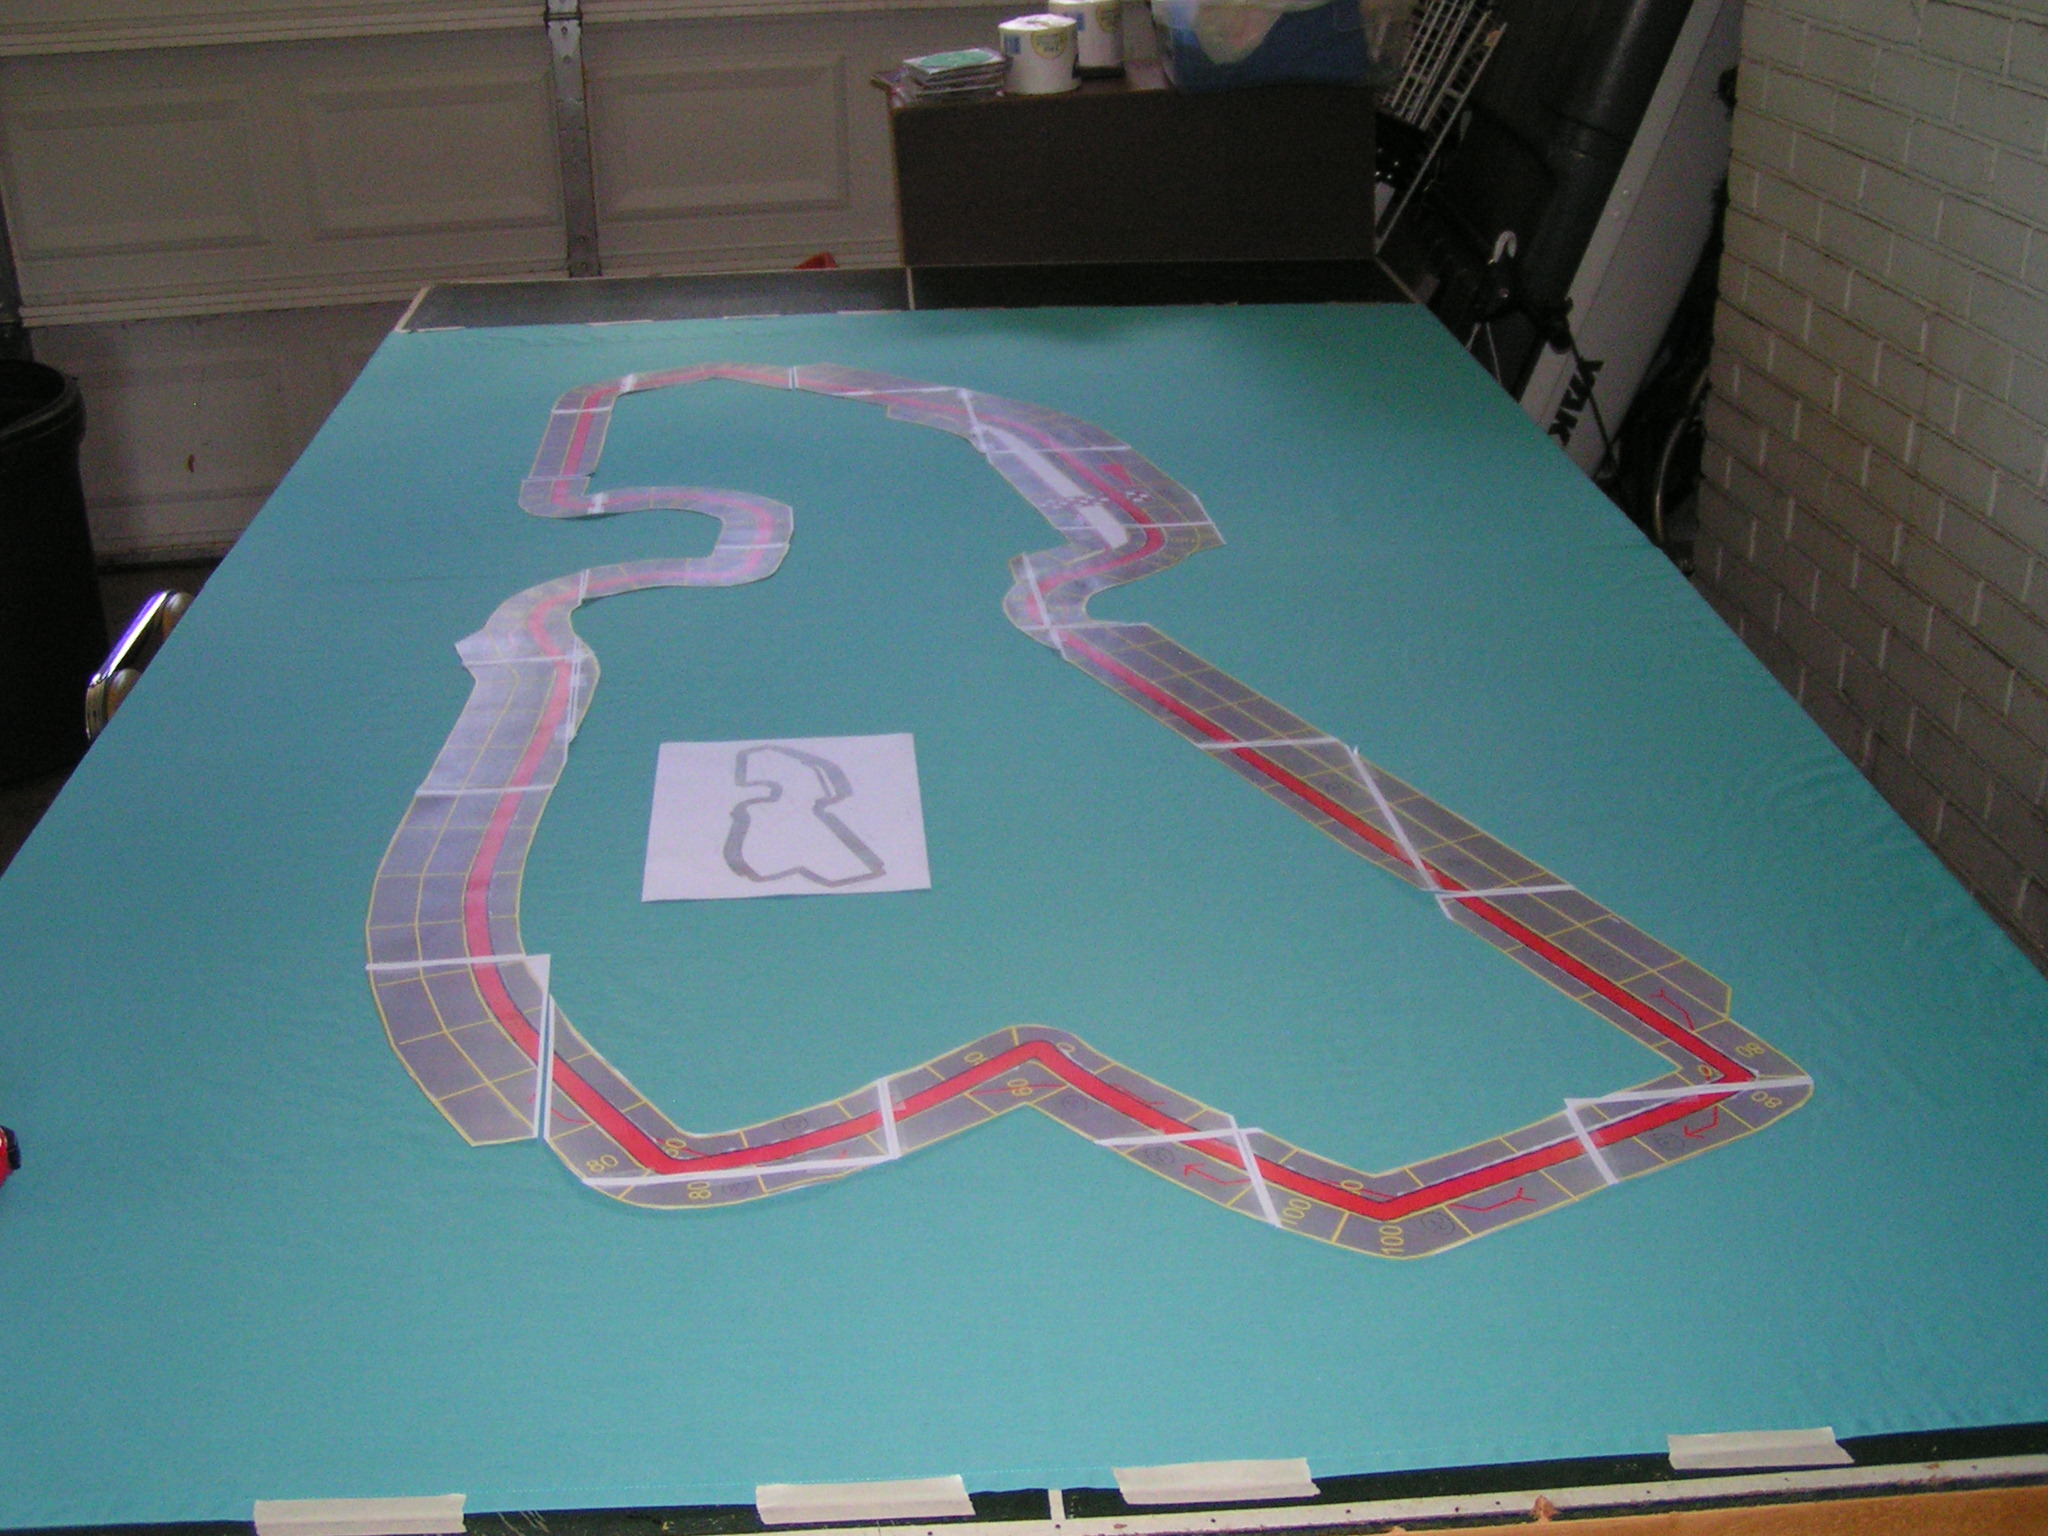
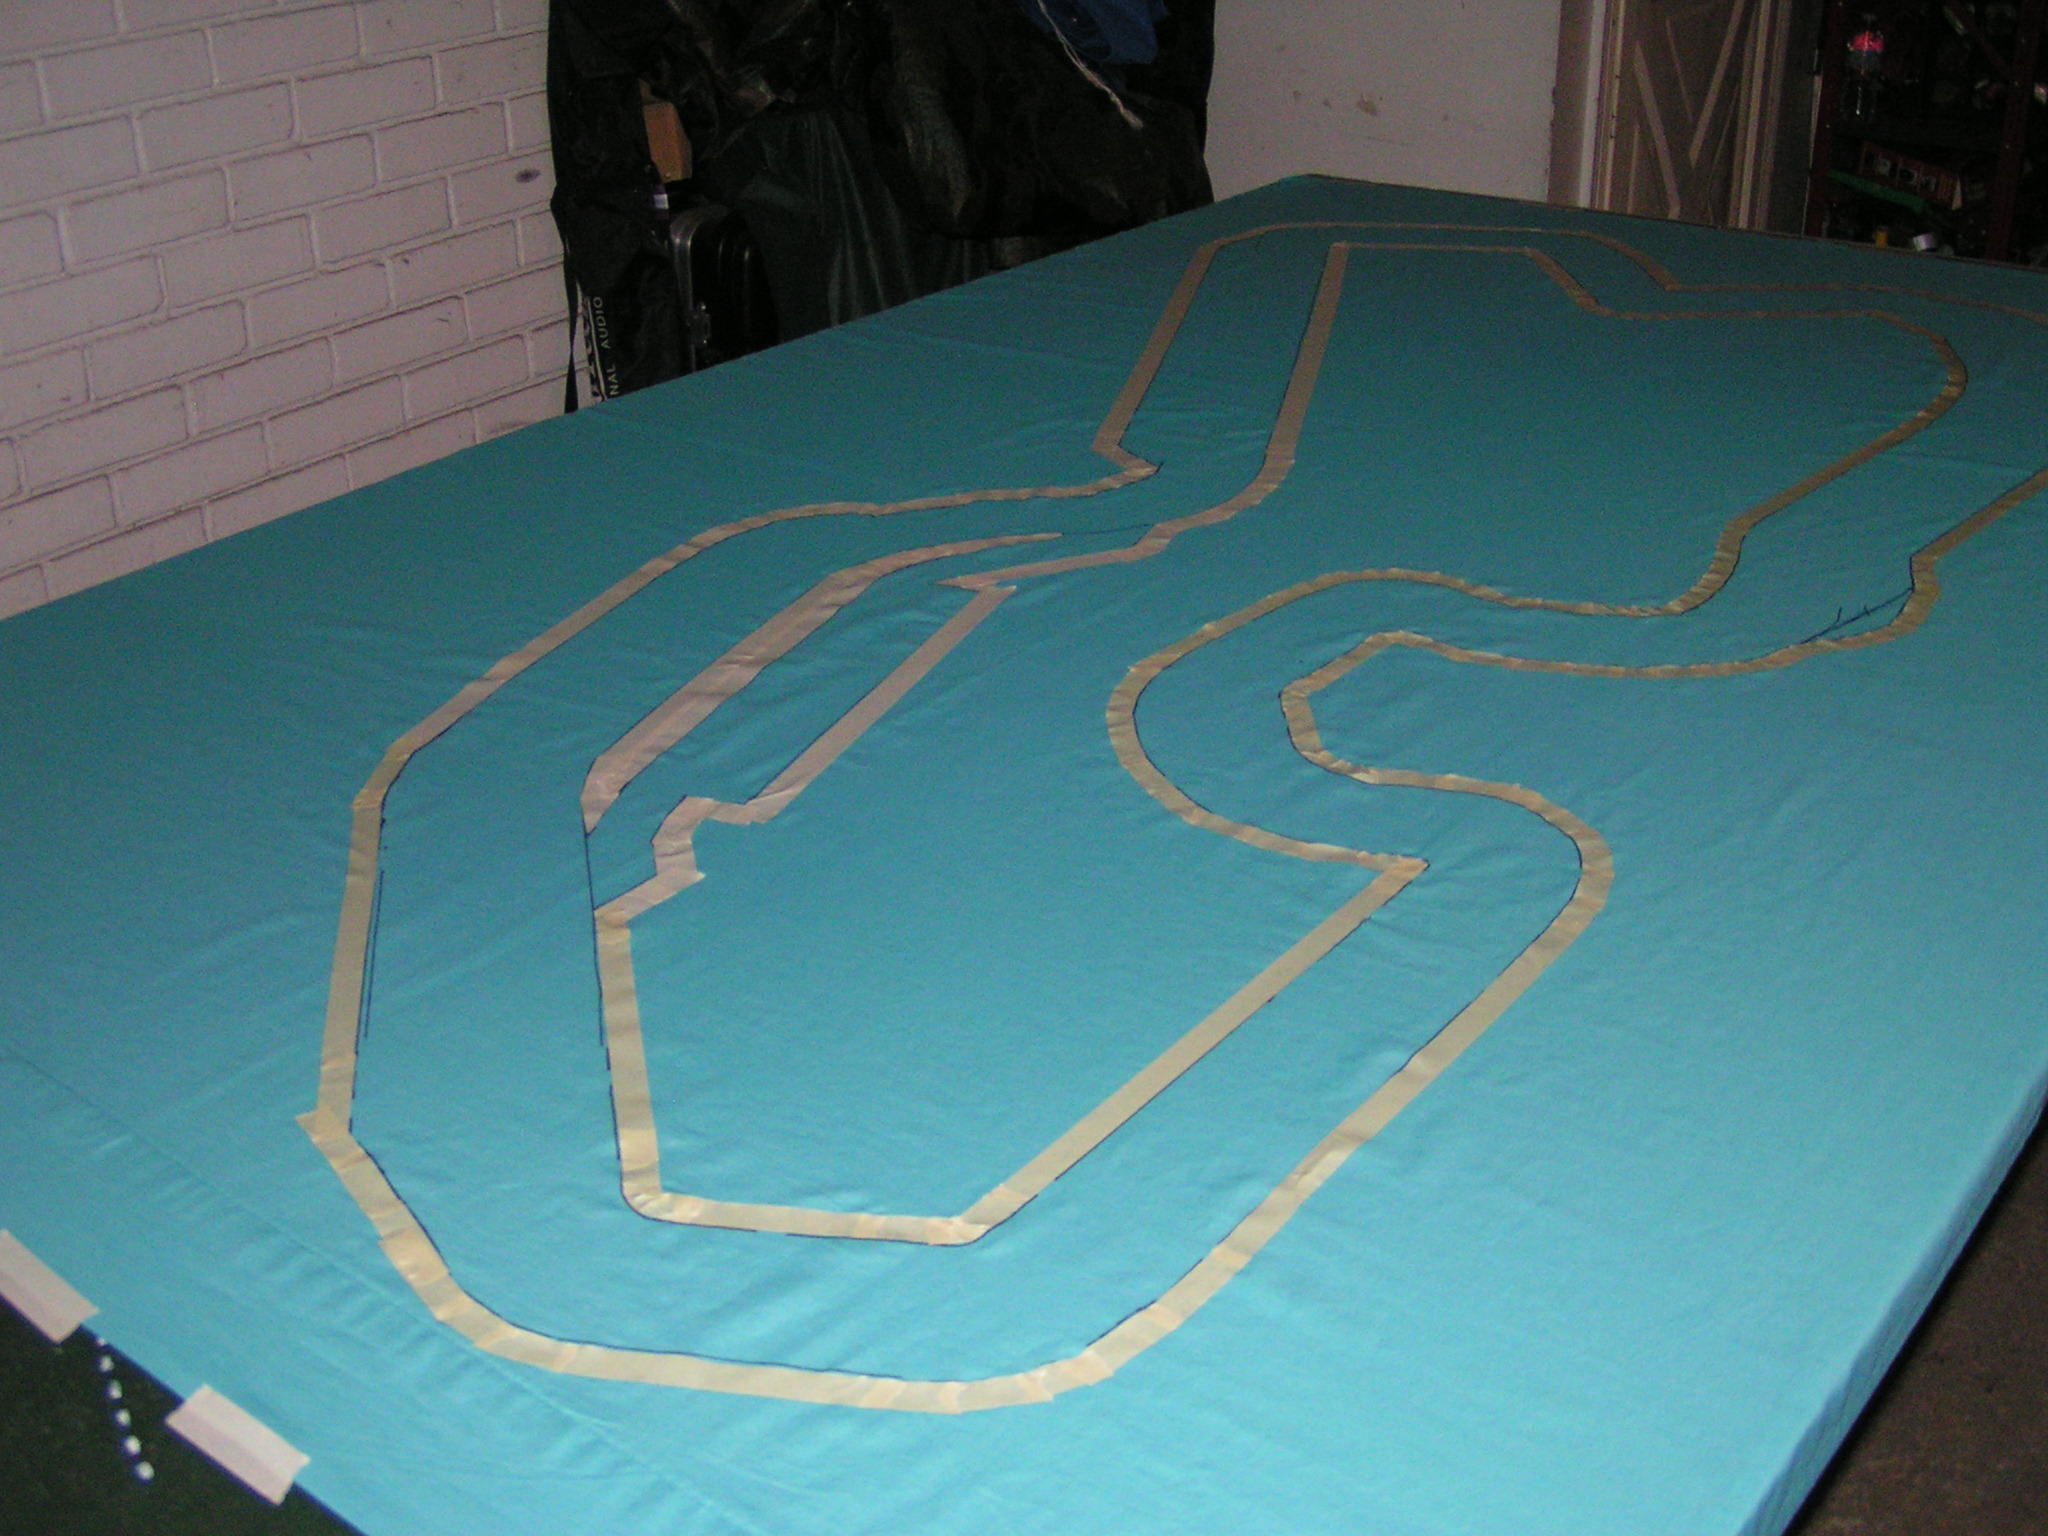
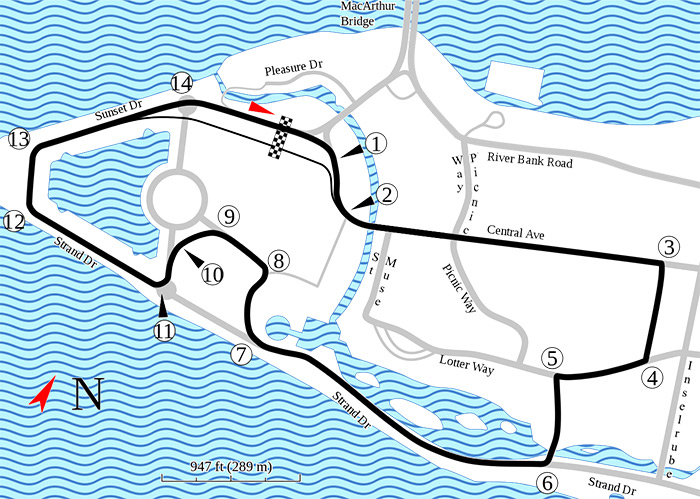
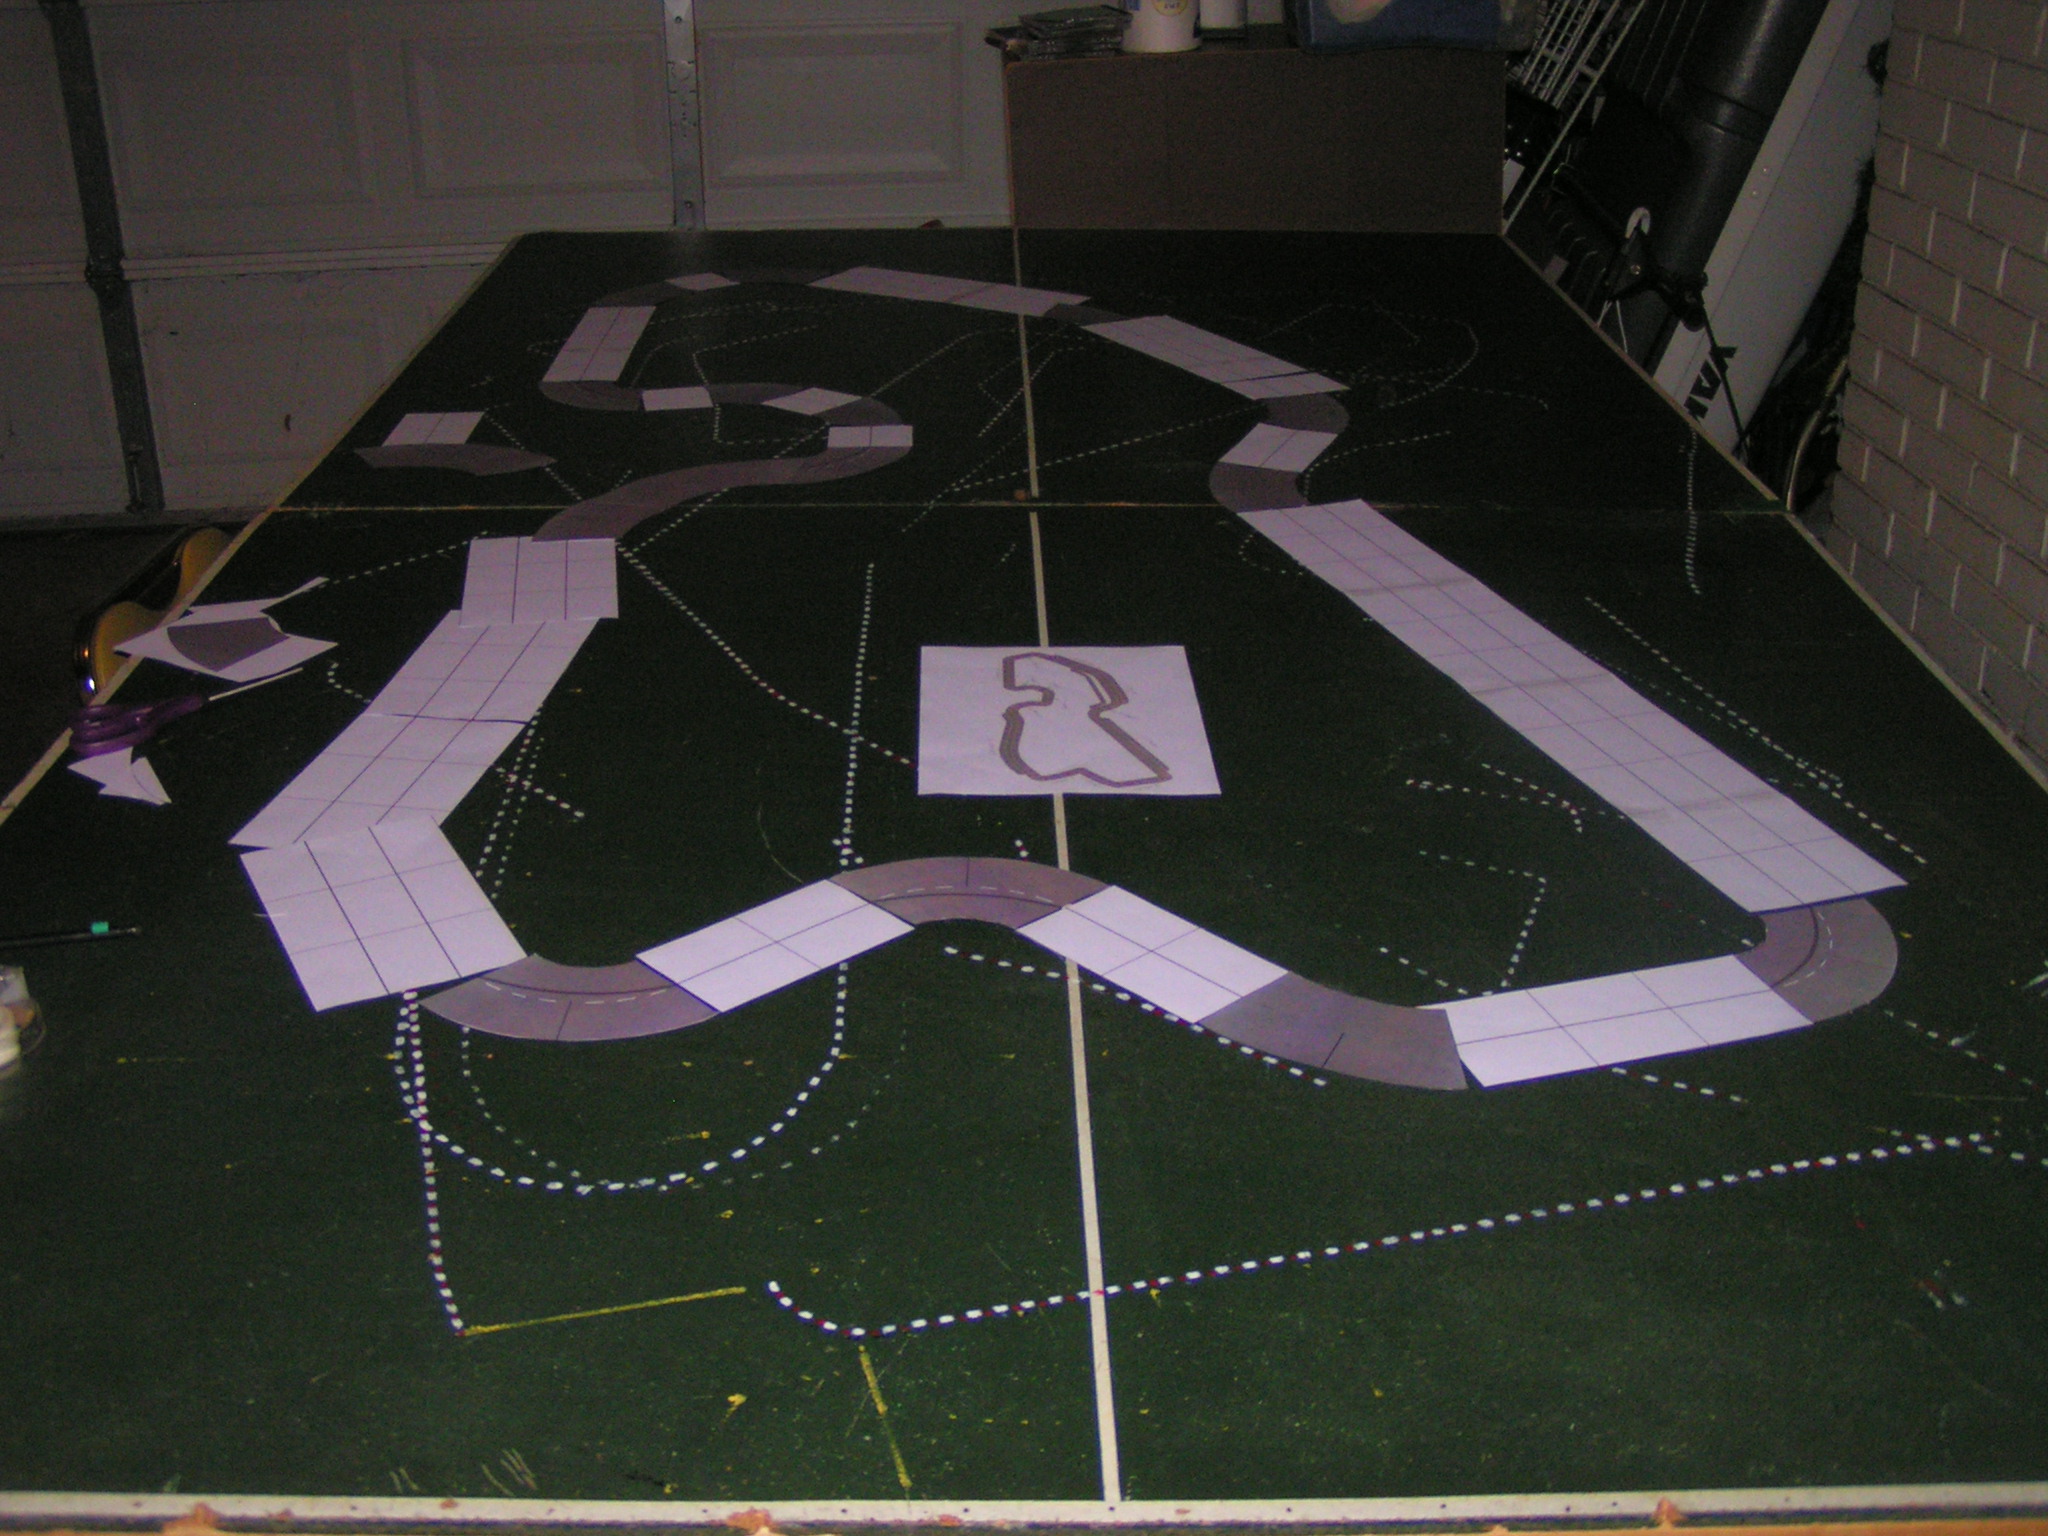
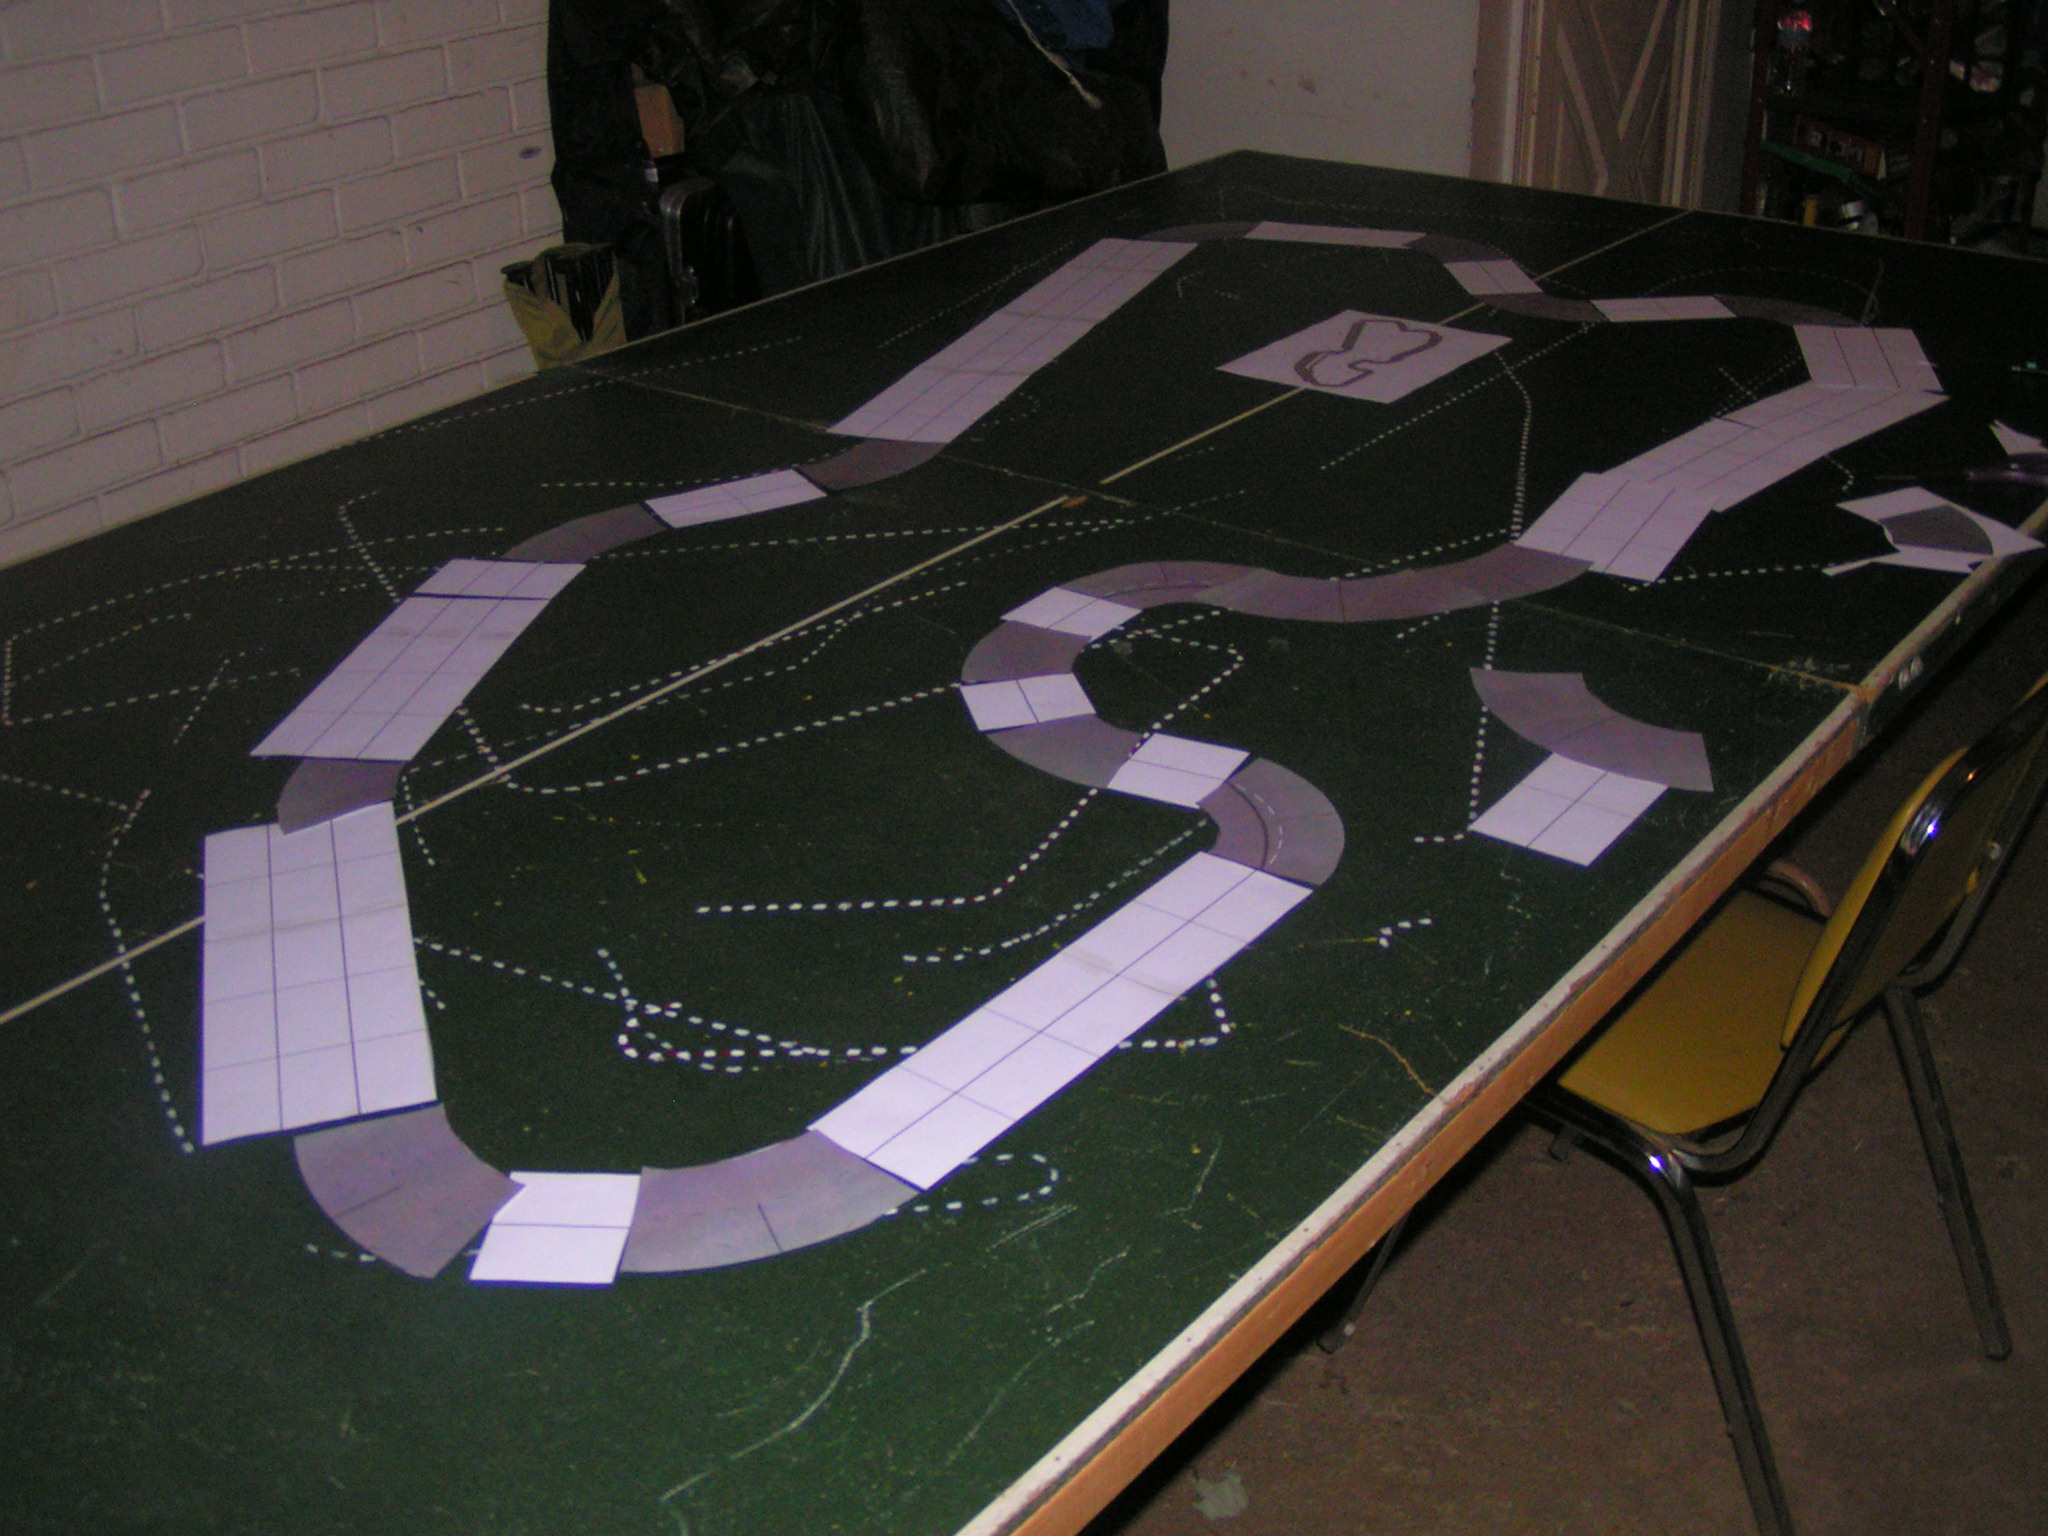
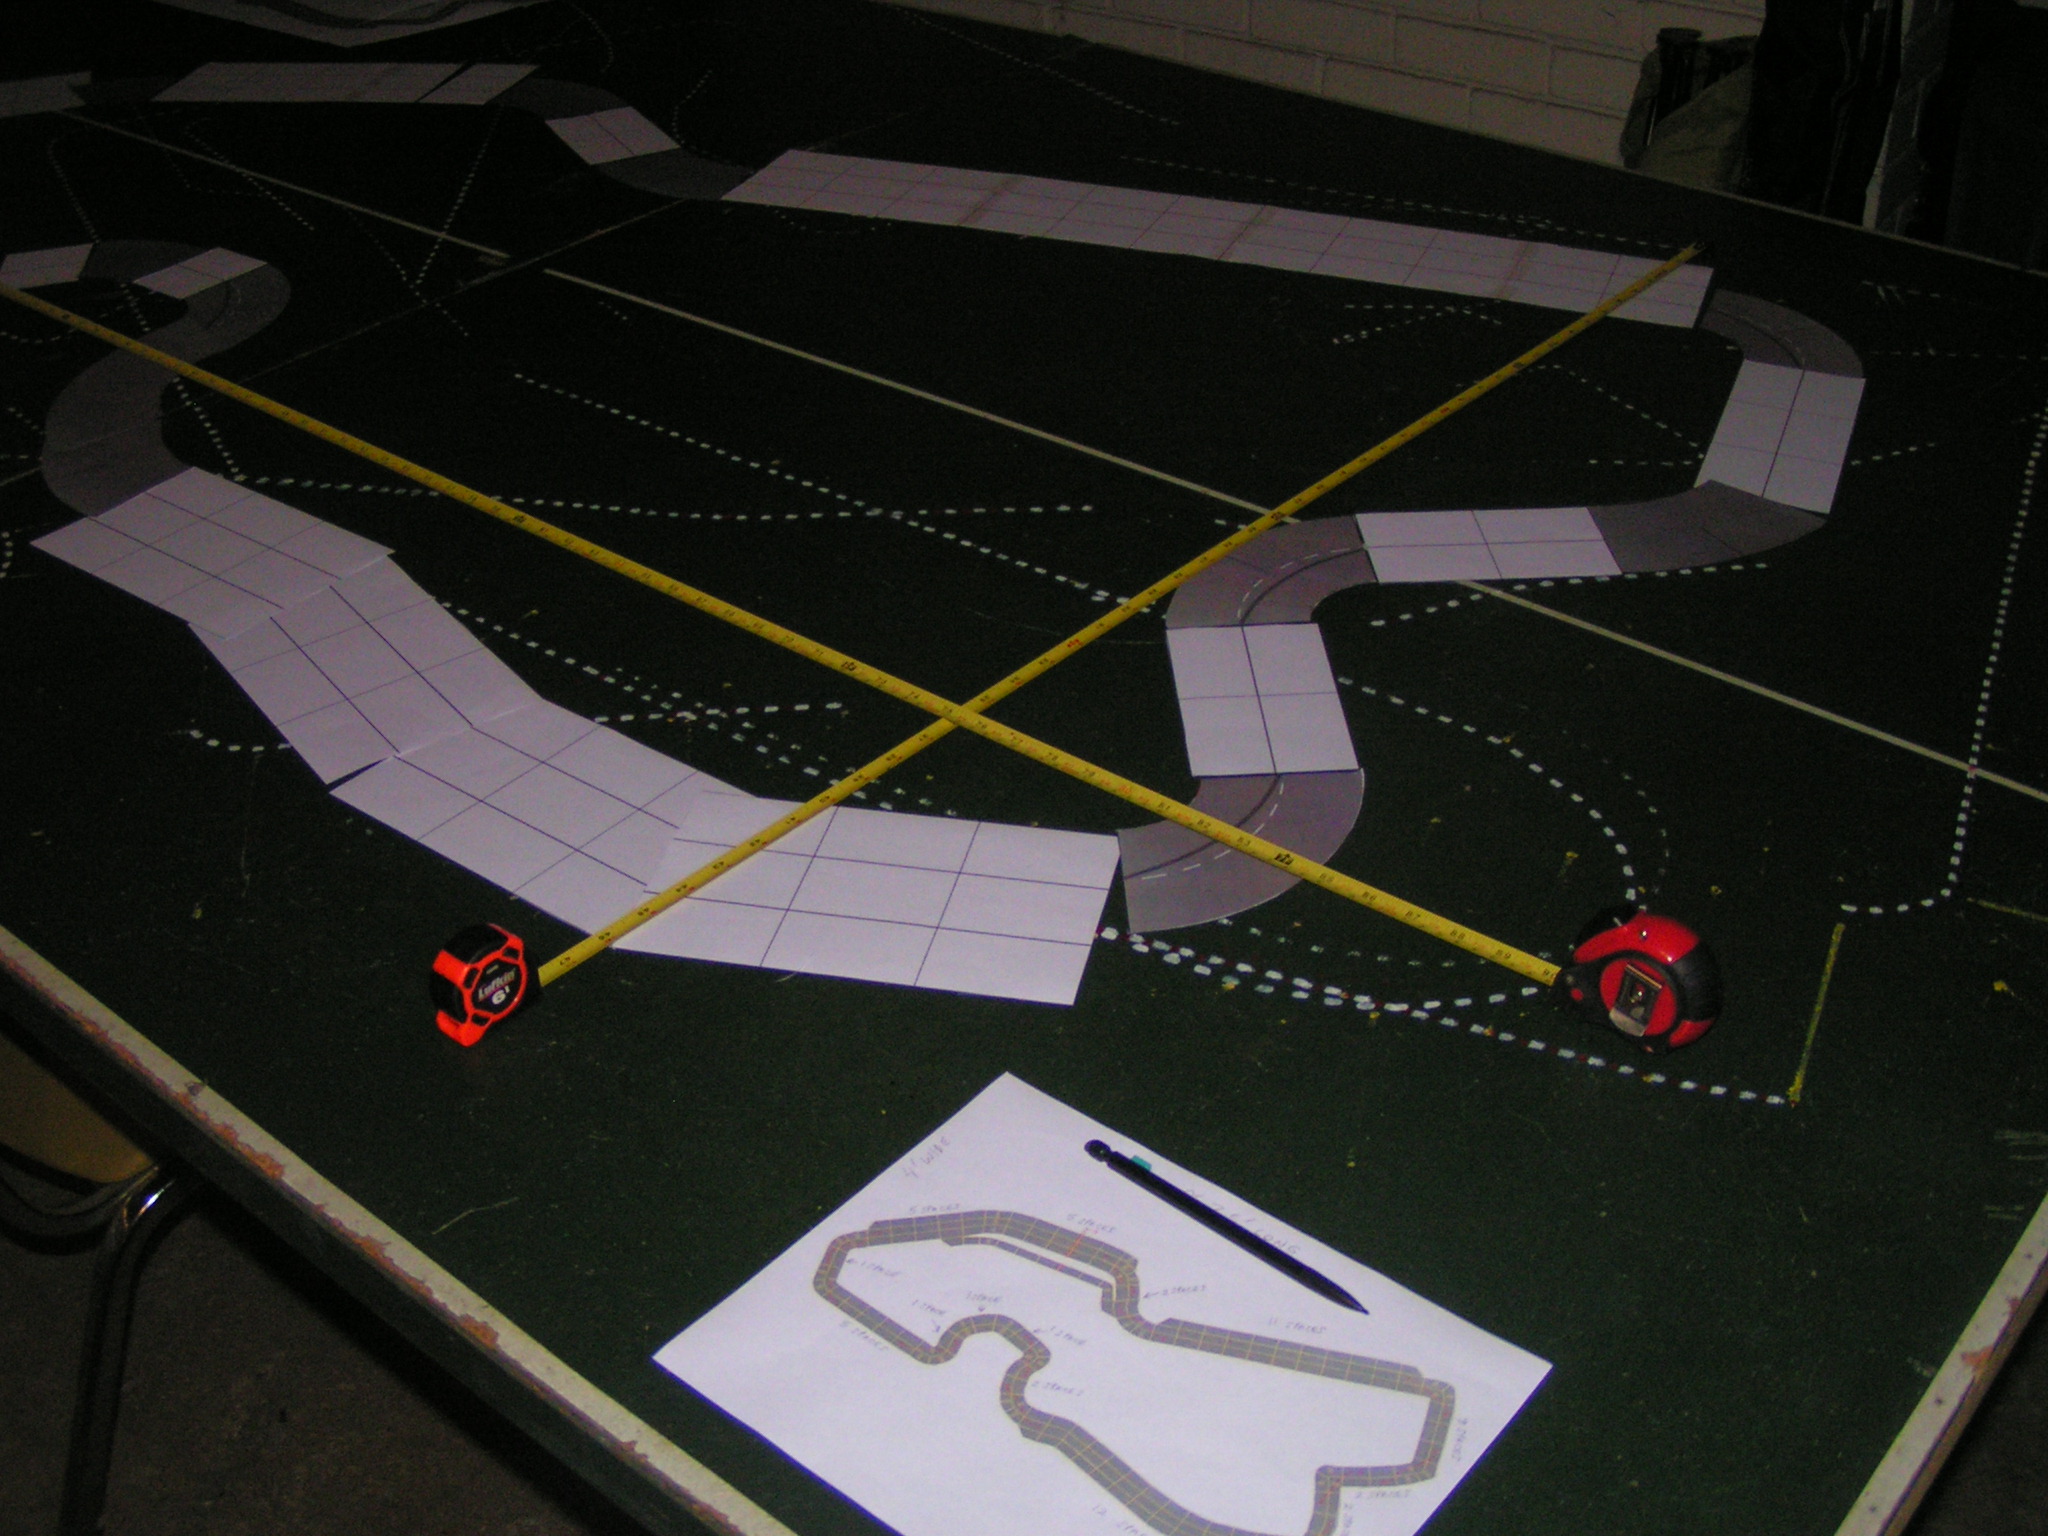
The track was the downtown Detroit track that was raced by Formula 1 beginning in the early 1980s, and later raced by CART (IndyCars). We of the CFR-Detroit boardgame racing community have decided to annually alternate our races between the downtown Detroit and the Belle Isle tracks, so this year it was the turn to race on the downtown circuit.
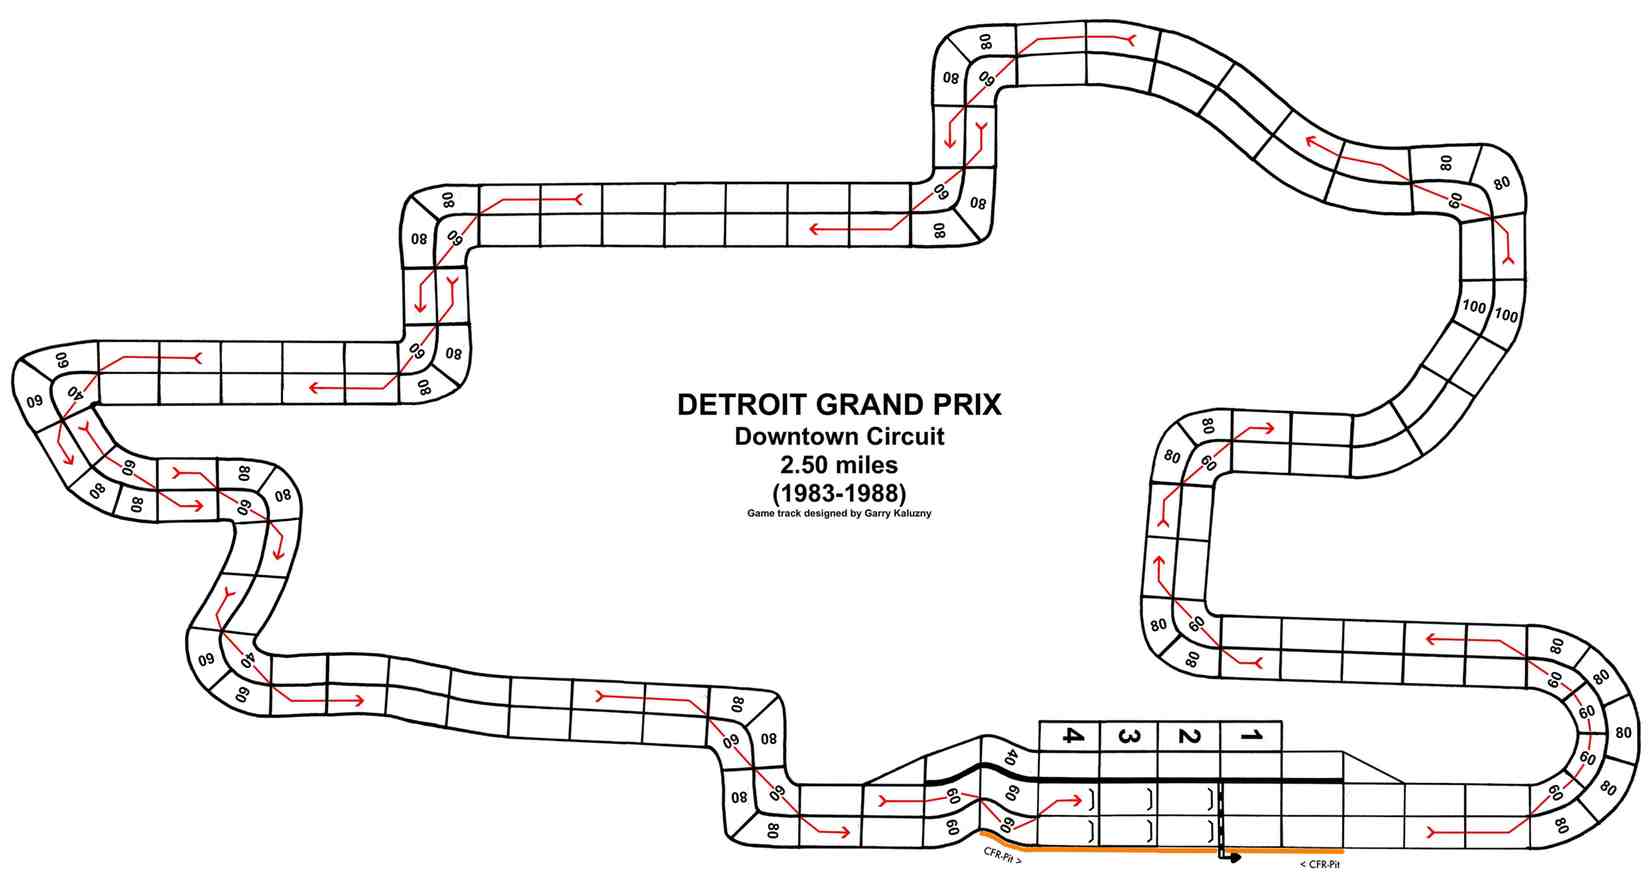
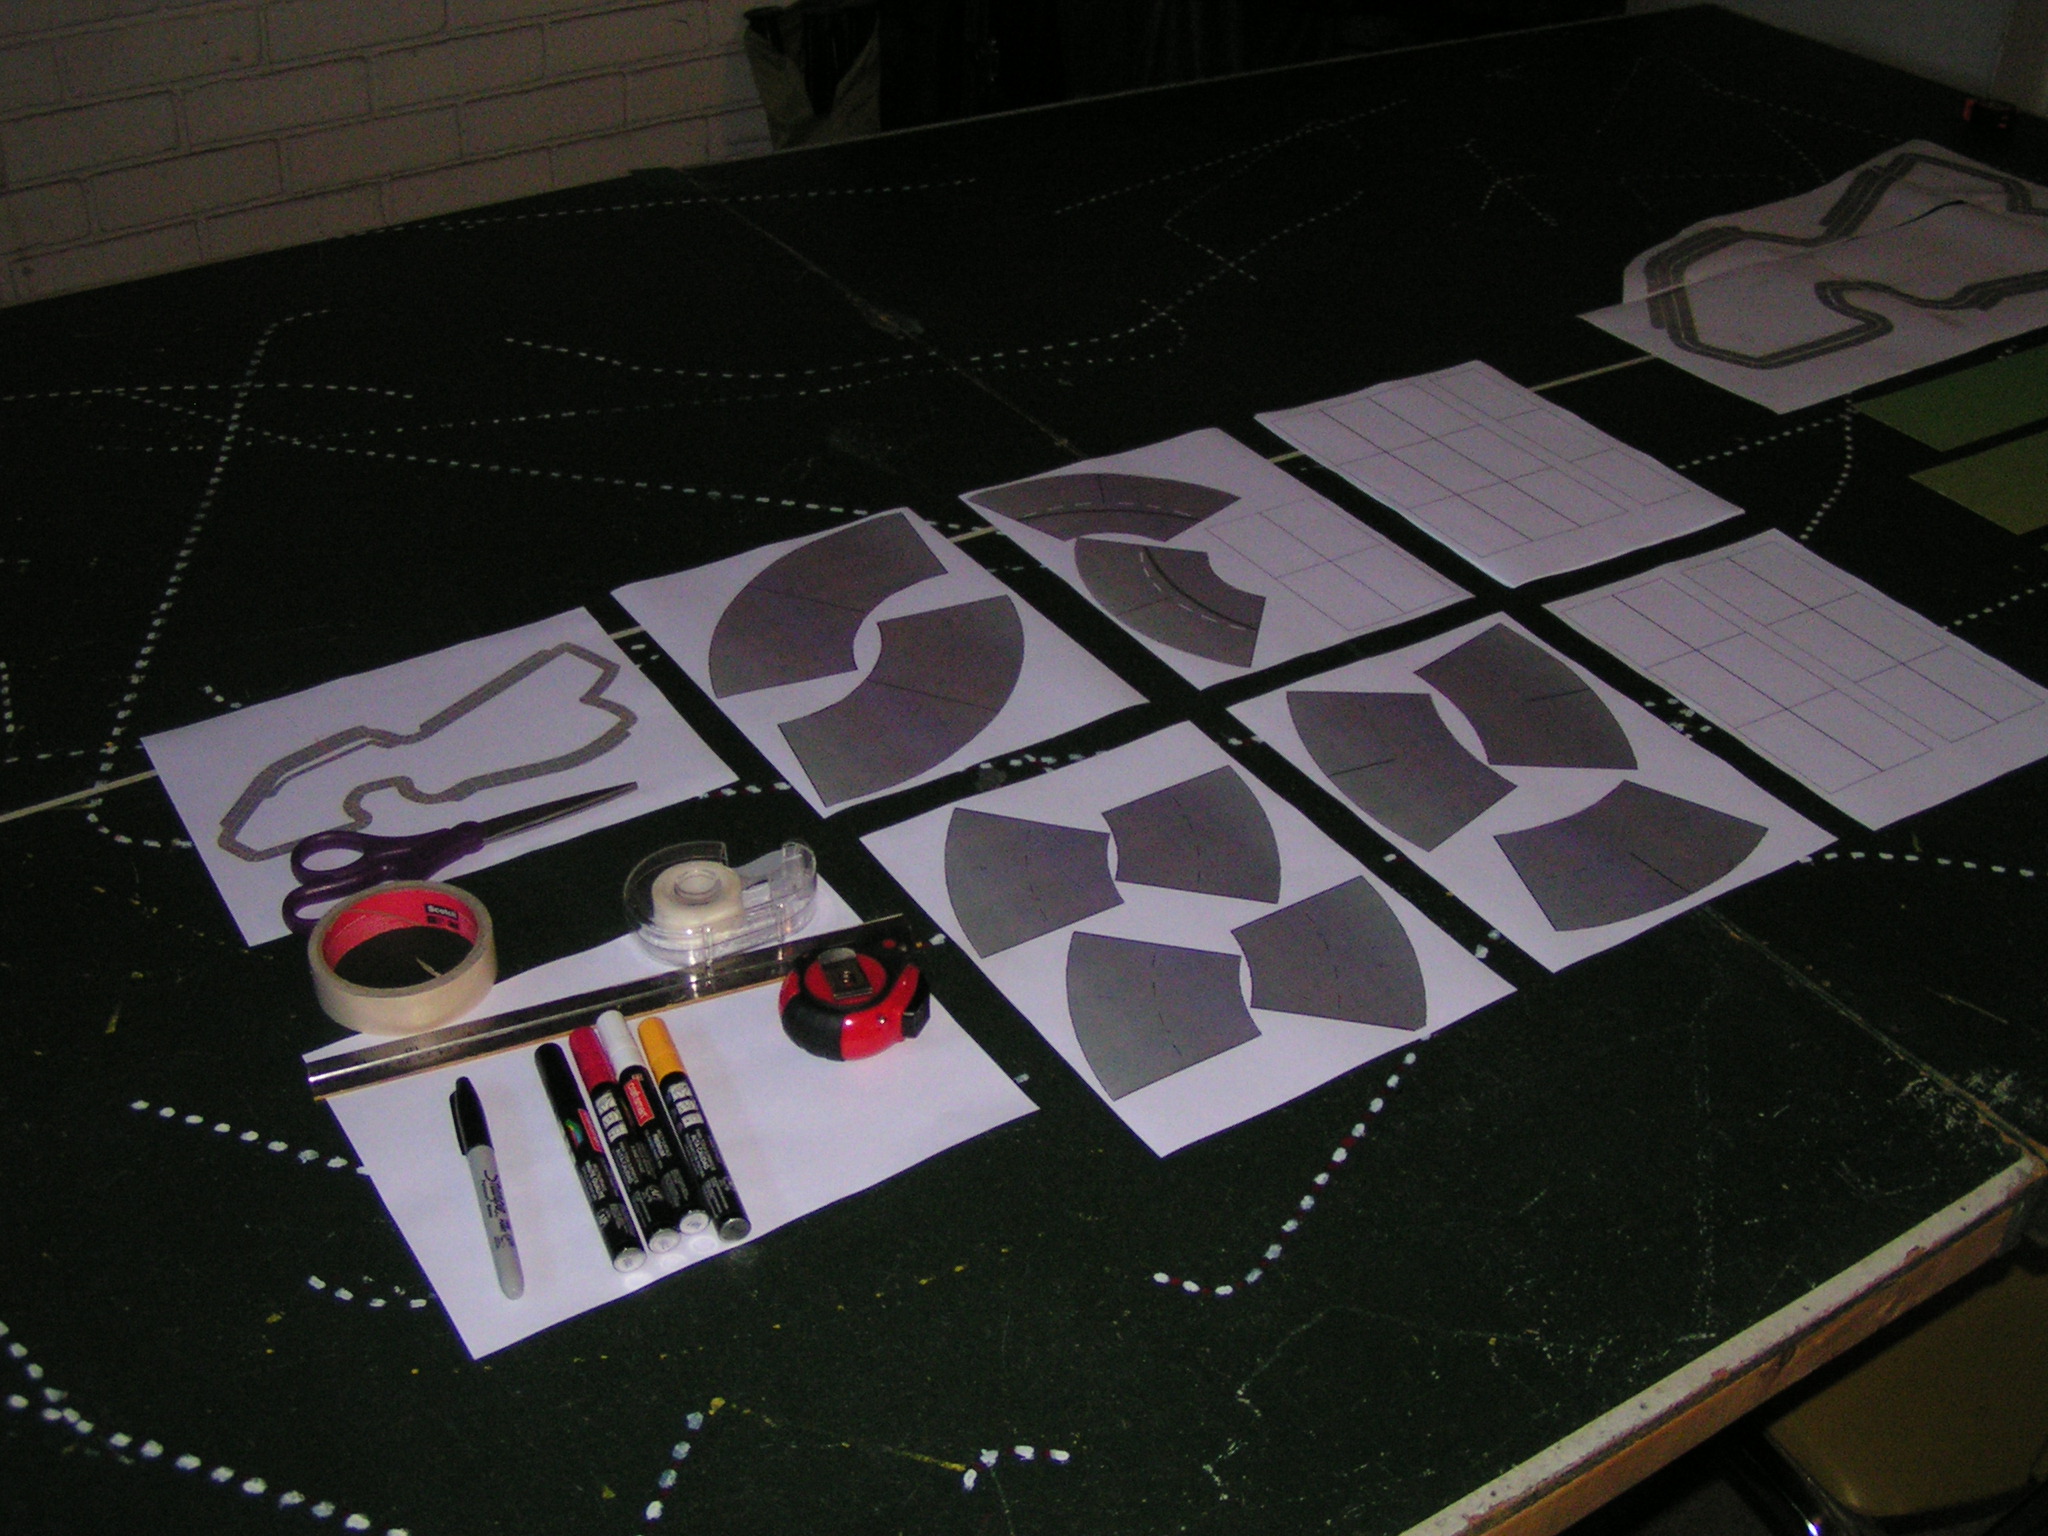
Downtown Detroit track, used by F1 from 1983-1988. Used by CFR-Detroit in 2017 and 2019.
As a reminder, drivers bid for starting position by bidding some of their wear and/or skill chits, with each wear counting as 1.0 and each skill counting as 0.5 towards their qualifying bid.
Qualifying
Bill Worrel (1 wear + 24 skill) snatched the pole position with an astronomical bid of 13.0; however, he had to do it the hard way as Mike Cook (1 wear + 24 skill) also bid 13.0. In the resulting dice-off, Worrel prevailed with a roll of ’98’ to Cook’s ’58,’ hence Worrel was on the pole and Cook started 2nd. Jack Beckman (5 wear + 15 skill) bid 12.5; he started 3rd. Garry Kaluzny (4 wear + 10 skill) bid 9.0, earning him 4th spot on the starting grid. Kaluzny said that he thought a bid of 9.0 would have been enough for at least the front row, if not pole position! Mark Moellering (5 wear + 7 skill), after gaining the pole position in the last two races, had to settle for starting 5th at Detroit after bidding 8.5. Richard White (3 wear + 10 skill) bid 8.0 to start 6th. Greg Lim (0 wear + 12 skill) and Gary Sturgeon (0 wear + 12 skill) each bid 6.0. Lim won the dice-off by ’95’ to ’22’ and so Lim started 7th and Sturgeon started 8th.
Jim Robinson (2 wear + 6 skill) and Mike St. Peter (3 wear + 4 skill) each bid 5.0; Robinson won the dice toss ’44’ to ’22’ and so Robinson started 9th and St. Peter started 10th. Aric Parr (0 wear + 6 skill) started 11th after bidding 3.0. Mickey Akins (0 wear + 1 skill) and Jim Landis (0 wear + 1 skill) each bid only 0.5; Akins rolled ’85’ and Landis rolled ’81’ and so Akins started 12th and Landis was 13th on the grid.
Note: Jim Robinson won the pole at the downtown Detroit track in 2017 with a bid of 8.0 (2 wear + 12 skill). There were four other drivers who bid 6.0 that year. Bidding 8.0 in 2019 would have only been good enough to start 6th!
The starting grid for the 2019 Michigan Grand Prix with their car specs:
 # Driver (Car)                    Start/Accel/Decel/Top/Wear/Skill/Tires
 1 Bill Worrel (Ferrari)            100   20    20   140  5x   5x   soft
11 Mike Cook (Camel Lotus)          100   20    20   140  5x   5x   soft
 2 Jack Beckman (Ferrari)           100   20    20   140  5x   5x   soft
 8 Garry Kaluzny (Marlboro McLaren)  60   40    40   140  5x   4x   soft
 4 Mark Moellering (Tyrrell)         60   40    20   140  5x   5x   hard
 7 Richard White (Marlboro McLaren)  60   40    40   140  5x   4x   soft
 0 Greg Lim (Williams)               60   40    40   140  5x   4x   soft
12 Gary Sturgeon (Camel Lotus)       60   40    40   140  5x   4x   soft
 6 Jim Robinson (Williams)           60   40    40   140  5x   4x   hard
 9 Mike St. Peter (McLaren)          60   40    40   140  5x   4x   soft
10 Aric Parr (McLaren)               20   40    60   140  5x   4x   hard
27 Mickey Akins (Renault)            60   40    60   140  5x   3x   hard
20 Jim Landis (Benetton)             60   60    60   140  5x   2x   hard
Start = Start Speed (in miles/hour); Accel = Acceleration (in mph); Decel = Deceleration (in mph); Top = Top Speed (in mph); Wear = # of Wear markers (per lap); Skill = # of Skill markers (per lap); Tires = hard or soft tires to begin the race.
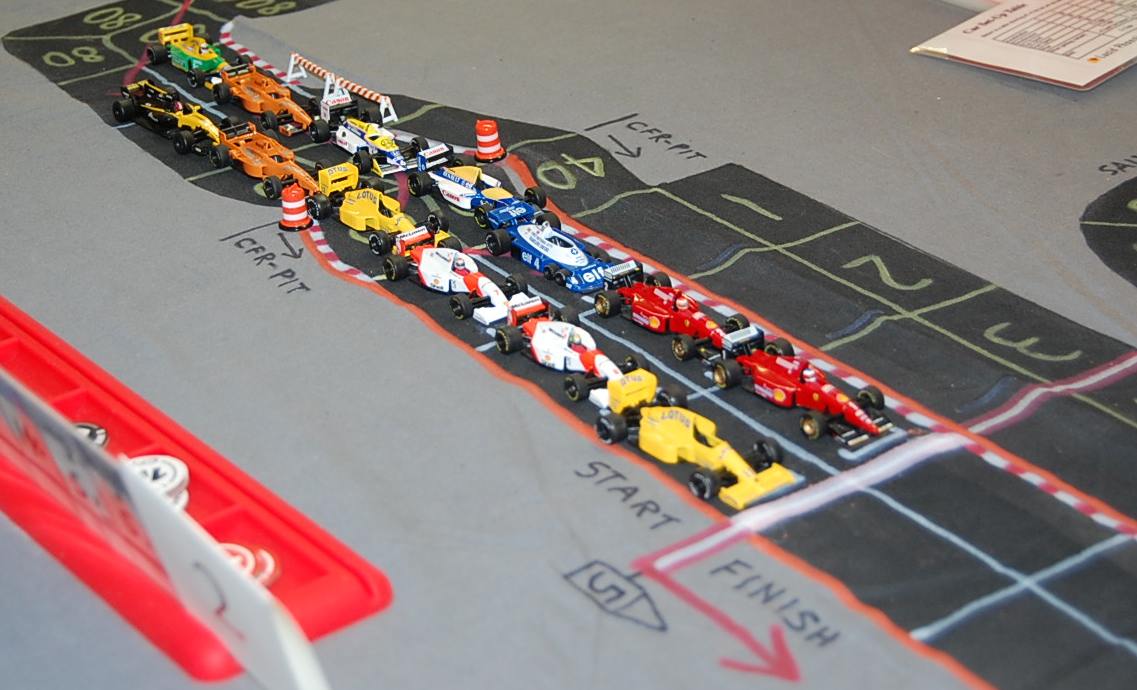
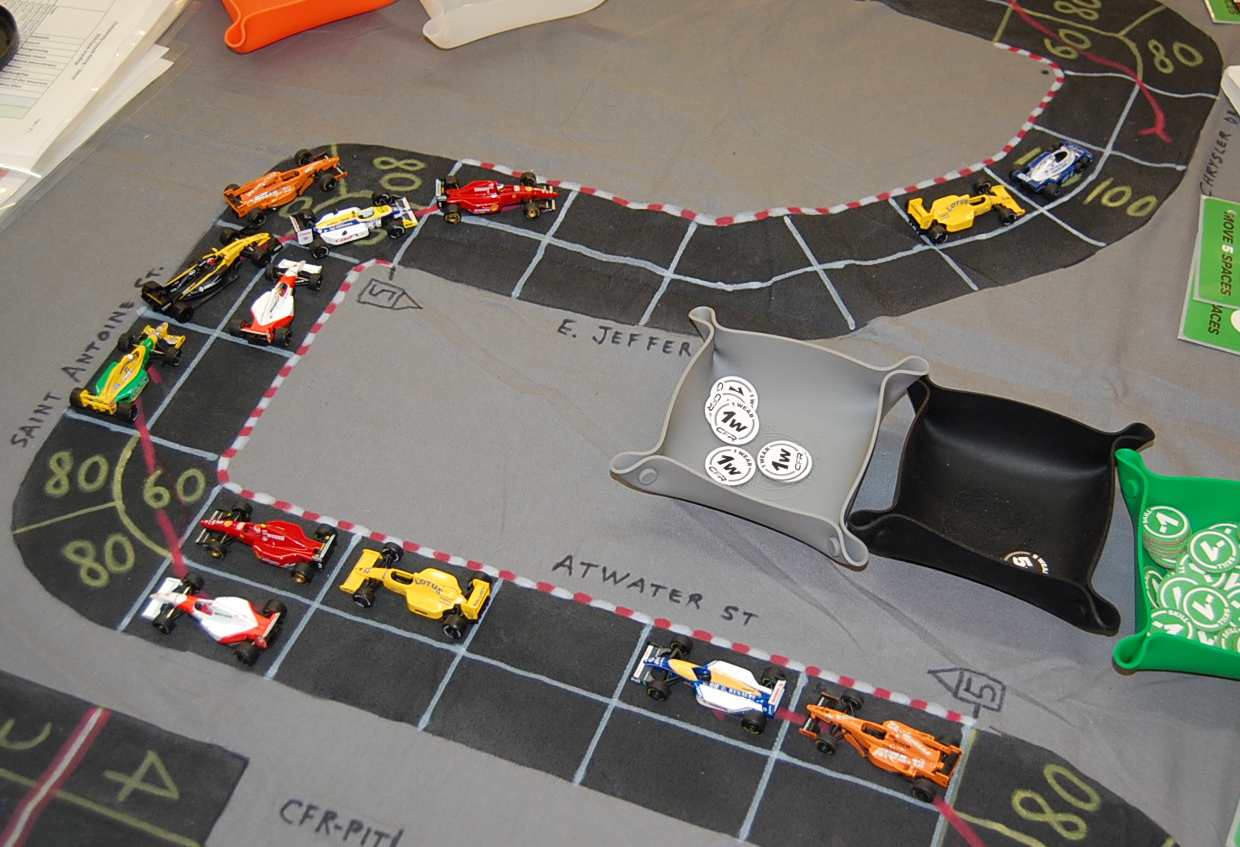
Starting grid at Detroit: 1st row: Worrel (red) & Cook (yellow); 2nd row: Beckman (red) & Kaluzny (white/orange); 3rd row: Moellering (blue/white) & White (white/orange); 4th row: Lim (white/yellow/blue) & Sturgeon (yellow); 5th row: Robinson (white/yellow/blue) & St. Peter (orange); 6th row: Parr (orange) & Akins (black/yellow); 7th row: Landis (green/yellow). All drivers will ignore the chicane in the middle of the grid until after all drivers have cleared that chicane on the start.
It should be noted that Mickey Akins switched from driving a Fiat Ferrari to driving a Renault for this race. He did keep his same number 27 on his new car.
It should also be noted that the first three starters all had 100 mph start speeds. Since such a high start speed would have been wasted on a track with only a 2-wide starting area if they started behind cars with slower starting speeds, those cars all bid high to ensure starting up front. In fact, both Worrel and Cook had bid all of their skill markers, including all of their -3 chits! The problem then becomes for the other drivers, how to worry those leaders into having to roll some dice. Another item of interest is that the three top qualifiers only had acceleration and deceleration values of 20 mph.
1st Lap
As expected, at the start of the race, the top three qualifiers (with their 100 mph start speeds) shot out of the gate like scared jackrabbits. Worrel & Cook, on the front row and on soft tires, each used a wear to boost their starting speed to 120 mph, moving 6 spaces and with both cars making it into the first corner on the track. In the 2nd row, Beckman also used a wear to go 120 mph, and Kaluzny used a wear to get to 80 mph (Kaluzny only had the “normal” start speed of 60 mph). In the 3rd row, Moellering, the inside car, rolled dice to increase his start speed since he had already spent 5 wear in qualifying. He used a -3 skill chit and rolled an ‘8’ and so was on his merry way at 80 mph. Next to Moellering, White also rolled dice, using two -1 skill chits and rolling an ‘8’ to get to 80 mph. From the 4th row, Lim used a wear to get to 80 mph, and Sturgeon was content to just start at his normal 60 mph. Sturgeon probably figured that there wouldn’t have been any room on the narrow track if cars in front of him wouldn’t have boosted their speed.
But even from the 5th row, St. Peter used a wear to get to 80 mph, so he pulled up next to Sturgeon. Robinson, however, merely went 60 mph. From the 6th row, Akins started off gracefully at 60 mph. Next to Akins, Parr rolled for an increase, but only used a single -1 skill marker; his resultant roll was a partial failure, meaning he mis-shifted and so started at only 40 mph, 20 mph slower than his nominal start speed. Jim Landis, from row 7, was content to roll away from the line at 60 mph.
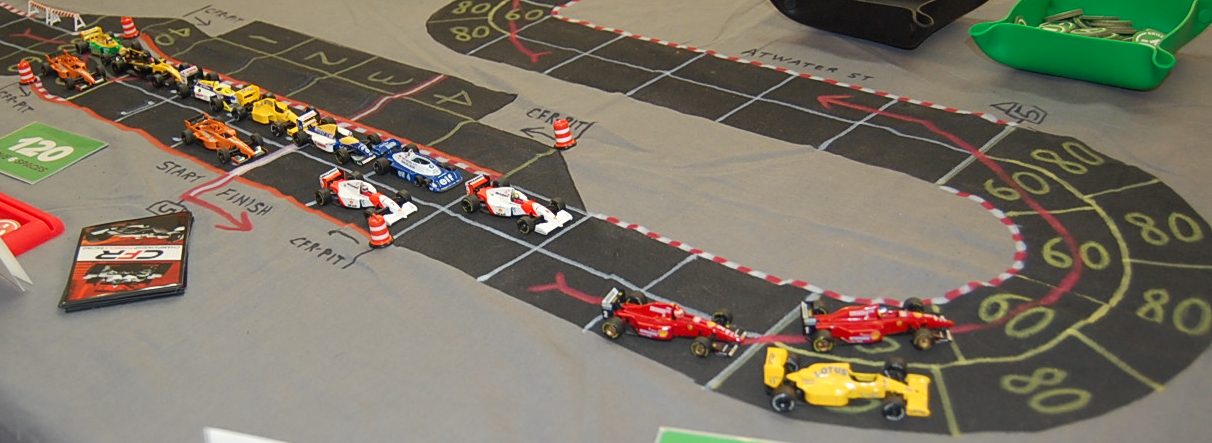
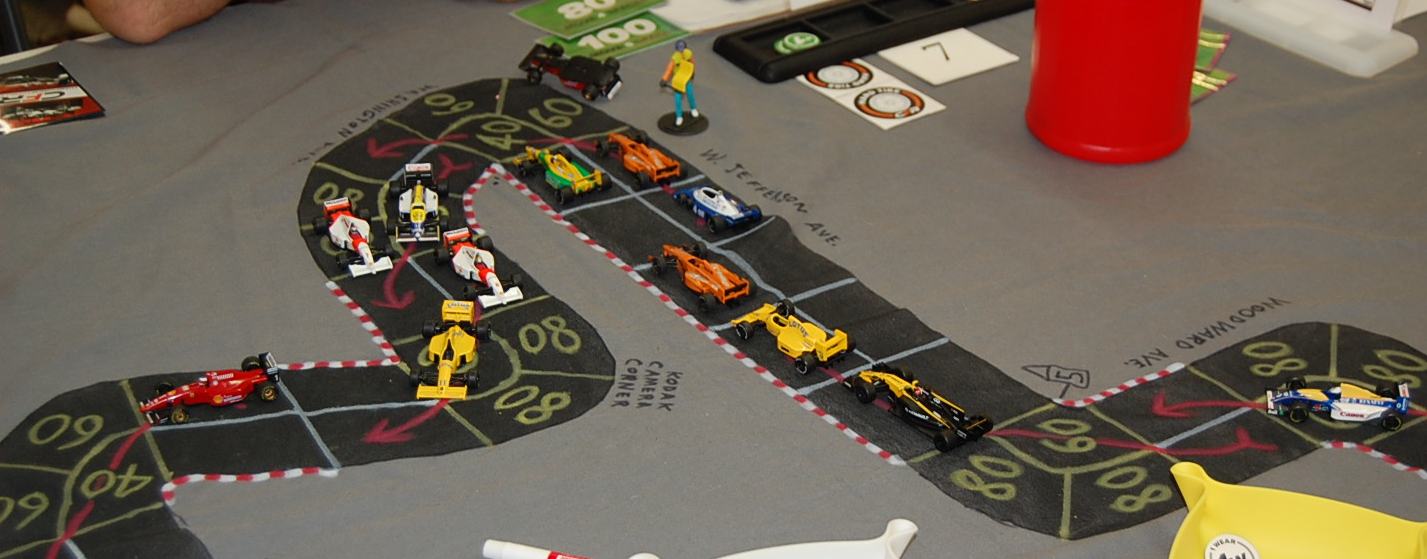
The three jackrabbits of Worrel, Cook, and Beckman jump away from the pack at the start of the Michigan Grand Prix. The rest of the pack is in the order Kaluzny, Moellering, White, Lim, Sturgeon, St. Peter, Robinson, Akins, Landis, and Parr.
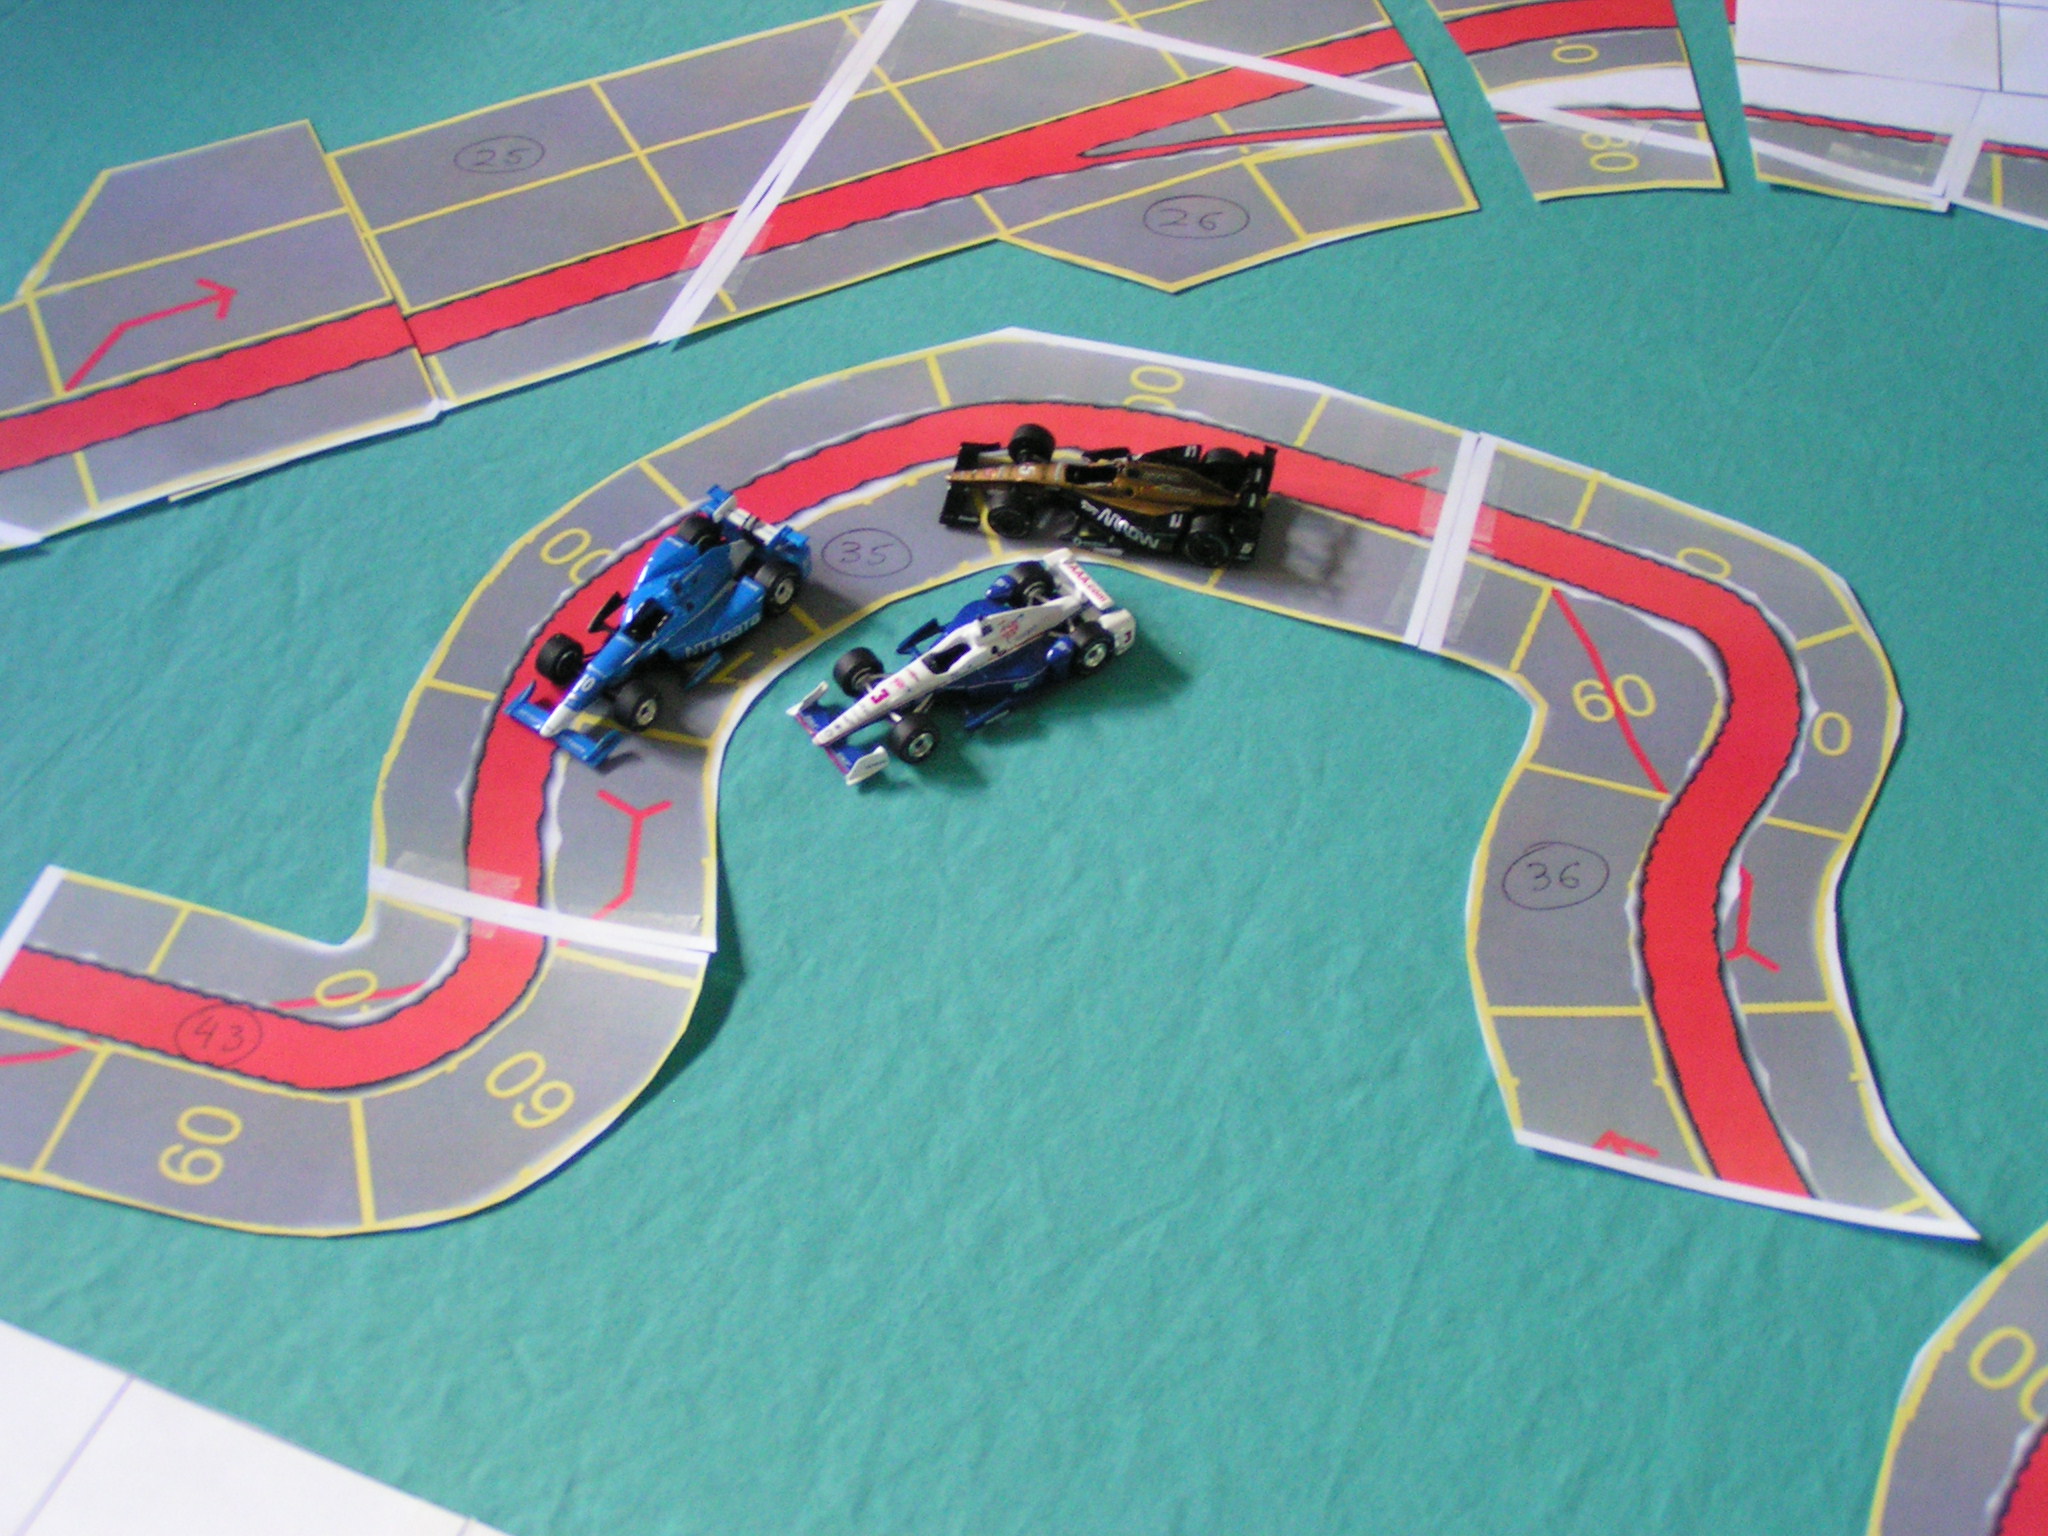
After the first 180-degree left-hander, Moellering dived inside Kaluzny for the 90-degree right-hand turn onto St. Antoine St, thereby taking 4th place. Landis passed Akins in the 180-degree left-hander, and so Landis had moved up to 11th (from 13th on the grid). After the right turn onto East Jefferson Ave., Cook passed Worrel for the lead as they turned left onto East Congress St.

Cook takes the lead from Worrel at the left turn onto East Congress, followed by Beckman, Moellering, Kaluzny, White, Lim, St. Peter, Sturgeon, Robinson, Landis, Parr, and Akins.
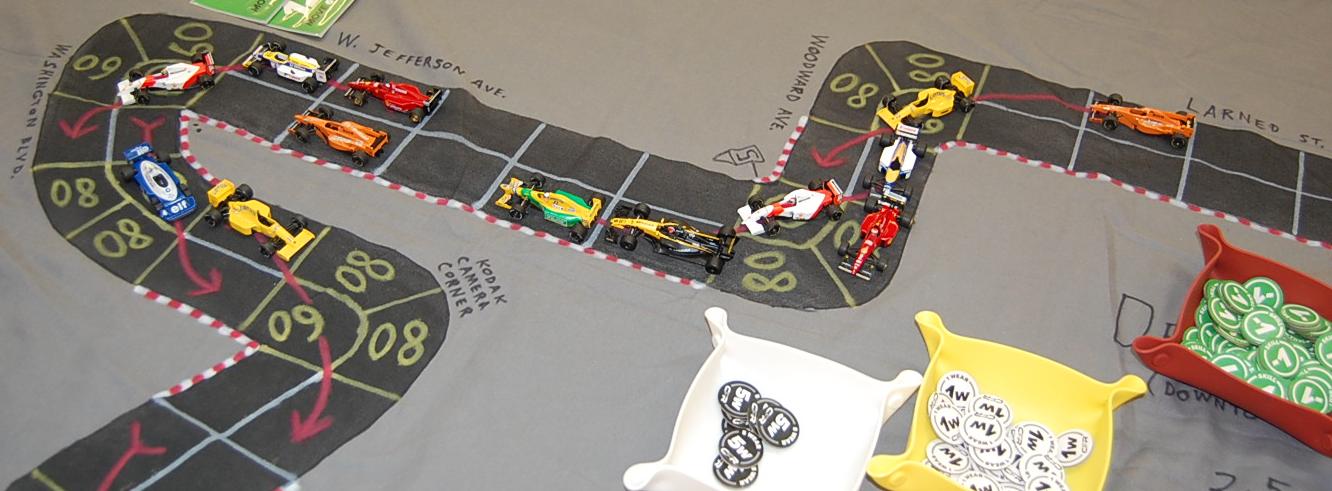
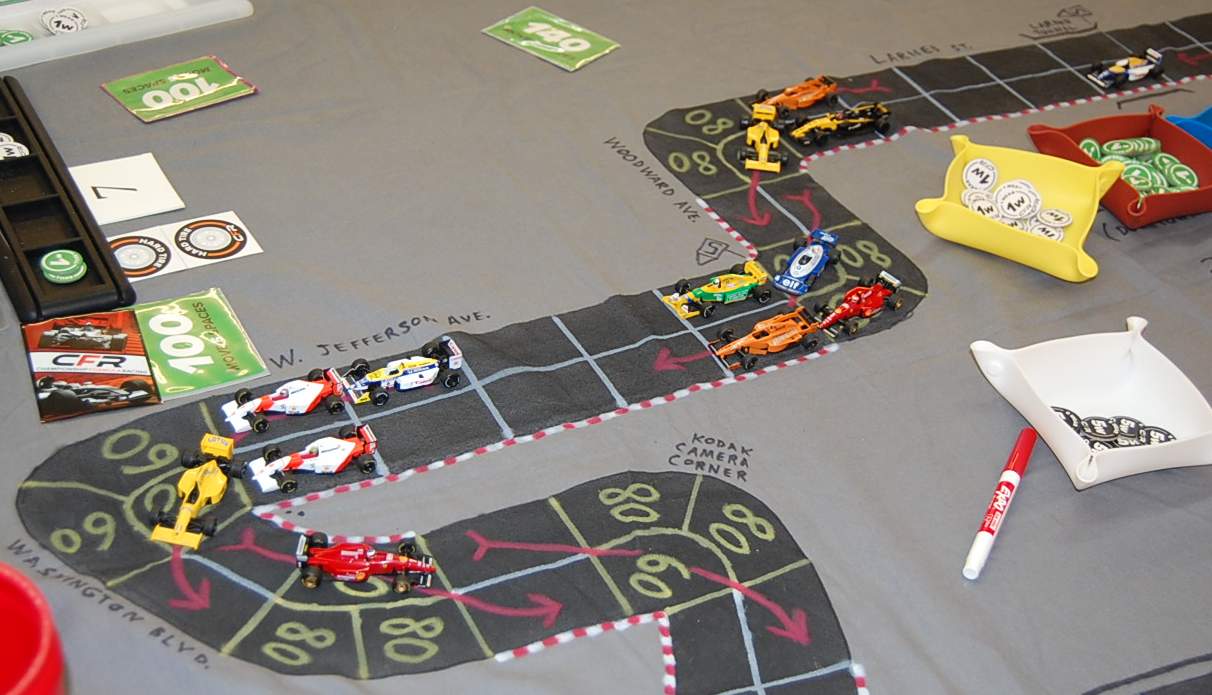
The field snaked left onto Beaubien, then right onto Larned (going against the natural direction of traffic on Larned, as Larned is a one-way street that goes west to east, instead of the east to west direction of racing). Then the pack turned left onto Woodward, and then right onto West Jefferson. Cook continued to lead from Worrel. Moellering dived inside Beckman just before the left turn onto Woodward to briefly take over 3rd place. Beckman regained 3rd at the sharp left turn onto Washington Boulevard. And Parr passed his teammate St. Peter for 10th place just before the left turn onto Washington Blvd.
At the left-hand turn onto Atwater and into the Goodyear Tunnel under Hart Plaza, Cook had stretched his lead over Worrel to 3 spaces, with Beckman another 2 spaces back. Then the rest of the pack was all bunched up behind.

Cook leads through the Goodyear Tunnel, followed by Worrel, Beckman, Moellering, Kaluzny, Sturgeon, White, Lim, Robinson, Parr, Landis, St. Peter, and Akins.
Coming out of the Goodyear Tunnel, Cook passed through the sharp right-left combo turn and then the chicane, then pulled into the pits a turn before Worrel could reach the pits. A little farther back, Kaluzny passed Moellering for 4th going through the Goodyear Tunnel, then Kaluzny passed Beckman for 3rd place just before the right-left combo turn. White pulled to the inside of Moellering for 5th place at that same combo turn.
Worrel managed to reach the pits a turn after Cook, but a turn before anyone else could pit. Since Worrel pitted just past the start/finish line, he led the 1st lap.
Worrel, in the pits, leads after one lap.
On the next game-turn, pulling into the pits were the cars of Kaluzny, Beckman, White, and Sturgeon; Moellering stayed on the track, and Cook rejoined the traffic on the track. On the next game-turn, Lim and St. Peter pitted, and Worrel got back on the track. The cars of Parr, Robinson, Akins, and Landis did not pit. All of the cars that eschewed a pit stop were on hard tires. Moellering took the lead on the track while the other cars were in the pits.
The official order at the end of the 1st lap: Worrel (0); Kaluzny (+2); Moellering (+2); Cook (-2); Parr (+6); Lim (+1); Robinson (+2); Akins (+4); Landis (+4); Sturgeon (-2); White (-5); Beckman (-9); and St. Peter (-3). The numbers in parentheses indicate how many positions a driver either gained (+) or lost (-) from their starting position.
2nd Lap
After the pit stops were resolved, the running order on the track early in lap 2 was: Moellering; Cook; Worrel; Robinson; Akins; Parr; Kaluzny; Landis; White; Beckman; Sturgeon; Lim; and St. Peter.
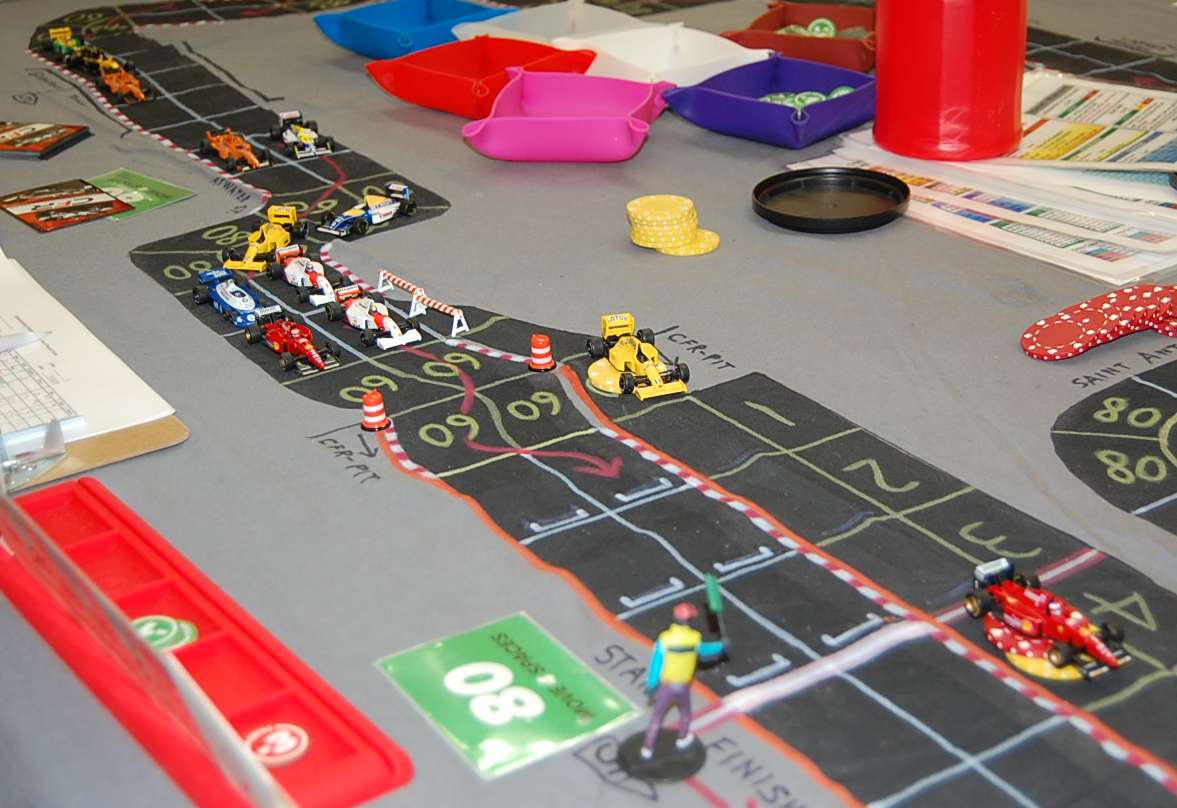
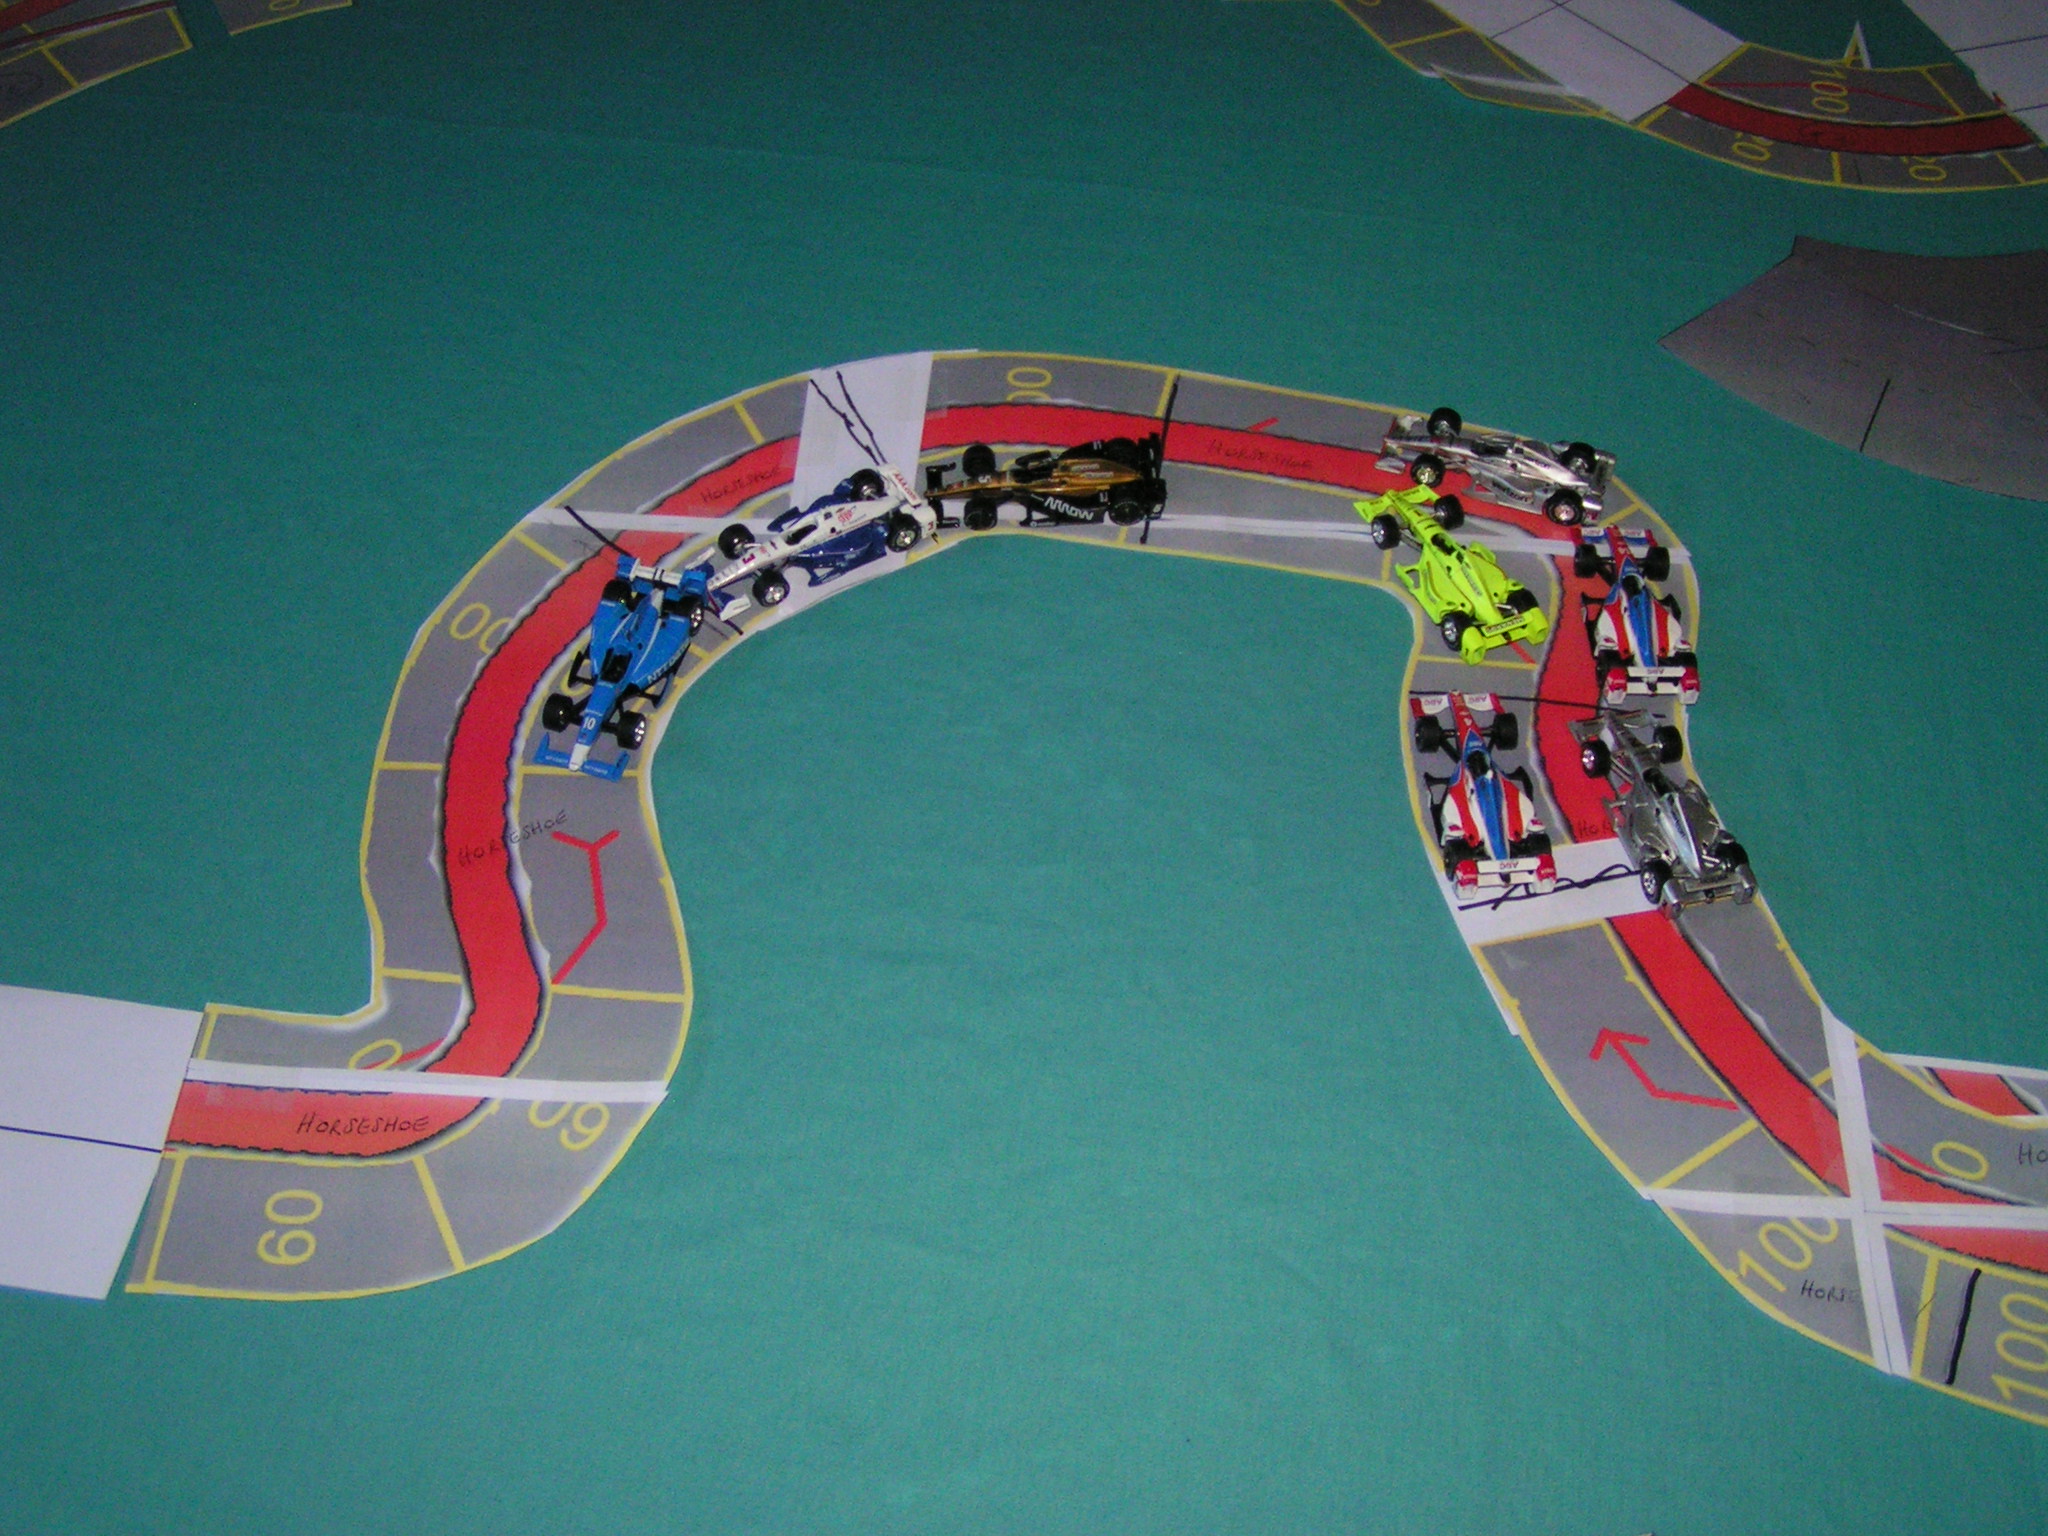
Bird’s eye view of the race: Early in the 2nd lap, Moellering (blue and white car at top-right) still leads. Following cars are: Cook; Worrel; Robinson; Parr; Kaluzny; Akins; Landis; Beckman; White; Sturgeon; Lim; and St. Peter.
Cook, seeing his opportunity, passed Moellering for the lead on East Congress. Parr passed Kaluzny for 5th in the left-hand corner leading onto East Congress. Through the left and right turns onto Beaubien and then Larned Streets, Moellering stuck right behind Cook. Moellering was still 5 spaces ahead of Worrel and Robinson, the 3rd and 4th place cars. Just before the left-hand turn onto Washington Blvd, Moellering ducked to the inside of Cook in a bid for the lead, but as Moellering did not have the benefit of using the cornering arrow, he had to go the long away around the corner, so Cook retained his lead. Kaluzny managed to pass the wear-starved Parr and Robinson on West Jefferson and then into the left-hand turn onto Washington Blvd. That move moved Kaluzny up into 3rd place.
Cook holds his lead at the Kodak Camera Corner, followed by Moellering, Kaluzny, Robinson, Parr, Worrel, Landis, Akins, White, Beckman, Lim, Sturgeon, and St. Peter.
Kaluzny caught and passed Moellering at the right-left combo turn after the Goodyear Tunnel. Cook ducked into the pits for his 2nd pit stop of the race, one game-turn before anyone else. White was moving up through the field. Where he had been in 8th position on West Jefferson before making the turn onto Washington Blvd in front of Cobo Hall, when he emerged from the Goodyear Tunnel under Hart Plaza, White was in 6th.
On the game-turn after Cook pitted, Kaluzny, Moellering, and Robinson also pitted. Kaluzny was making his 2nd pit stop of the race, whilst Moellering and Robinson were making their first, and mandatory, stops. On the following game-turn, Parr made his 1st pit stop, as did Landis and Akins. Just as Cook made it back on the track, Worrel swooped by into the lead, followed closely by White. Both Worrel and White had decided to ride the rapids with their remaining wear instead of pitting.

With the white flag showing there is only one lap remaining, Worrel takes the lead. White is immediately behind Worrel, and Cook is beside White. The cars of Parr, Kaluzny, Moellering, Robinson, Landis, and Akins all rest in the pits. Still on the track were Lim, Beckman, St. Peter, and Sturgeon.
As they came around, Lim joined the others in the pits, while Beckman, St. Peter, and Sturgeon decided to stay on the track.
The official order at the end of the 2nd lap: Worrel (0); Parr (+9); White (+3); Cook (-2); Lim (+2); Beckman (-3); Kaluzny (-3); Moellering (-3); Robinson (0); St. Peter (0); Landis (+2); Sturgeon (-4); and Akins (-1).
3rd Lap
As they began their 3rd laps, the drivers each had this many wear for the last lap: Worrel (11); Parr (15); White (6); Cook (15); Lim (15); Beckman (9); Kaluzny (15); Moellering (15); Robinson (15); St. Peter (13); Landis (15); Sturgeon (7); and Akins (15). Worrel had managed to spend only 6 wear (saving 9) on the 2nd lap, and he got 2 wear back as his hard tire bonus when he reached the start/finish line to begin the final lap.
Despite having 5 less fewer wear than Worrel, White briefly challenged Worrel for the lead at the start of lap 3. White ducked to the inside at the first corner to briefly take the lead, but Worrel regained the lead at the right-hand turn onto St. Antoine. Moellering, coming up to that same turn onto St. Antoine, attempted a -1 deceleration roll to slow down for the turn. He failed that roll, which meant his deceleration dropped from 20 mph to 0 mph for the rest of the race! That is one of the perils of starting out with 20 mph in deceleration (or acceleration, for that matter), for if you fail a dice roll, you are well and truly hosed, because you will have to always spend wear or roll dice every time you need to slow down (or speed up, if accel is busted).
After the pit stops were completed, the running order on the track early in lap 3 was: Worrel; White; Cook; Beckman; Kaluzny; Moellering; Robinson; Parr; St. Peter; Landis; Sturgeon; Akins; and Lim.
Kaluzny had been having a dice with Moellering, Beckman, and Robinson for 4th place, then after turning left off the Chrysler service drive onto East Congress, Kaluzny was able to get clear of all three of his closest competitors and move into 4th place. Kaluzny then caught his teammate White at Beaubien Street. In the meanwhile, Worrel and Cook were 4 spaces in front of everyone else with about a half of a lap remaining to race.
With half a lap remaining, Worrel (red Ferrari in upper left) leads from Cook, White, Kaluzny, Moellering, Beckman, Robinson, Parr, Landis, Sturgeon, Akins, and Lim.
Kaluzny was now drag-racing White, both coveting 3rd place. They went side-by-side down Larned St at 140 mph, then both cars needed to slow to 80 mph for their next move through the slow left-turn onto Woodward. White attempted and failed an unmodified deceleration roll, which reduced his decel rating to 20 mph for the last half of the last lap (White also had to spend a precious wear to avoid spinning out then and there). Kaluzny was more fortunate; he successfully rolled a -1 deceleration attempt. Shortly after that, at that same series of corners on Woodward that connected Larned and West Jefferson, Parr made a forced pass (using a total of 5 wear to pay for the cornering costs) past Moellering. Moellering attempted to block, but Parr did make the pass and got into 6th place (Parr was 8th when he began that move — he also passed Beckman). But the action wasn’t done at that corner — Landis followed Parr through to also pass Moellering and Beckman, although Landis only paid 3 wear total.
The race is heating up. Worrel still leads Cook, the Marlboro McLarens of Kaluzny (inside) and White (cornering arrow) are right behind Cook, and Robinson is right behind the McLarens. Parr (orange car) and Landis (green/yellow car) have both just forced-passed Moellering (blue/white car) and Beckman (red car). Behind trail Sturgeon, Akins, St. Peter, and Lim.
At that Washington Blvd. left-turn, Worrel had 2 wear remaining; Cook had 3 wear; Kaluzny had 6 wear; White had 3 wear; and Robinson had 5 wear left. It was shaping up to be an exciting finish.
It was then Beckman’s gamble to attempt a forced-pass of Parr at the Washington Boulevard turn. Beckman succeeded in making the pass despite Parr’s blocking attempt, but then Beckman was going fast enough to have to use 2 wear and roll a -2 chance through the actual corner. Unfortunately for the Ferrari flag-waving tifosi in attendance at the race, Beckman rolled an ’11’ and so he crashed, becoming the first DNF of the race.
Beckman (upside down Ferrari at top center) crashes at Washington Blvd. The yellow caution flag waves. Robinson’s Williams has taken 4th place from White’s Mclaren.
Worrel got through the left-hand turn to head through the Goodyear Tunnel for the last time without undue cause for alarm. Cook make a brilliant blocking move by ending his turn in the middle of that corner, thereby preventing any easy passes of him. Kaluzny pulled up short of the corner, trying to preserve his last few wear. Then Robinson took the inside of the corner and briefly 3rd place, although he was off the cornering arrow. (Afterwards, Kaluzny remarked that he might have been able to nip Cook for 2nd if Kaluzny had used all of his wear to go around the outside of that corner. With Cook’s car only having a 20 mph acceleration, Kaluzny may have been able to out-drag Cook to the line.)
Worrel held a 3-space lead over Cook at the right-left turn after the Goodyear Tunnel. Kaluzny had gone through the left-corner into the tunnel faster than Robinson, so Kaluzny was right behind Cook (with Robinson right behind Kaluzny). Then came White, Landis, Moellering, St. Peter (who had almost unnoticed passed his teammate Parr), Parr, Sturgeon, Akins, and Lim.
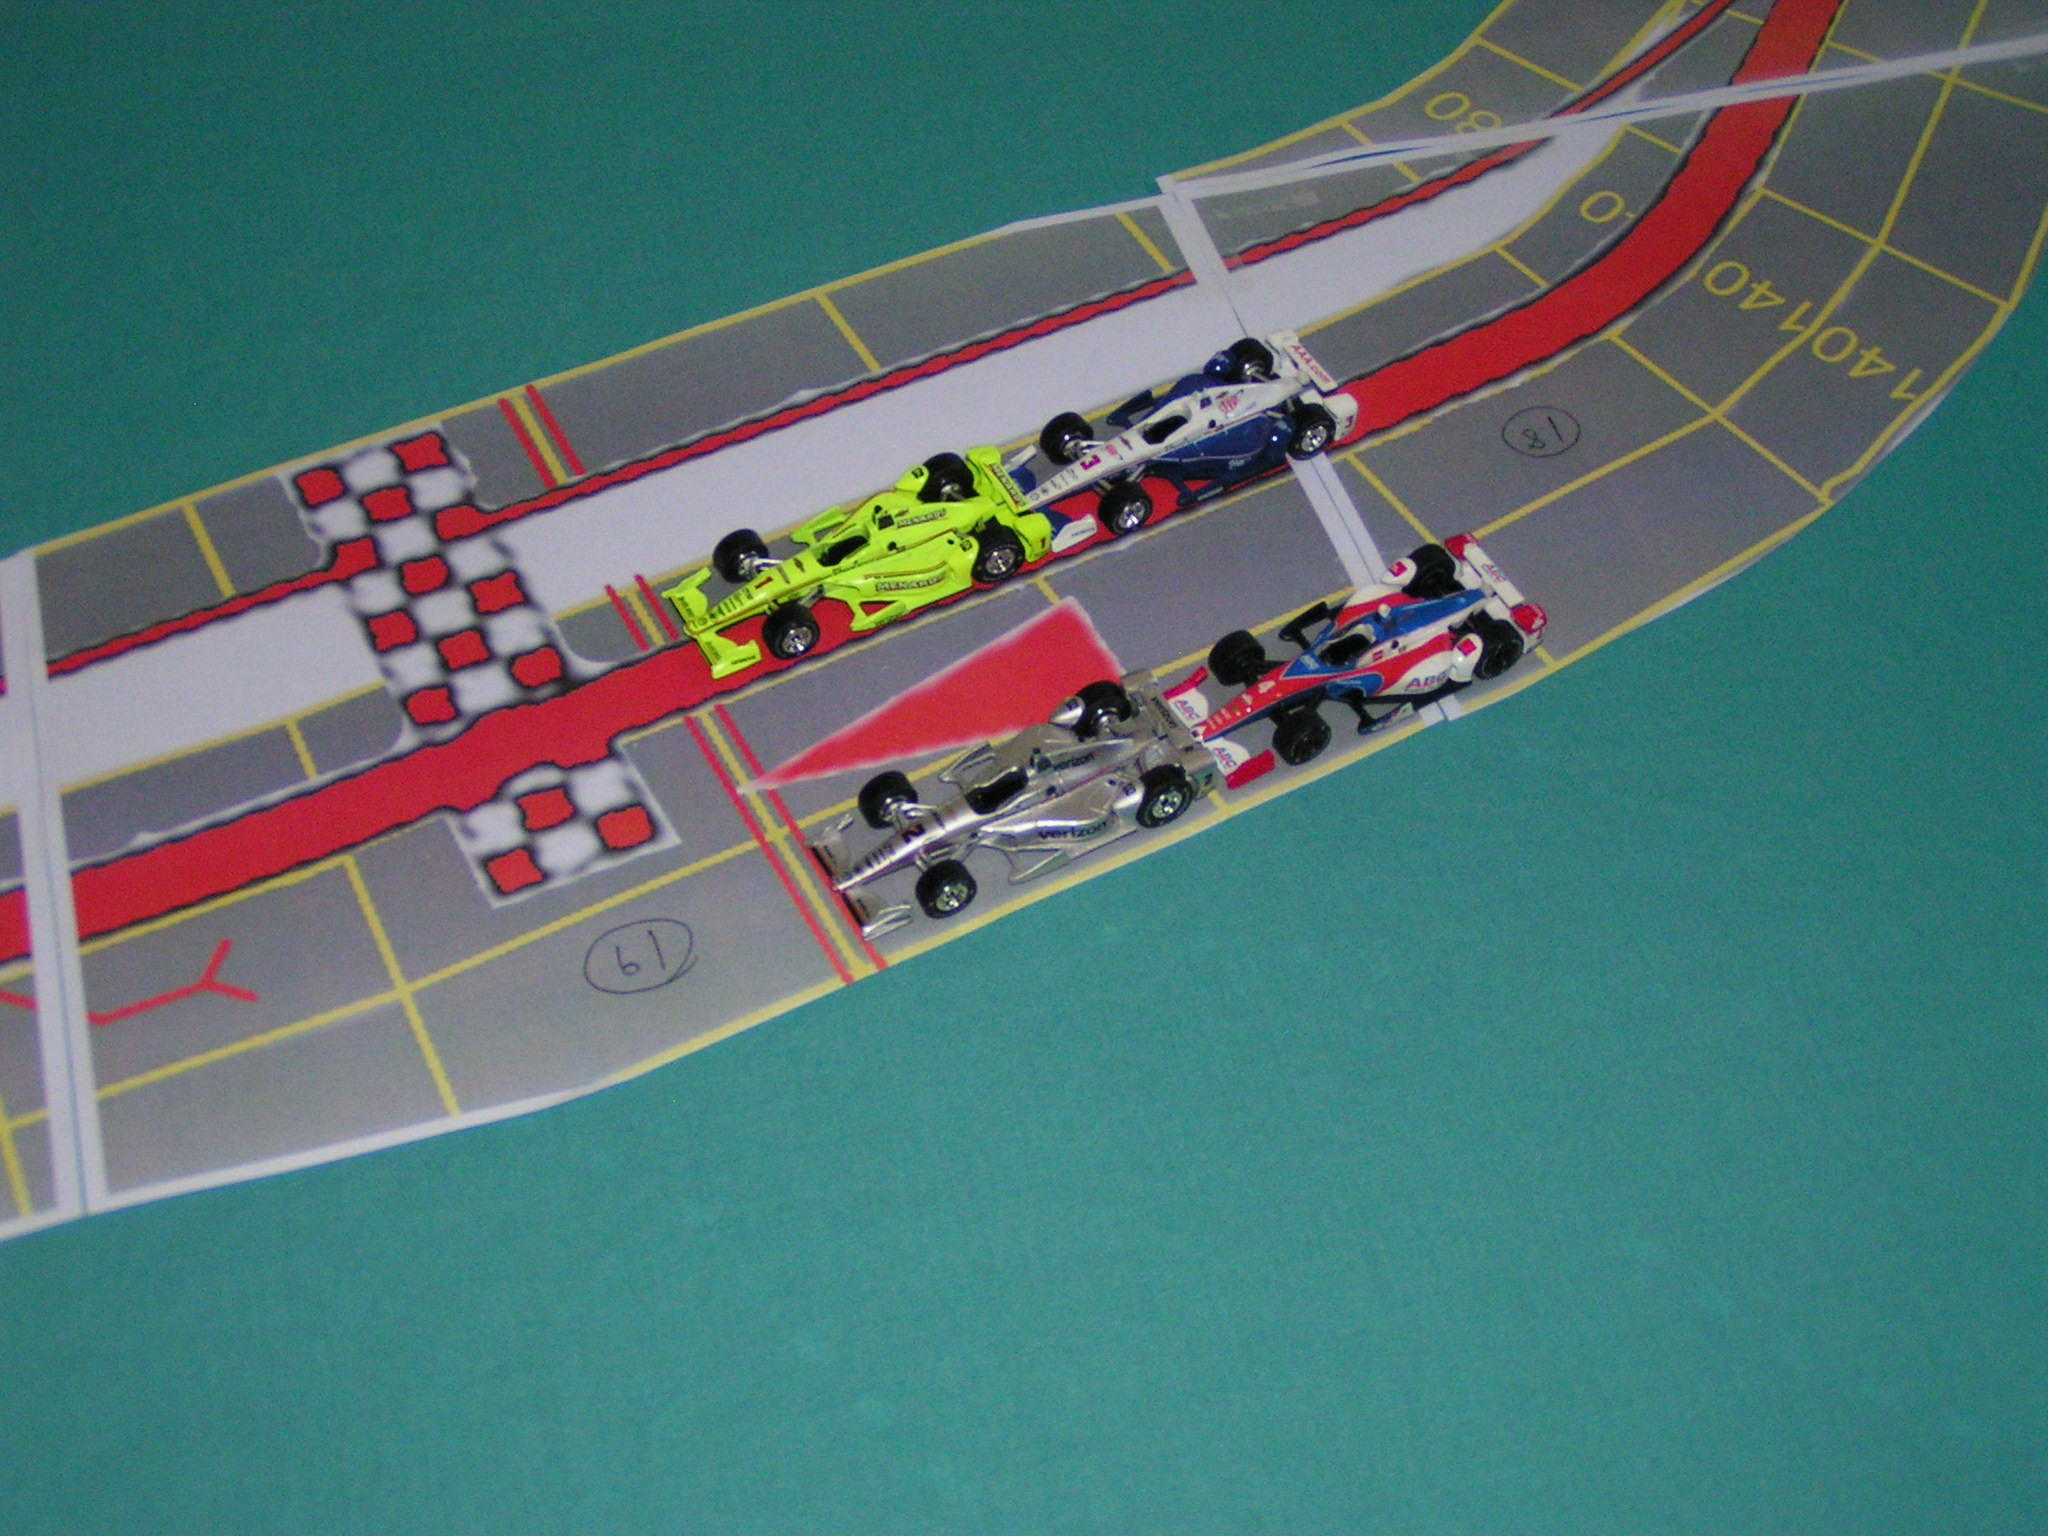
Finally, through the chicane for the final time, and it was Worrel just holding off Cook to win by 1 space. Kaluzny finished 2 spaces behind Cook. Robinson had to slow just before the chicane, but was out of wear and skill; he threw an unmodifed deceleration roll, failed the roll, and so spun just before the chicane. White tried another -1 deceleration roll before the chicane, failed the roll, and so became the 2nd retirement of the race with brake failure.
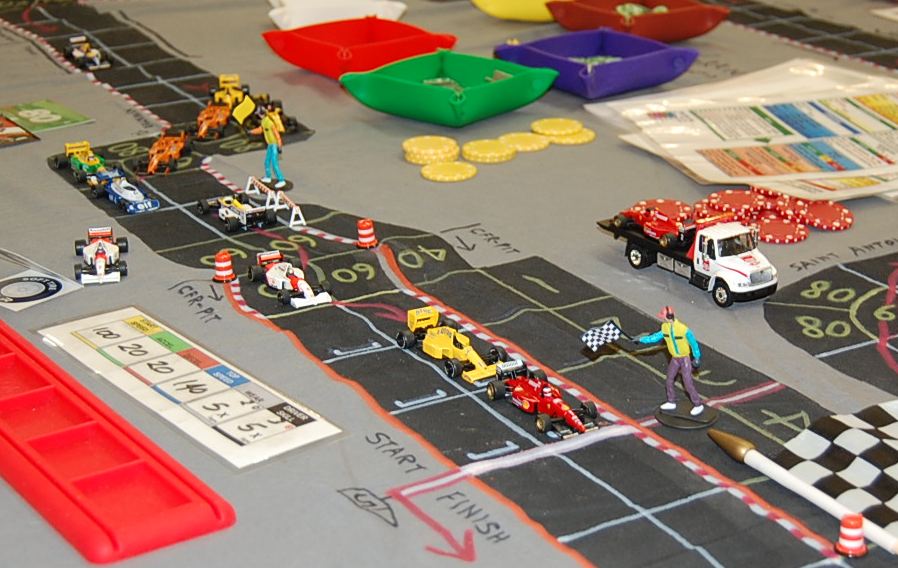
Worrel wins at Detroit! It was his 3rd win in five races in 2019. Cook is 2nd, and Kaluzny is 3rd. Robinson (backwards-facing car at the barricades) spun in front of the chicane, and White has parked his brakeless McLaren to the side of the track.
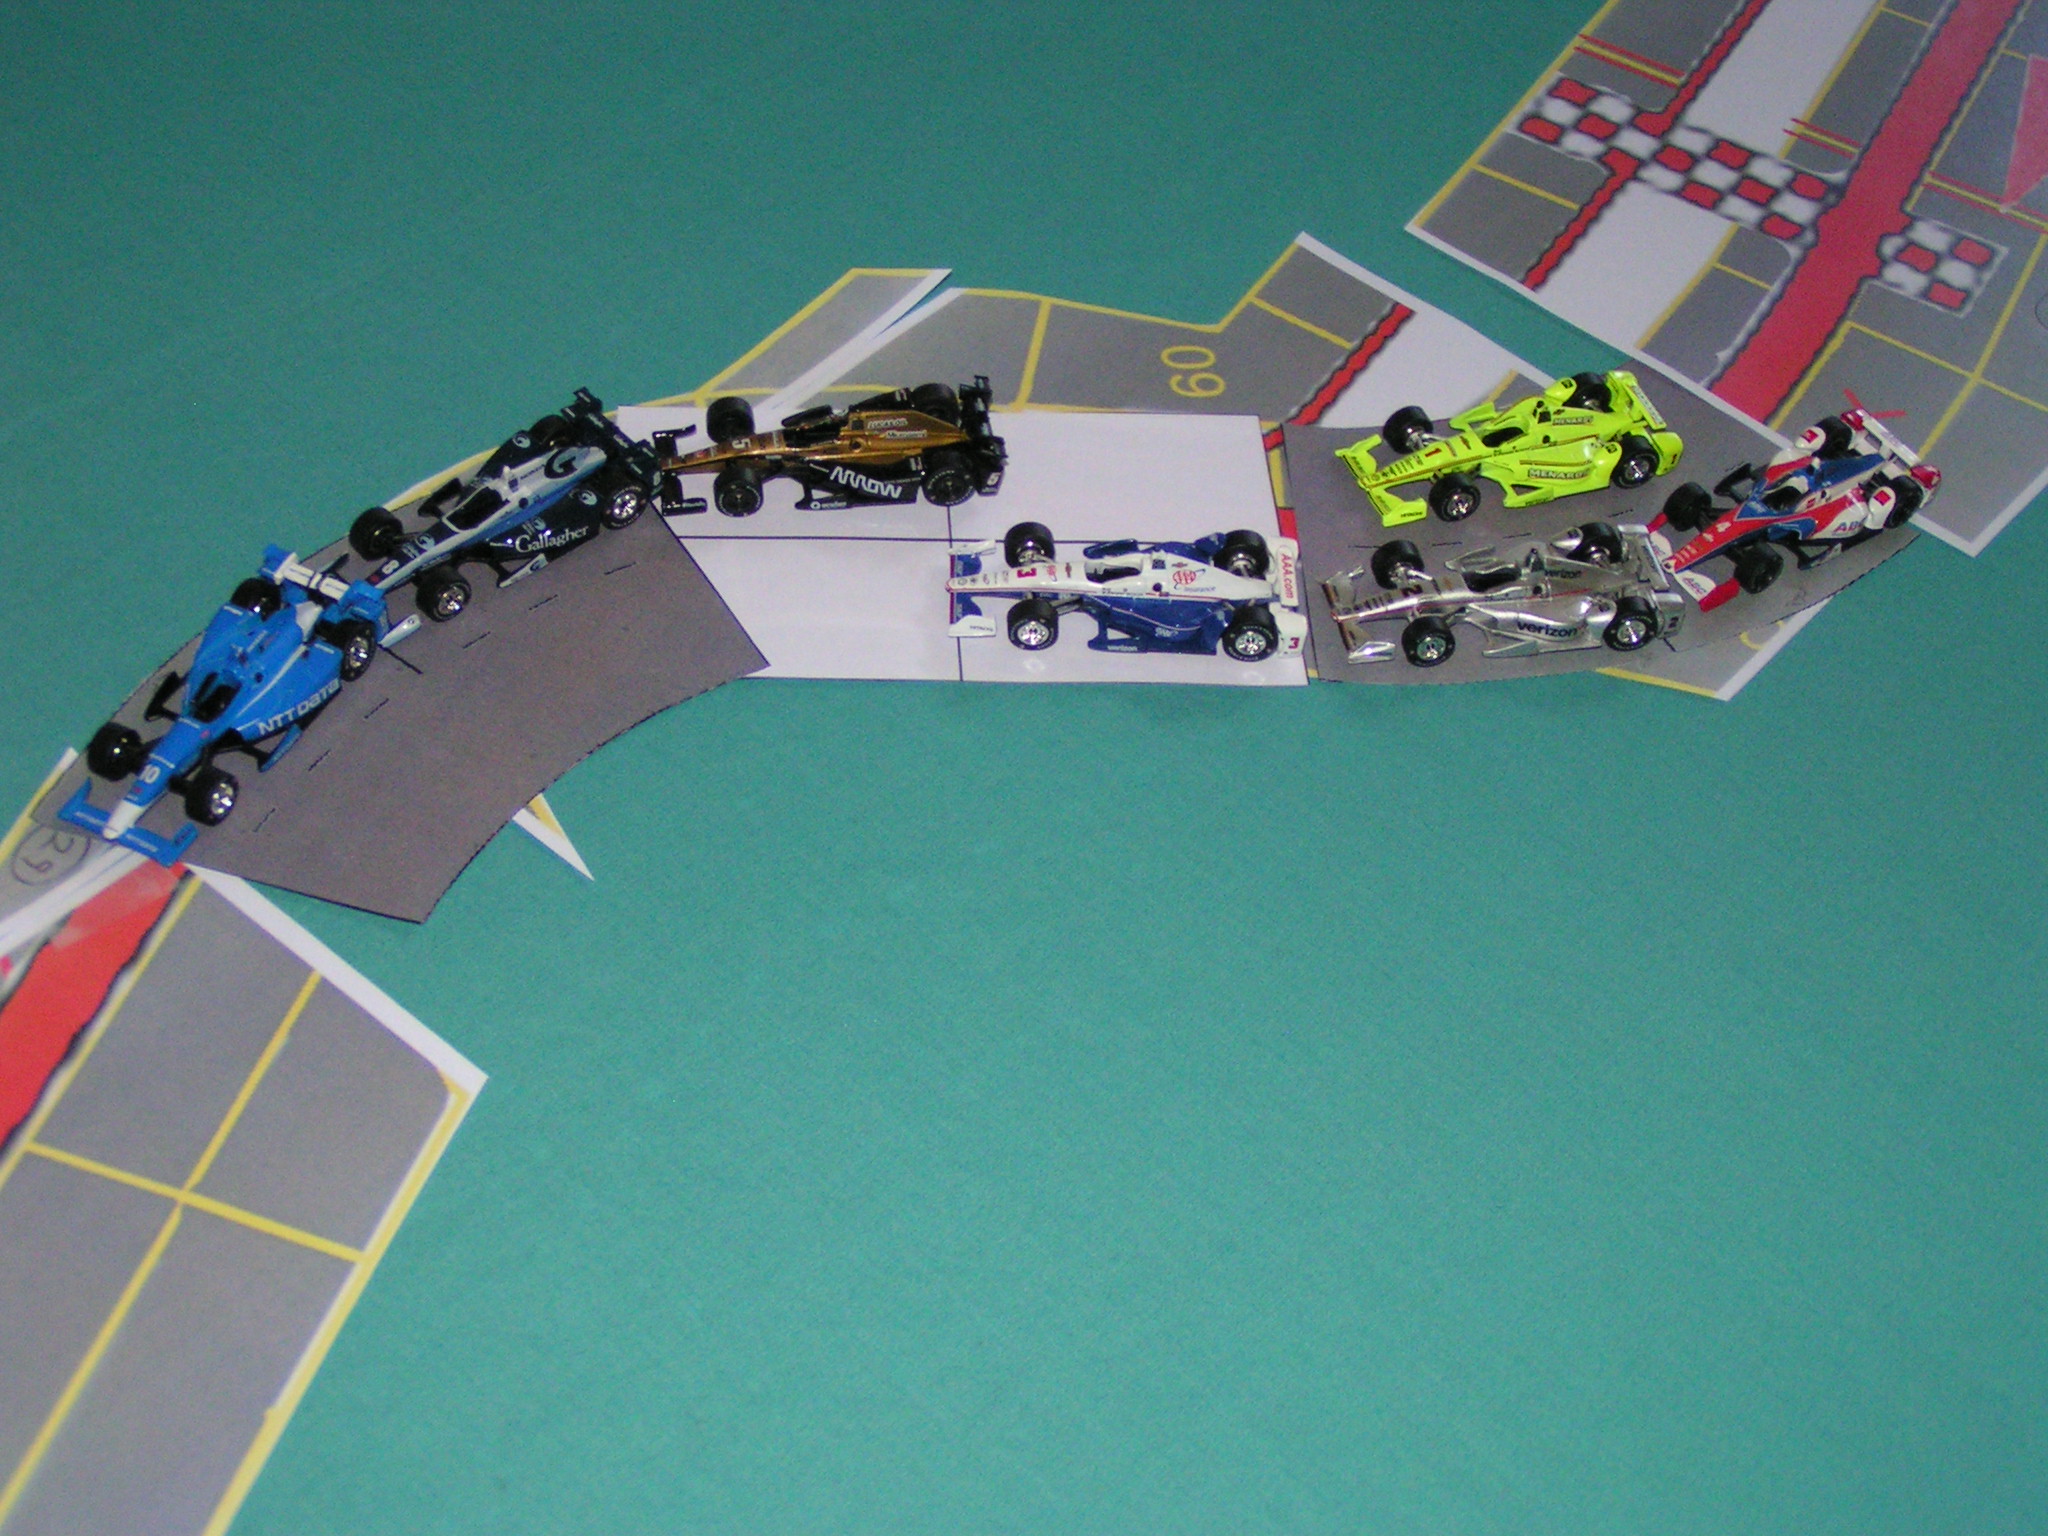
But the carnage was not yet complete. Robinson only moved at 40 mph while recovering from his spin. That left him on the last space of the chicane, sitting right on top of the cornering arrow. (For those folks who don’t know the rules to Championship Formula Racing, the cornering arrows give a car a 20 mph bonus through the corners, so it is beneficial to use the arrows as much as you can.) St. Peter ended his move next to Robinson, and right behind were Landis, Parr, Akins, Sturgeon, and Lim. It was while trying to slow for the chicane that Moellering’s brakes gave out, making him the 3rd DNF of the race. He had failed an unmodified deceleration roll. (As Maxwell Smart would have said, “He came this close to finishing the race!”)
At the mad scramble to the line, Robinson was able to hold on to 4th place, and St. Peter was 5th. Landis finished 6th, and beside him Parr finished 7th. Sturgeon was able to out-drag Akins down the start/finish straight to finish 8th, relegating Akins to 9th. Lim came home in 10th.

The peloton finishes the race at Detroit.
The official finishing order at the 2019 Michigan Grand Prix: 1st-Bill Worrel (0); 2nd-Mike Cook (0); 3rd-Garry Kaluzny (+1); 4th-Jim Robinson (+5); 5th-Mike St. Peter (+5); 6th-Jim Landis (+7); 7th-Aric Parr (+4); 8th-Gary Sturgeon (0); 9th-Mickey Akins (+3); 10th-Greg Lim (-3). Three DNFs were classified: 11th-Mark Moellering, brakes (-6); 12th-Richard White, brakes (-6); and 13th-Jack Beckman, accident (-10).
Aftermath
Points awarded at the 2019 Michigan Grand Prix: Worrel 15; Cook 12; Kaluzny 10; Robinson 8; St. Peter 6; Landis 4; Parr 2; Sturgeon 1.
Team points awarded at the 2019 Michigan Grand Prix: Ferrari 15; Camel Lotus 13; Marlboro McLaren 10; Williams 8; McLaren 8; Benetton 4.
The points standings of the 2019 CFR-Detroit season (after 5 of 10 races):
Place Driver (Car)                    Points
  1   Mike Cook (Camel Lotus)           47
  2   Garry Kaluzny (Marlboro McLaren)  46
  3   Bill Worrel (Ferrari)             45
  4   Richard White (Marlboro McLaren)  36
  5T  Jim Robinson (Williams)           24
  5T  Aric Parr (McLaren)               24
  7   Mickey Akins (Fiat Ferrari)       15
  8   Mark Moellering (Tyrrell)         14
  9T  Greg Lim (Williams)                8
  9T  Mike St. Peter (McLaren)           8
  9T  Jim Landis (Benetton)              8
  9T  Gary Sturgeon (Camel Lotus)        8
 13   Joel Lauder (Tyrrell)              4
 14   Jack Beckman (Ferrari)             2
 15   Brian Robinson (Benetton)          1
Drivers can only count their 7 best finishes out of the 10 races.
The team championship standings of the 2019 CFR-Detroit season (after 5 of 10 races):
Place Team              Points
  1   Marlboro McLaren    82
  2   Camel Lotus         55
  3   Ferrari             47
  4T  McLaren             32
  4T  Williams            32
  6   Tyrrell             18
  7   Fiat Ferrari        15
  8   Benetton             5
  9   Renault              0
Teams can only count their 2 best finishing cars from each race.
The 6th race of the 2019 CFR-Detroit racing season is on Saturday, August 1o, at RIW Hobbies & Games in Livonia, Michigan. Qualifying begins promptly at 12:45 pm, so all drivers who wish to compete are asked to arrive no later than 12:15 pm so they may set up their car’s specifications. The race is the Italian Grand Prix, racing on the CFR design of the Monza track.


