Posts Tagged ‘1:64 scale’

CFR-Detroit 2018 Championship race – South African Grand Prix

Tuesday, February 5th, 2019

The eighth and final race of the 2018 CFR-Detroit season was held at Pandemonium Games in Garden City, Michigan, on Friday, December 14, 2018. Fifteen drivers contested the race, with five of those drivers having a chance to win the points championship. When all was said and done, Bill Worrel finally drove to his first race win in CFR, and that earned him the championship over Mike Cook, Garry Kaluzny, Richard White, and Jack Beckman. Finishing 2nd at Kyalami was Richard White, and Gary Sturgeon finished on the podium in 3rd place after passing Kaluzny just before the finish line.

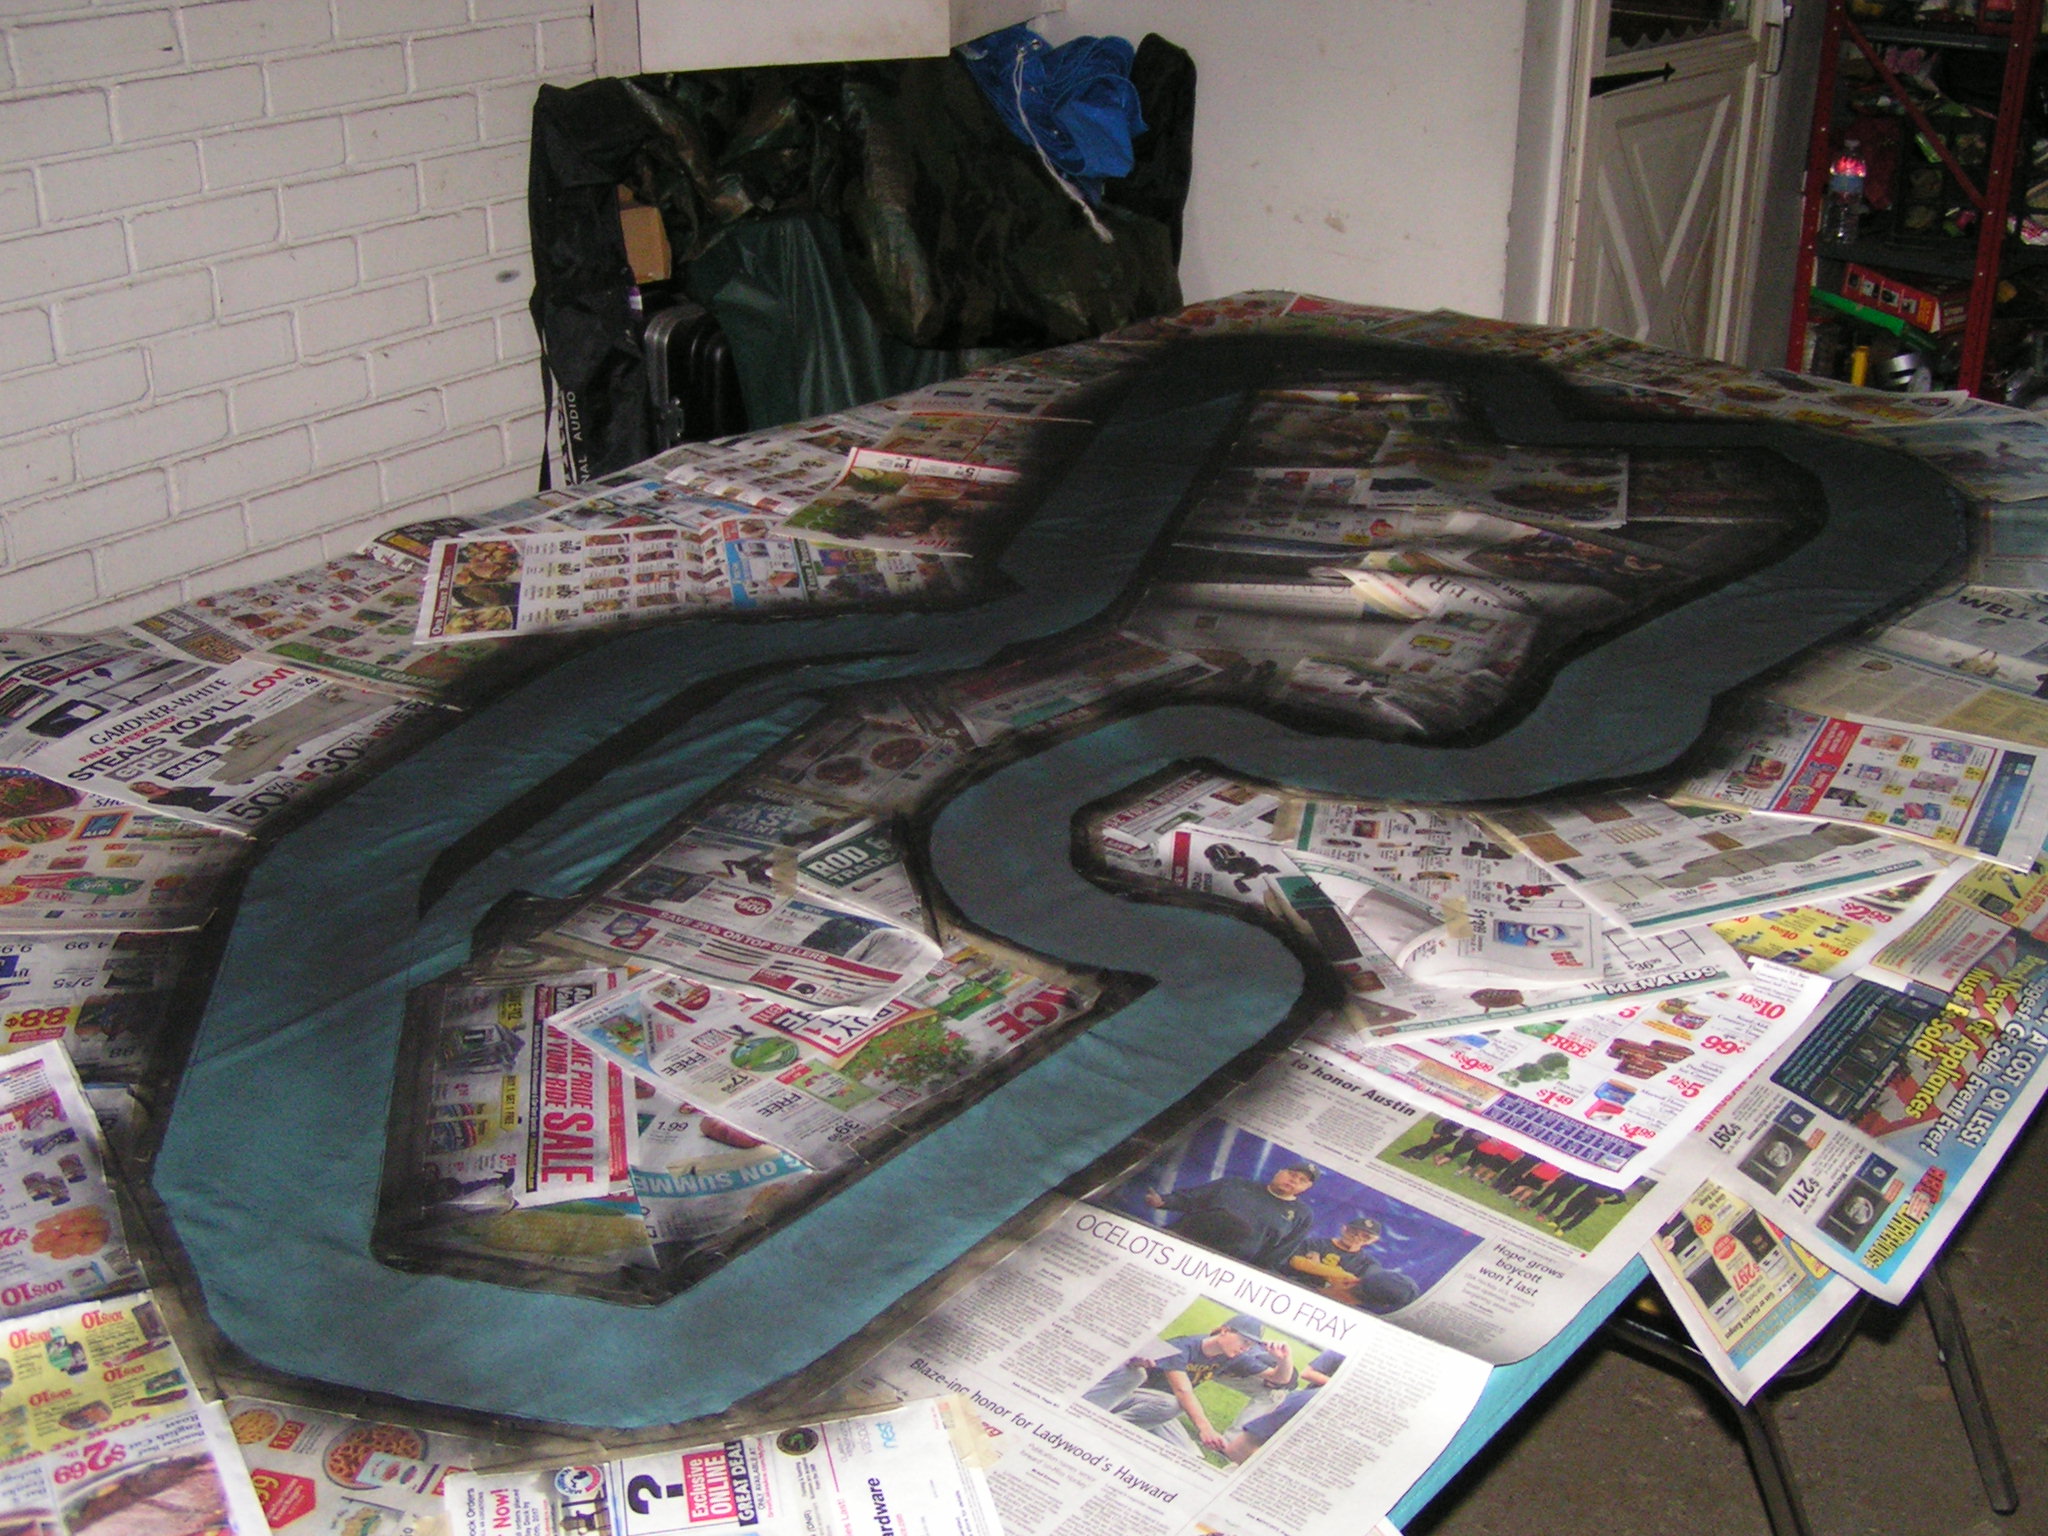
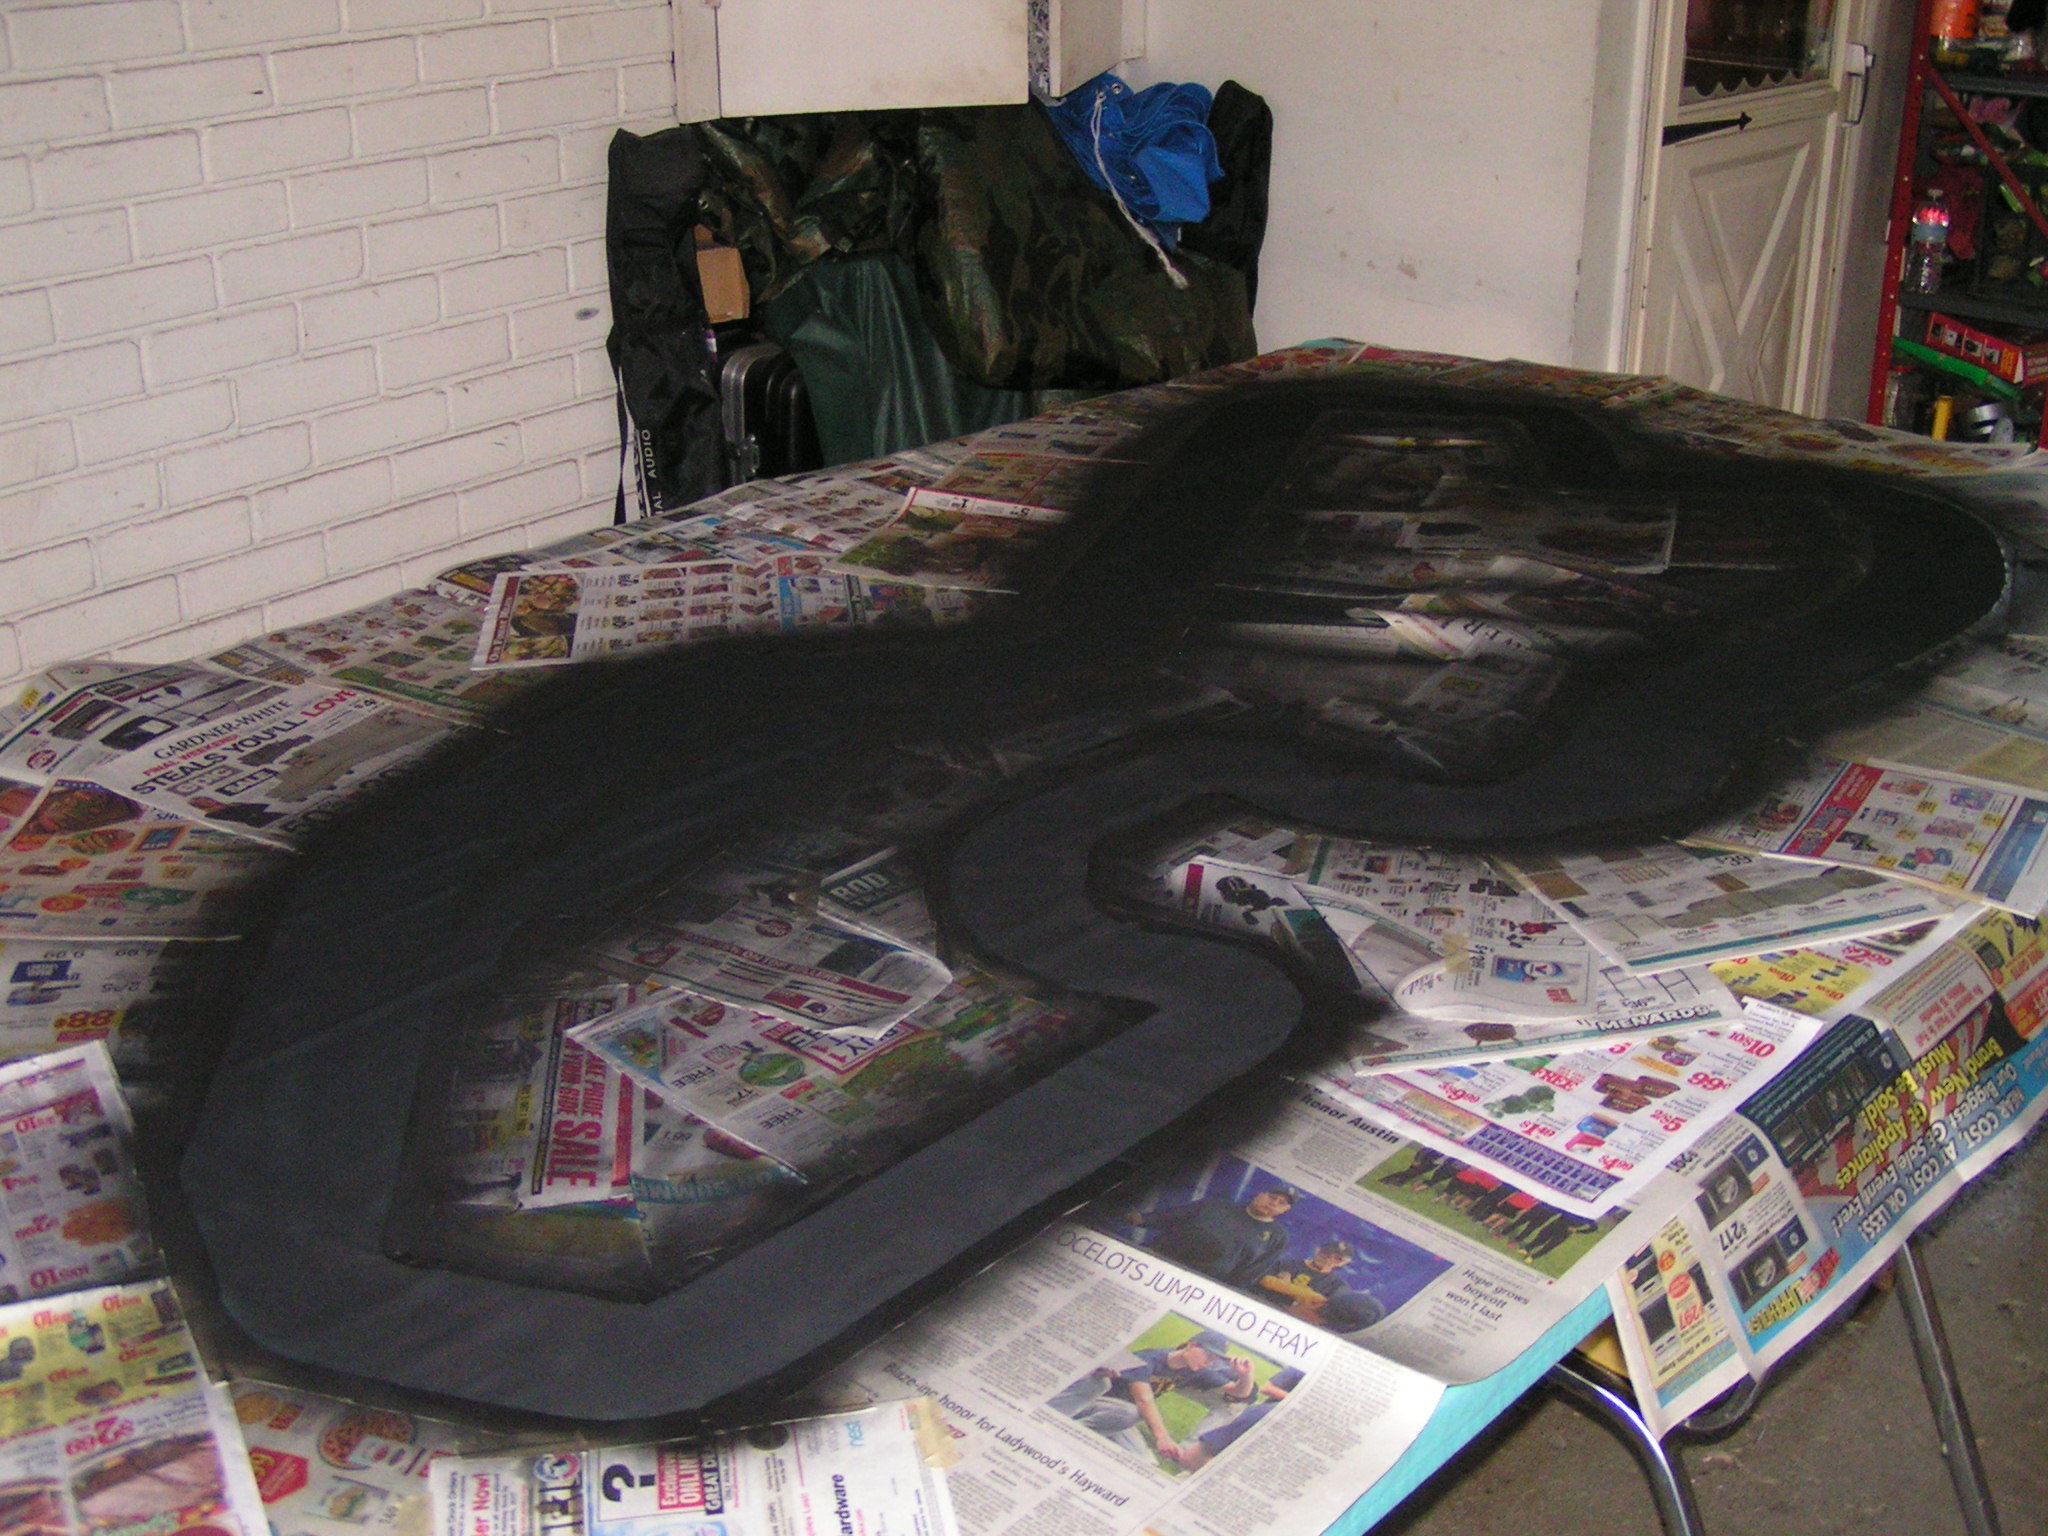
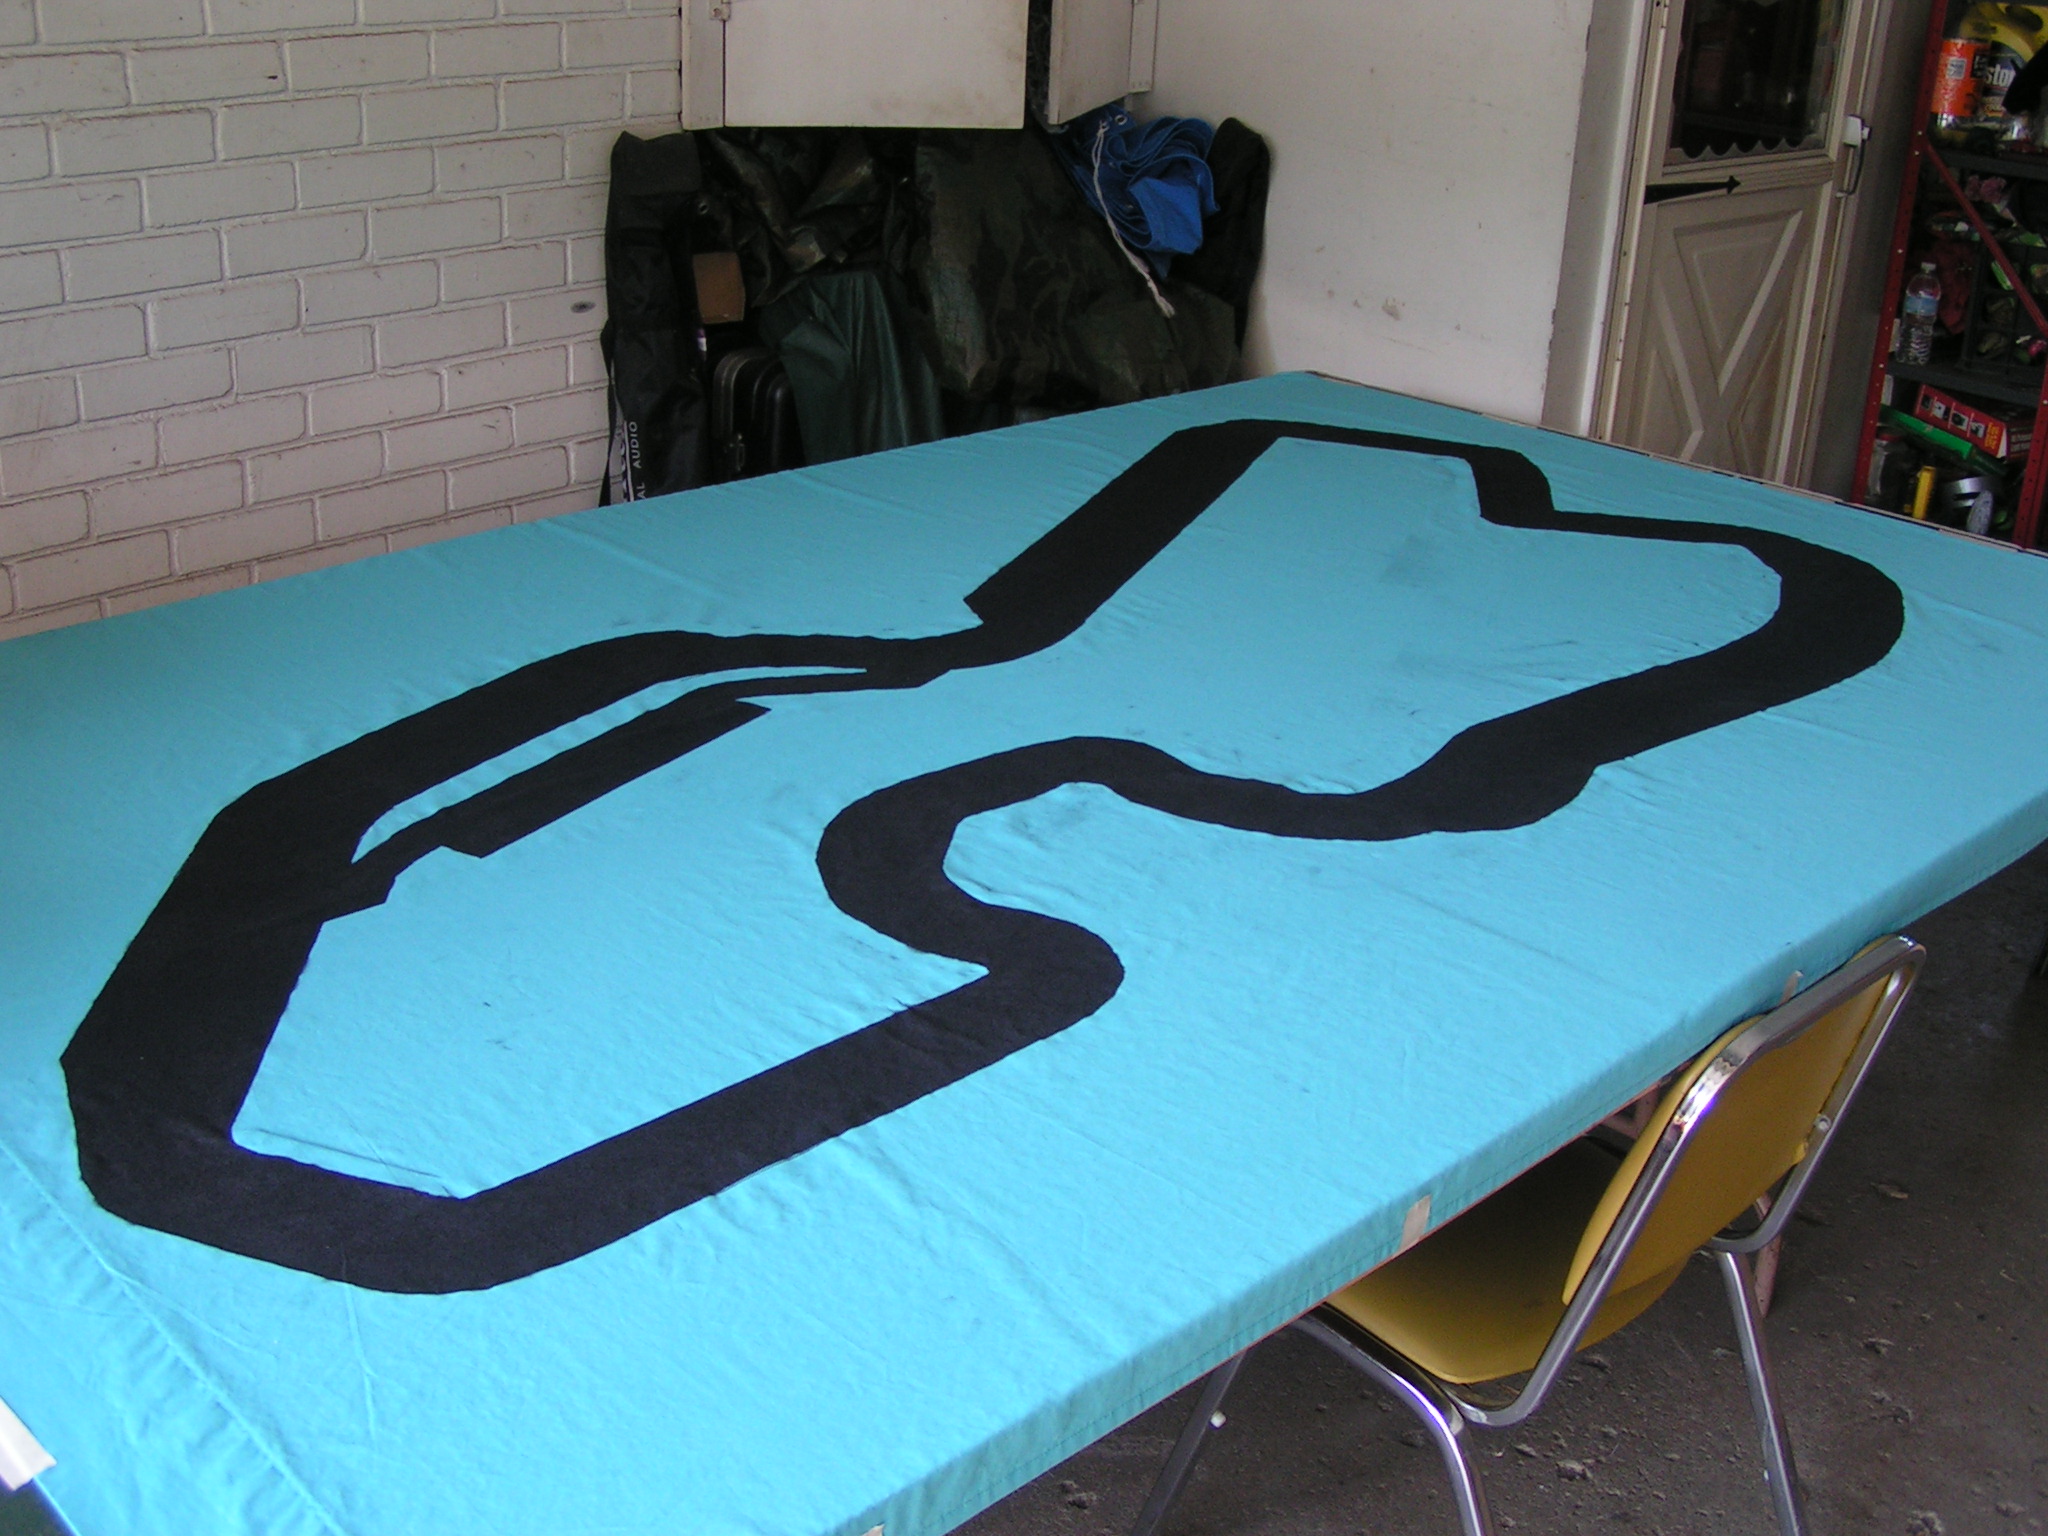
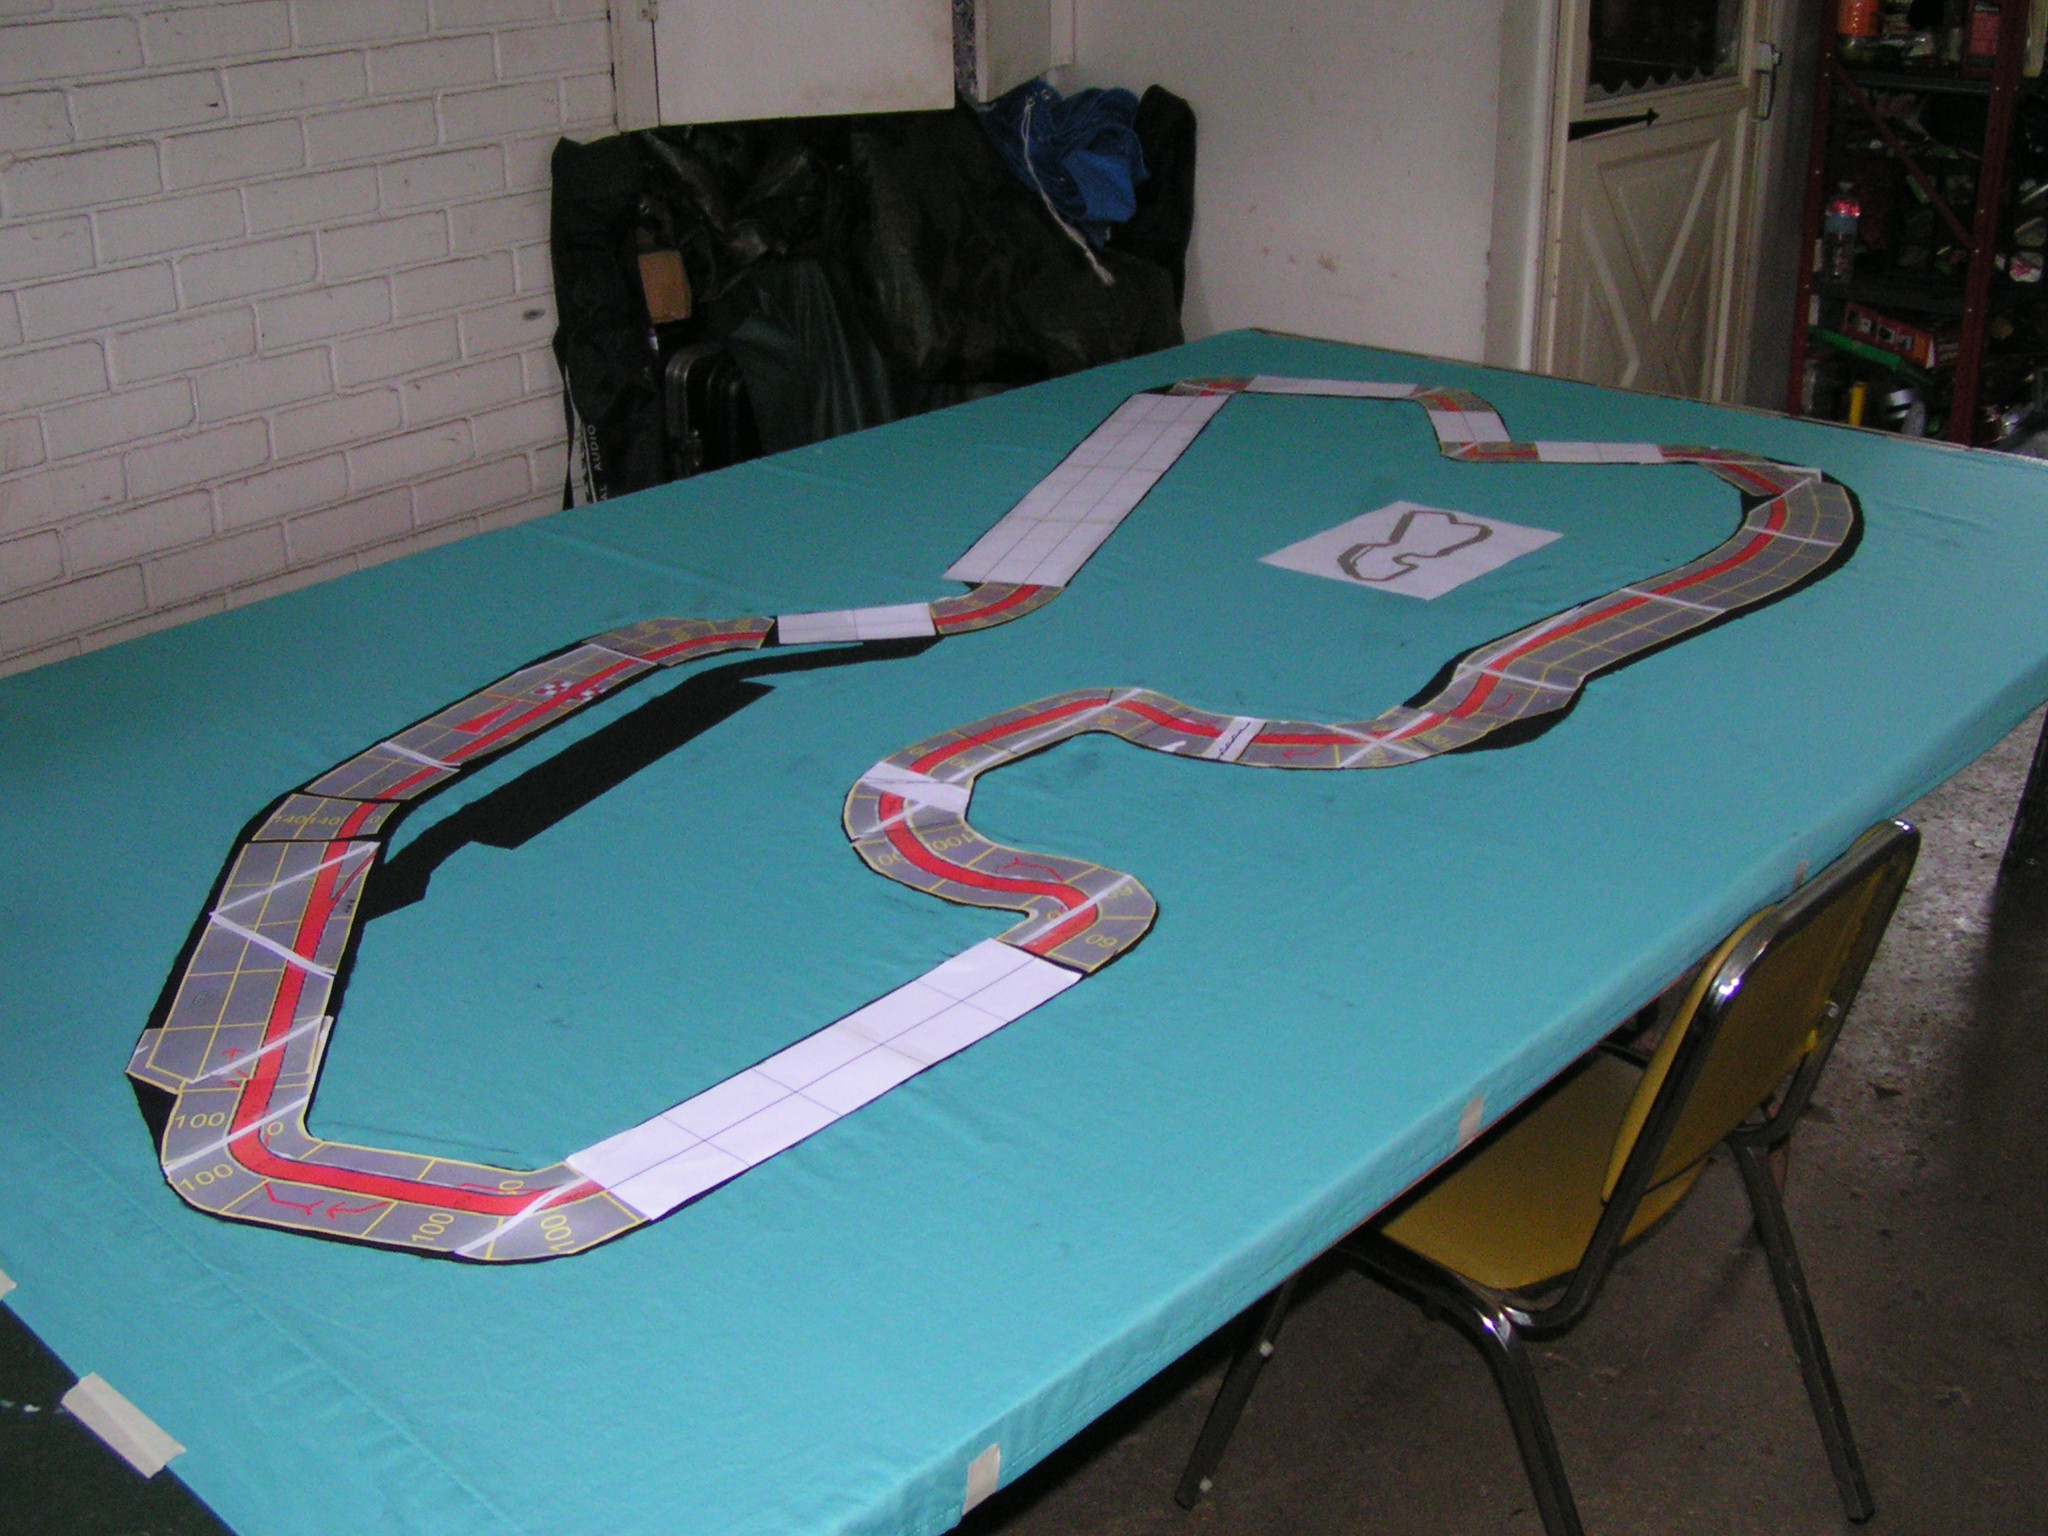
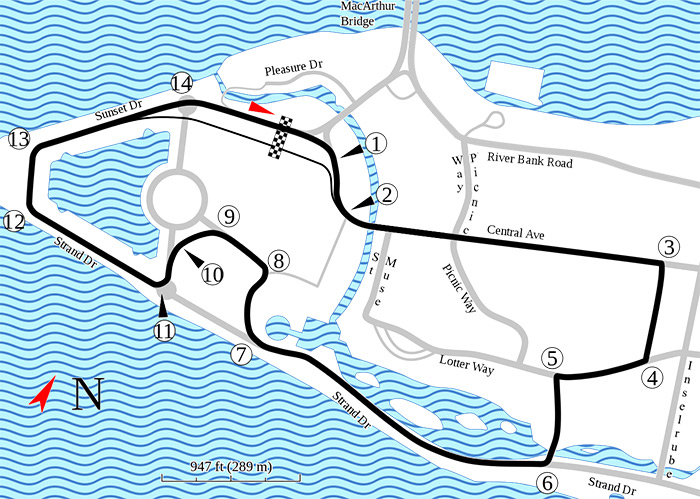
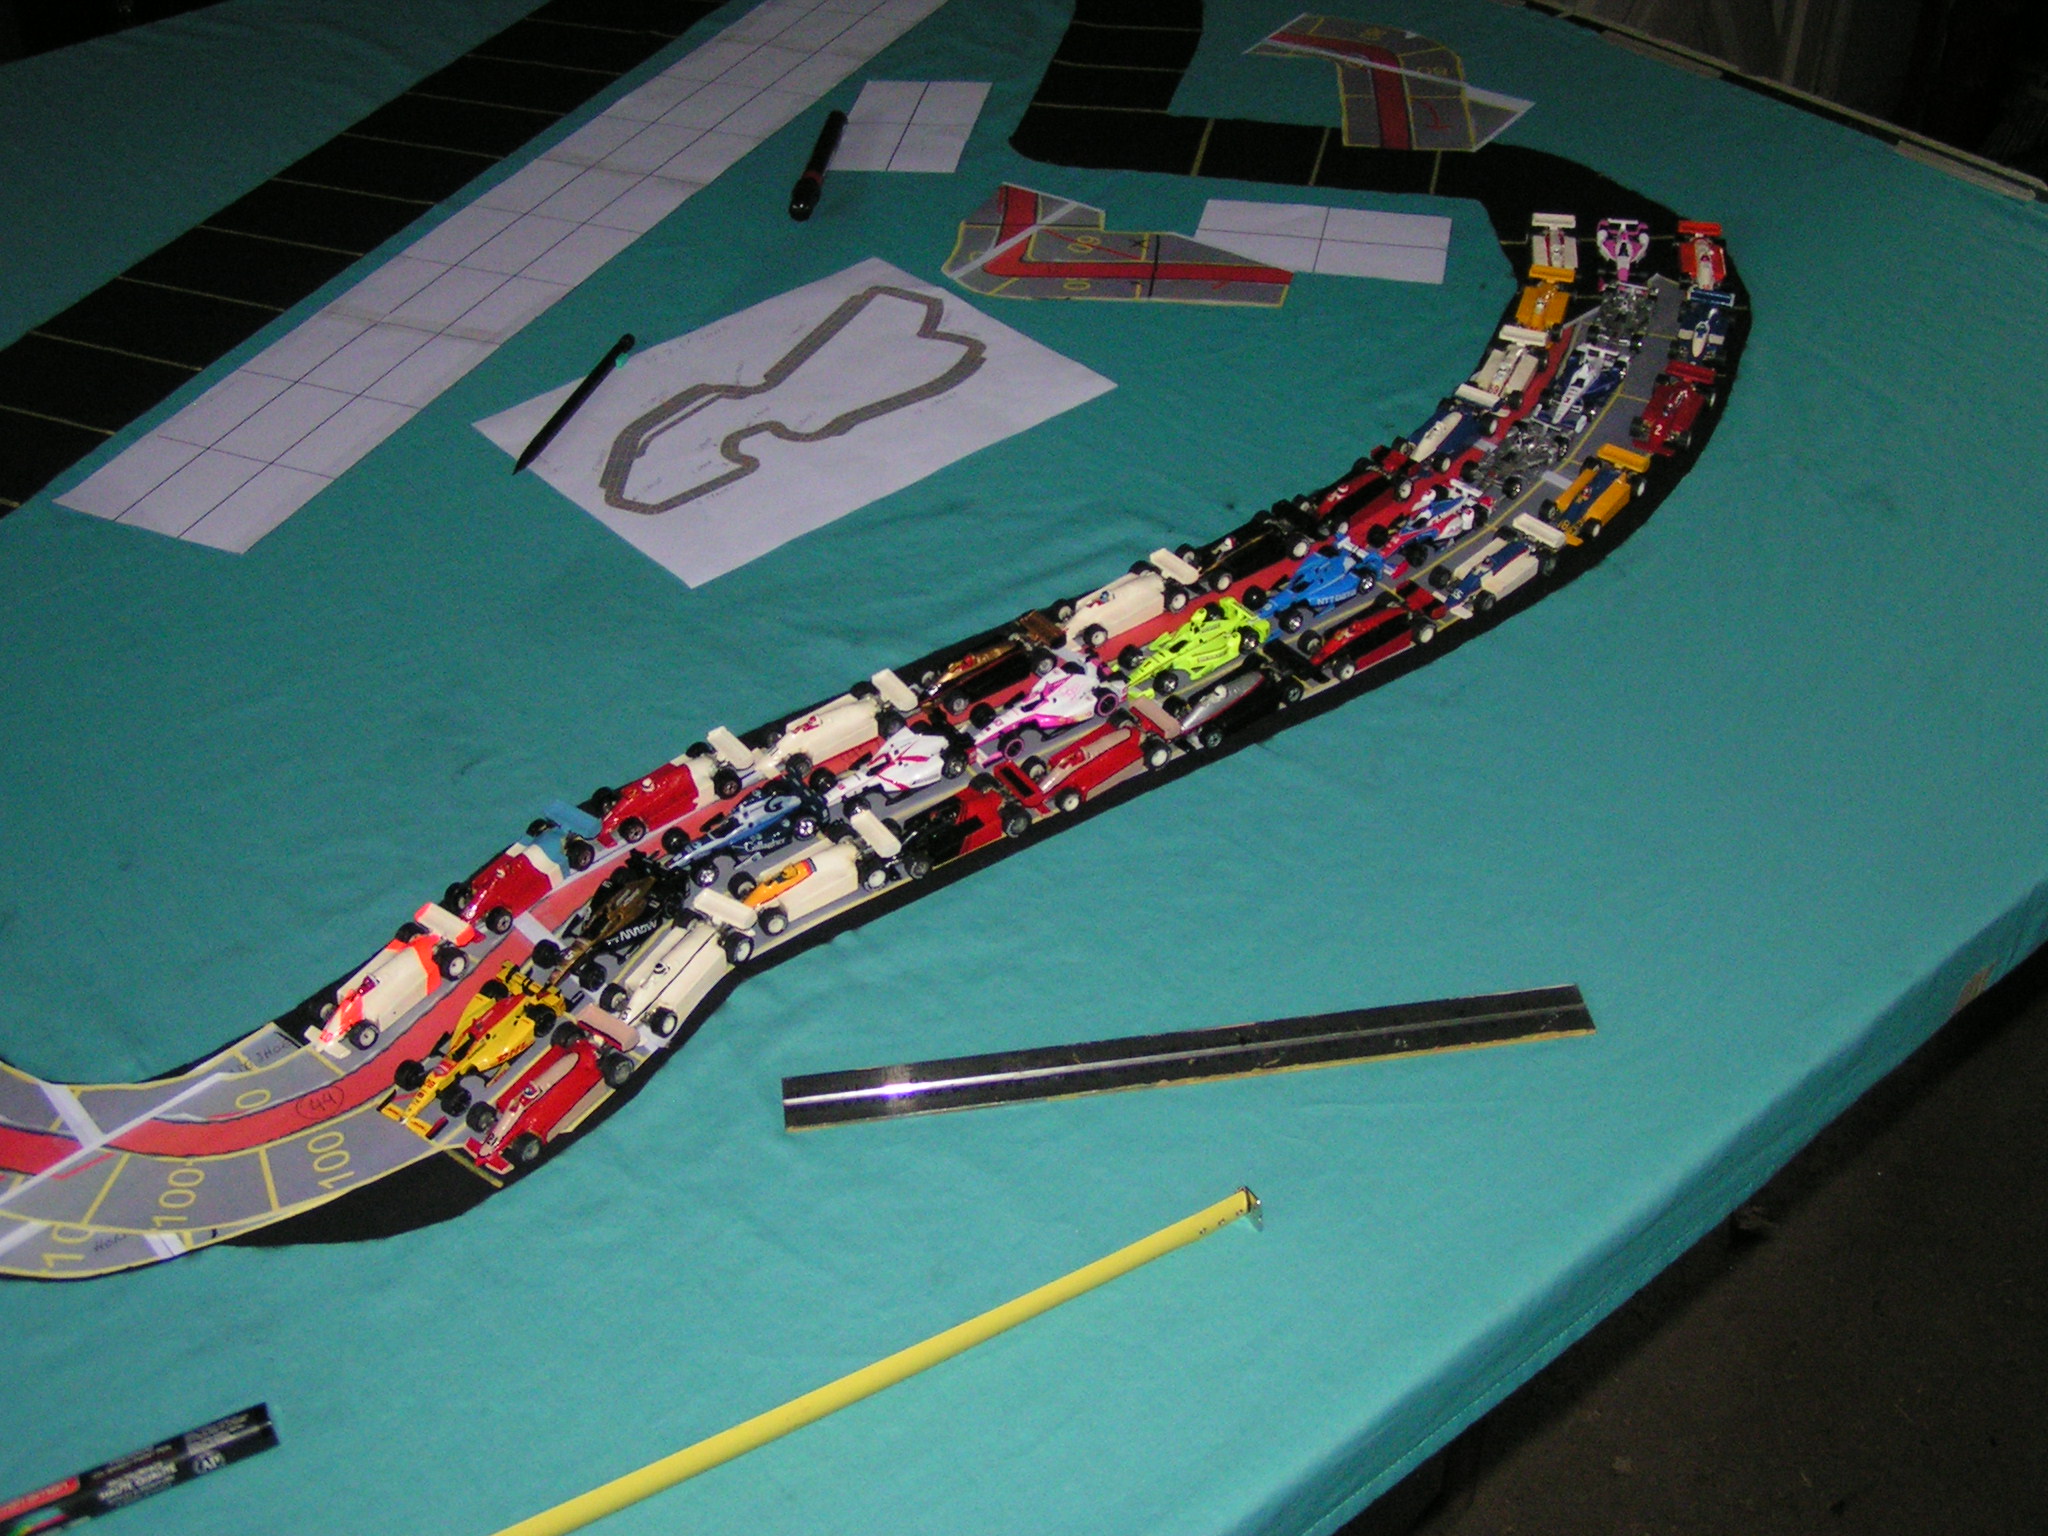
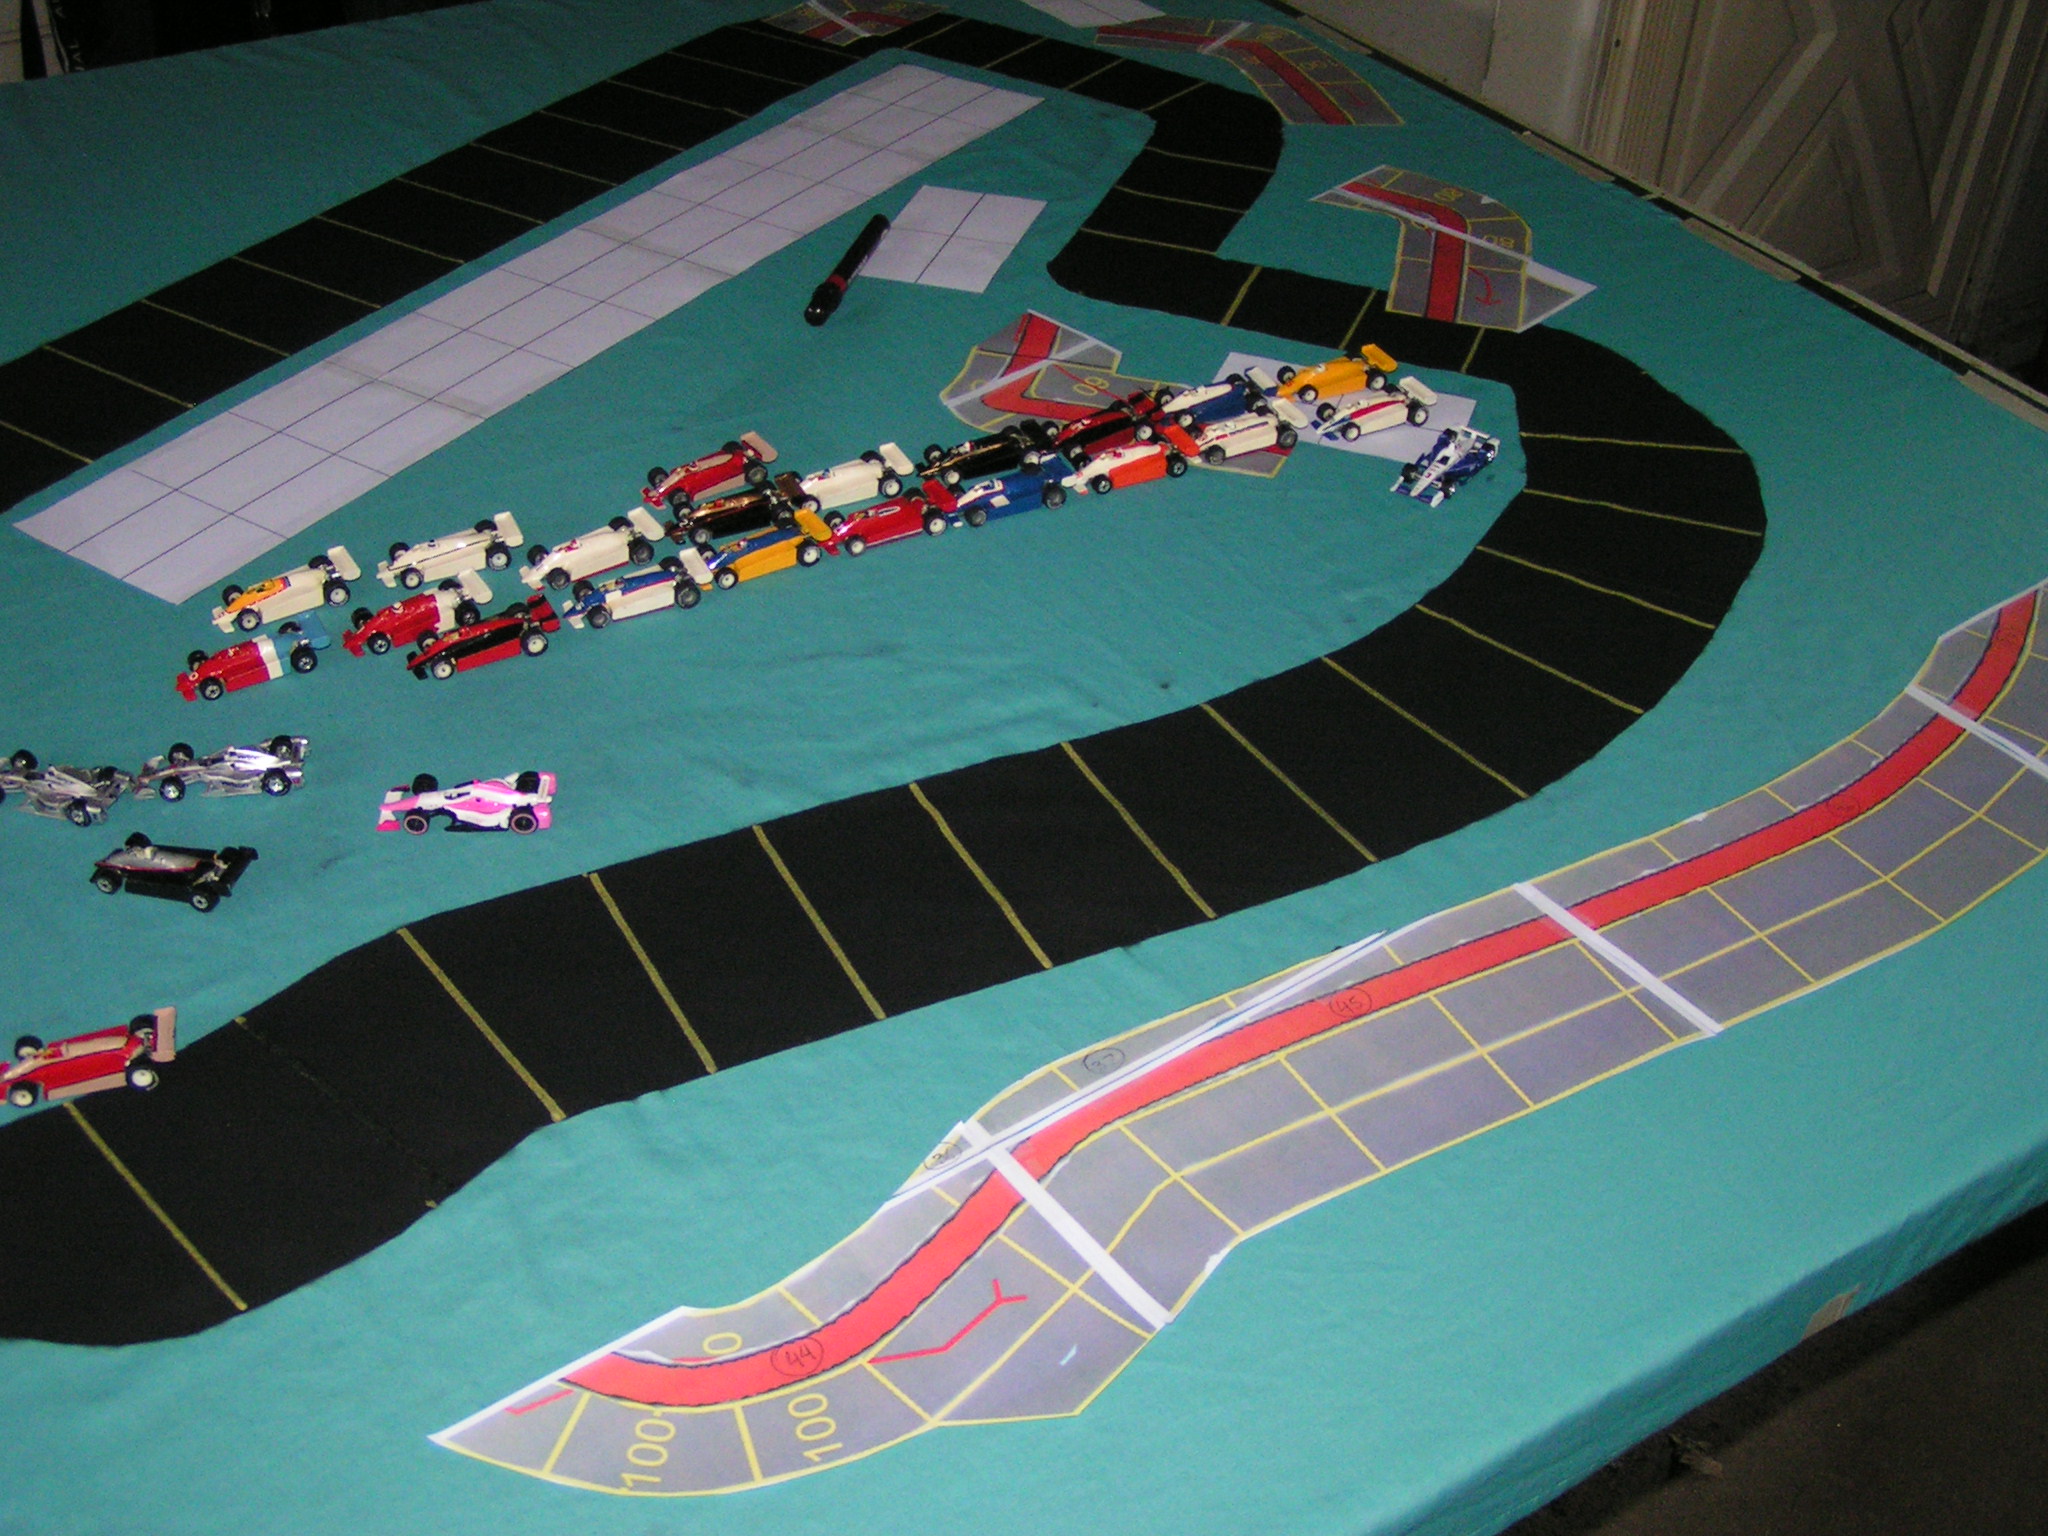
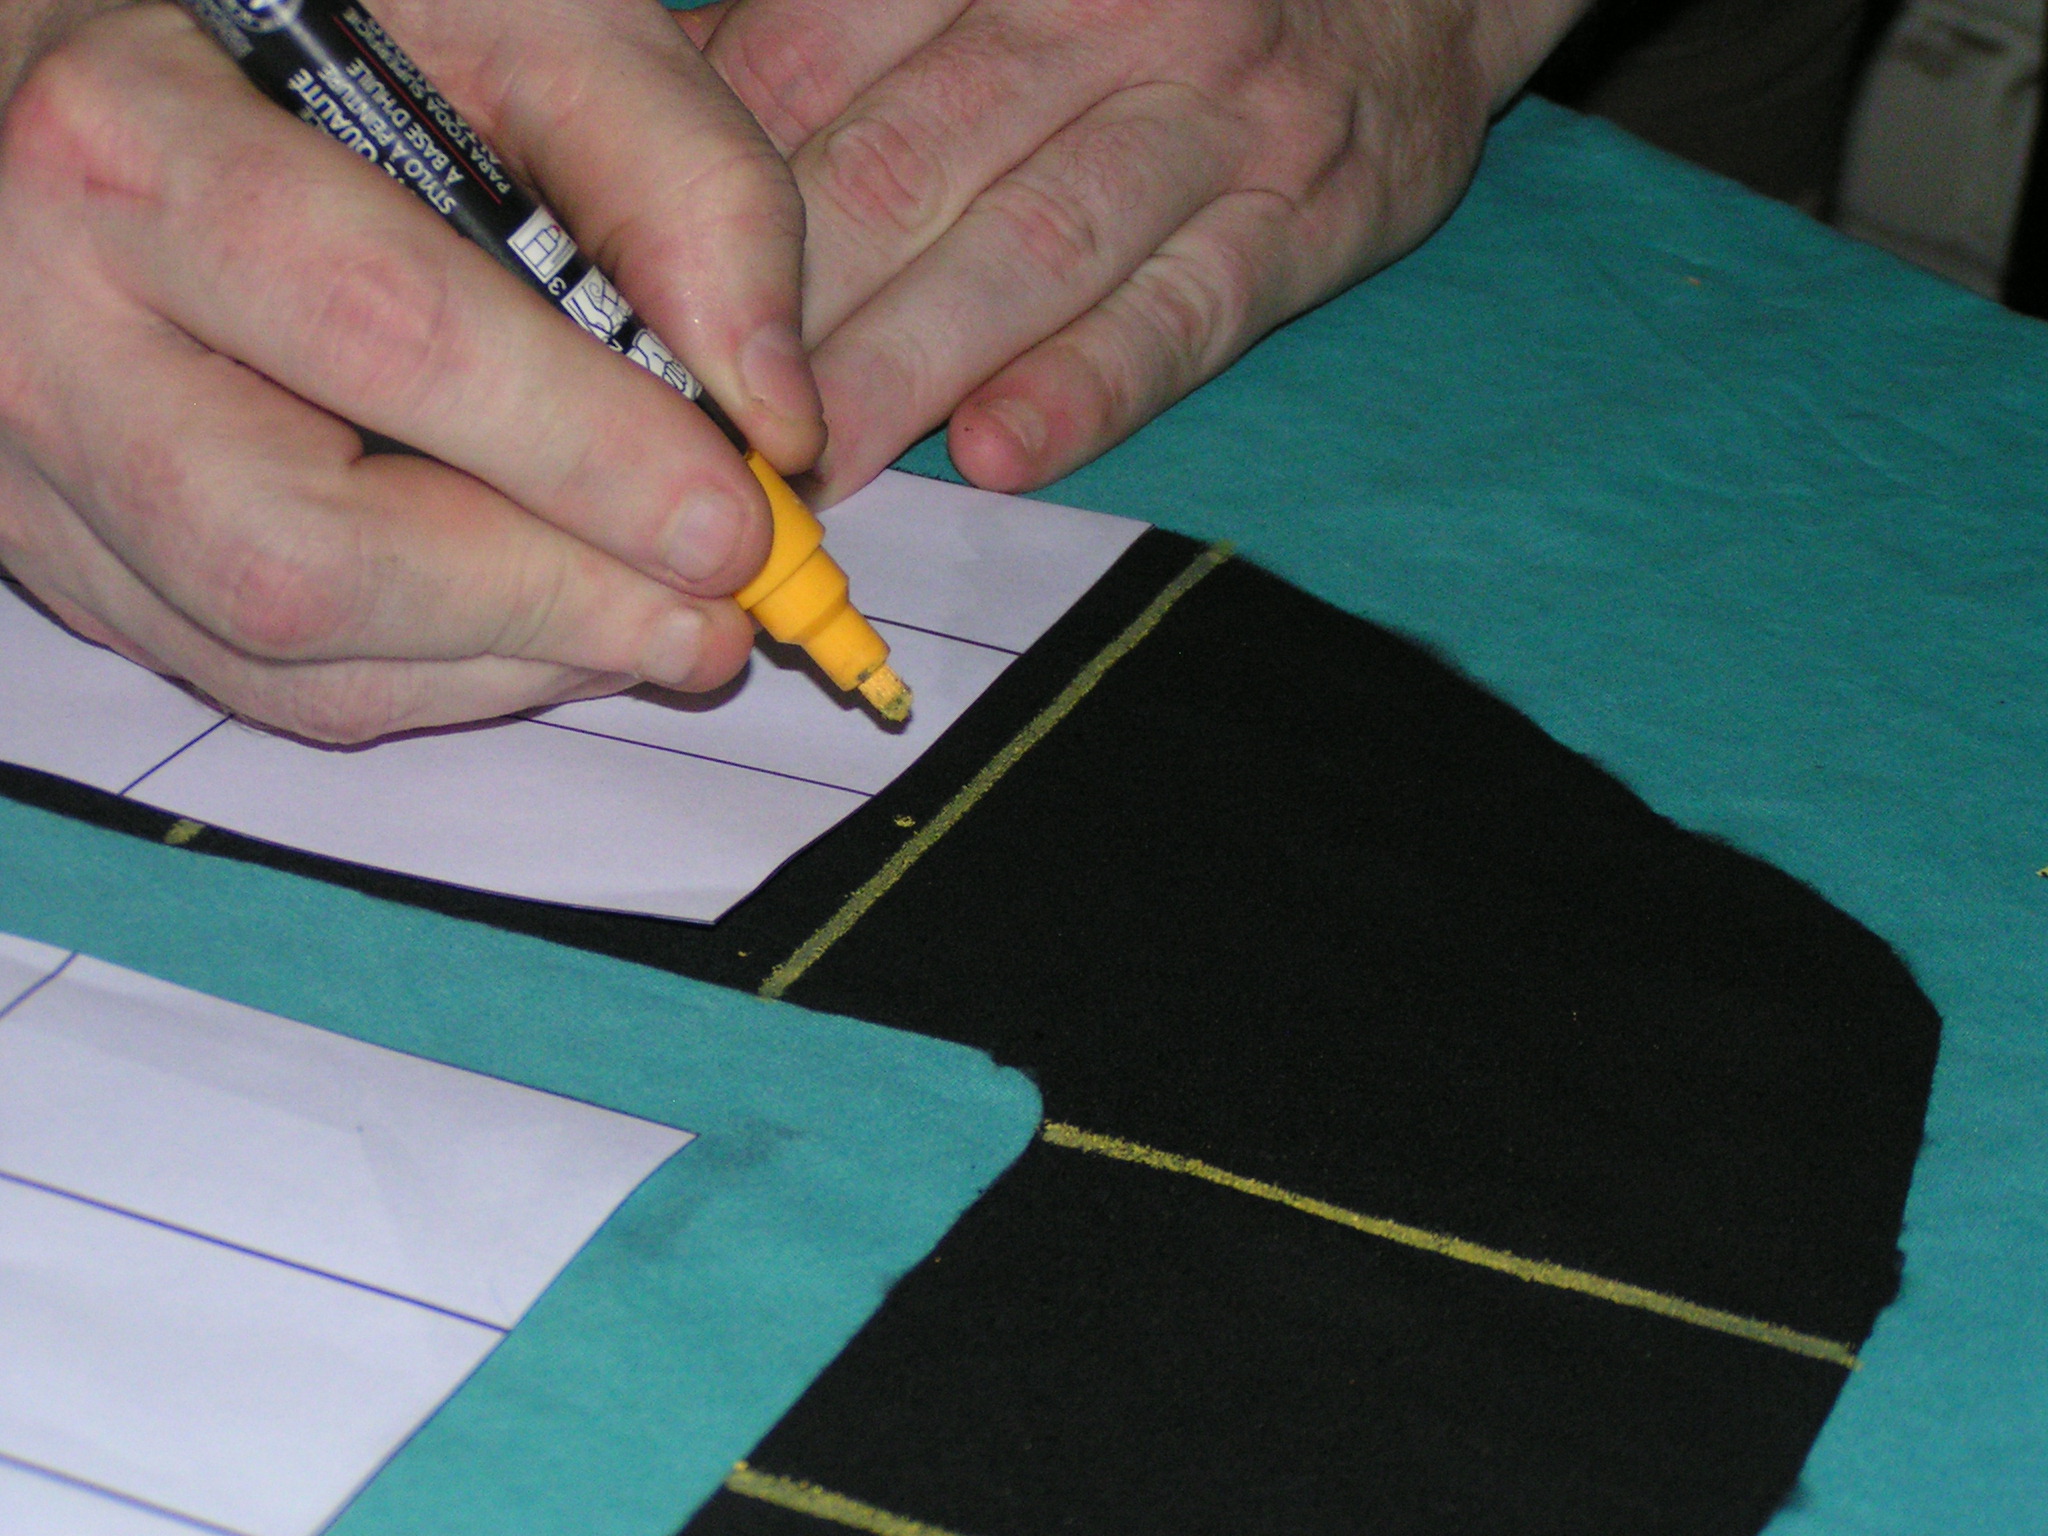
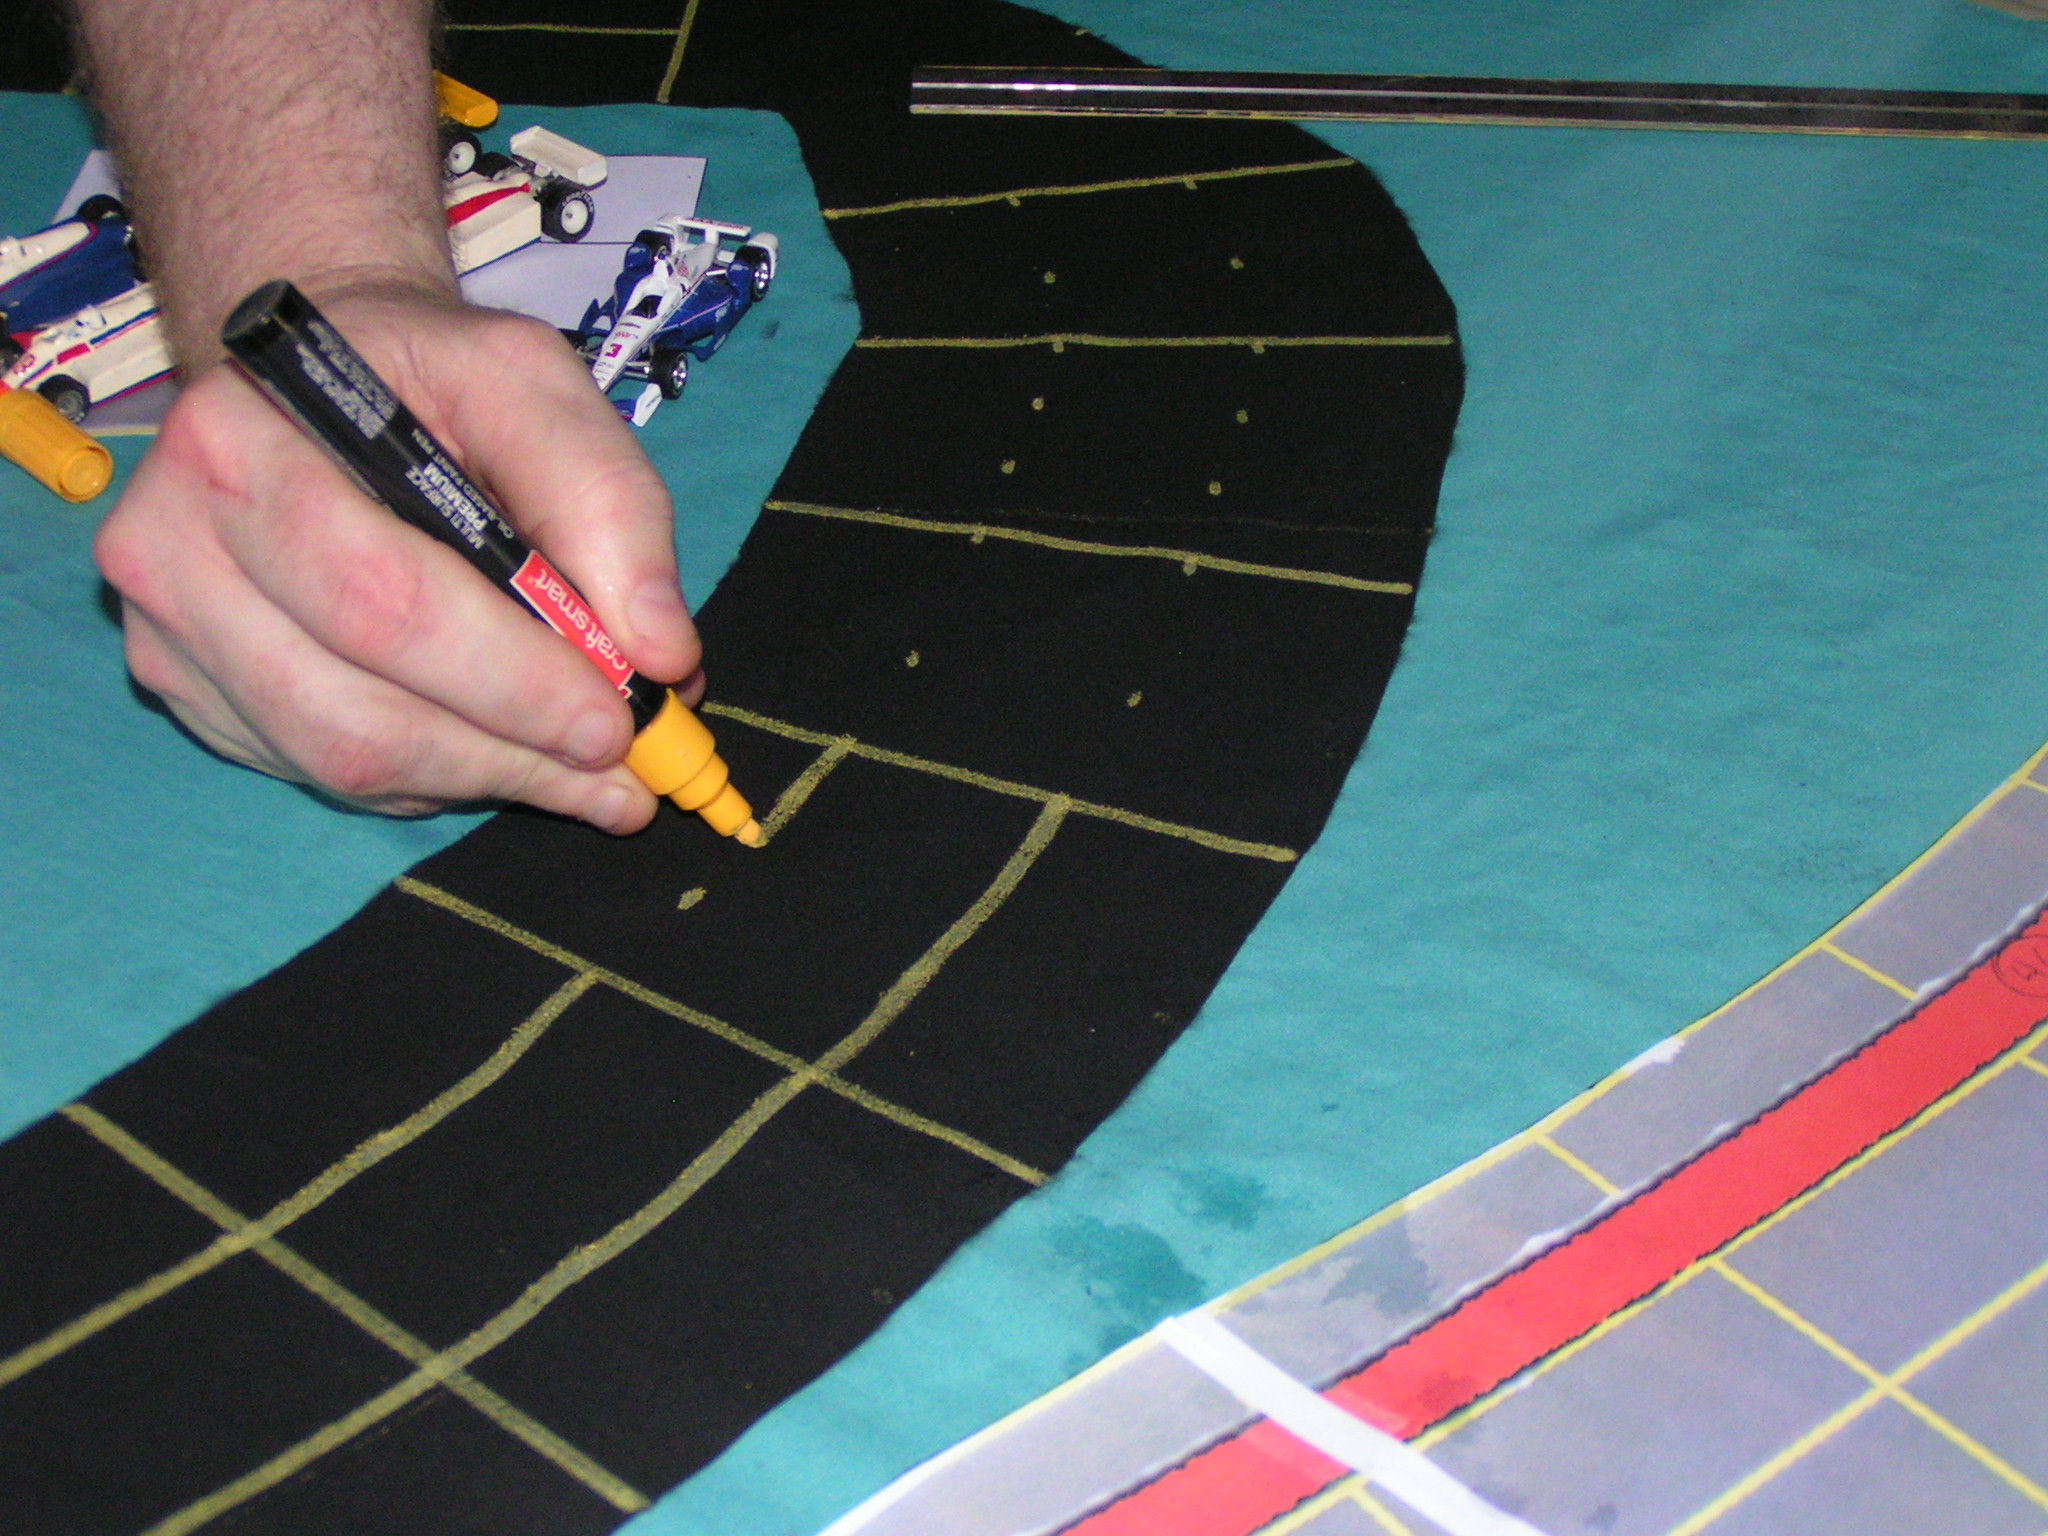
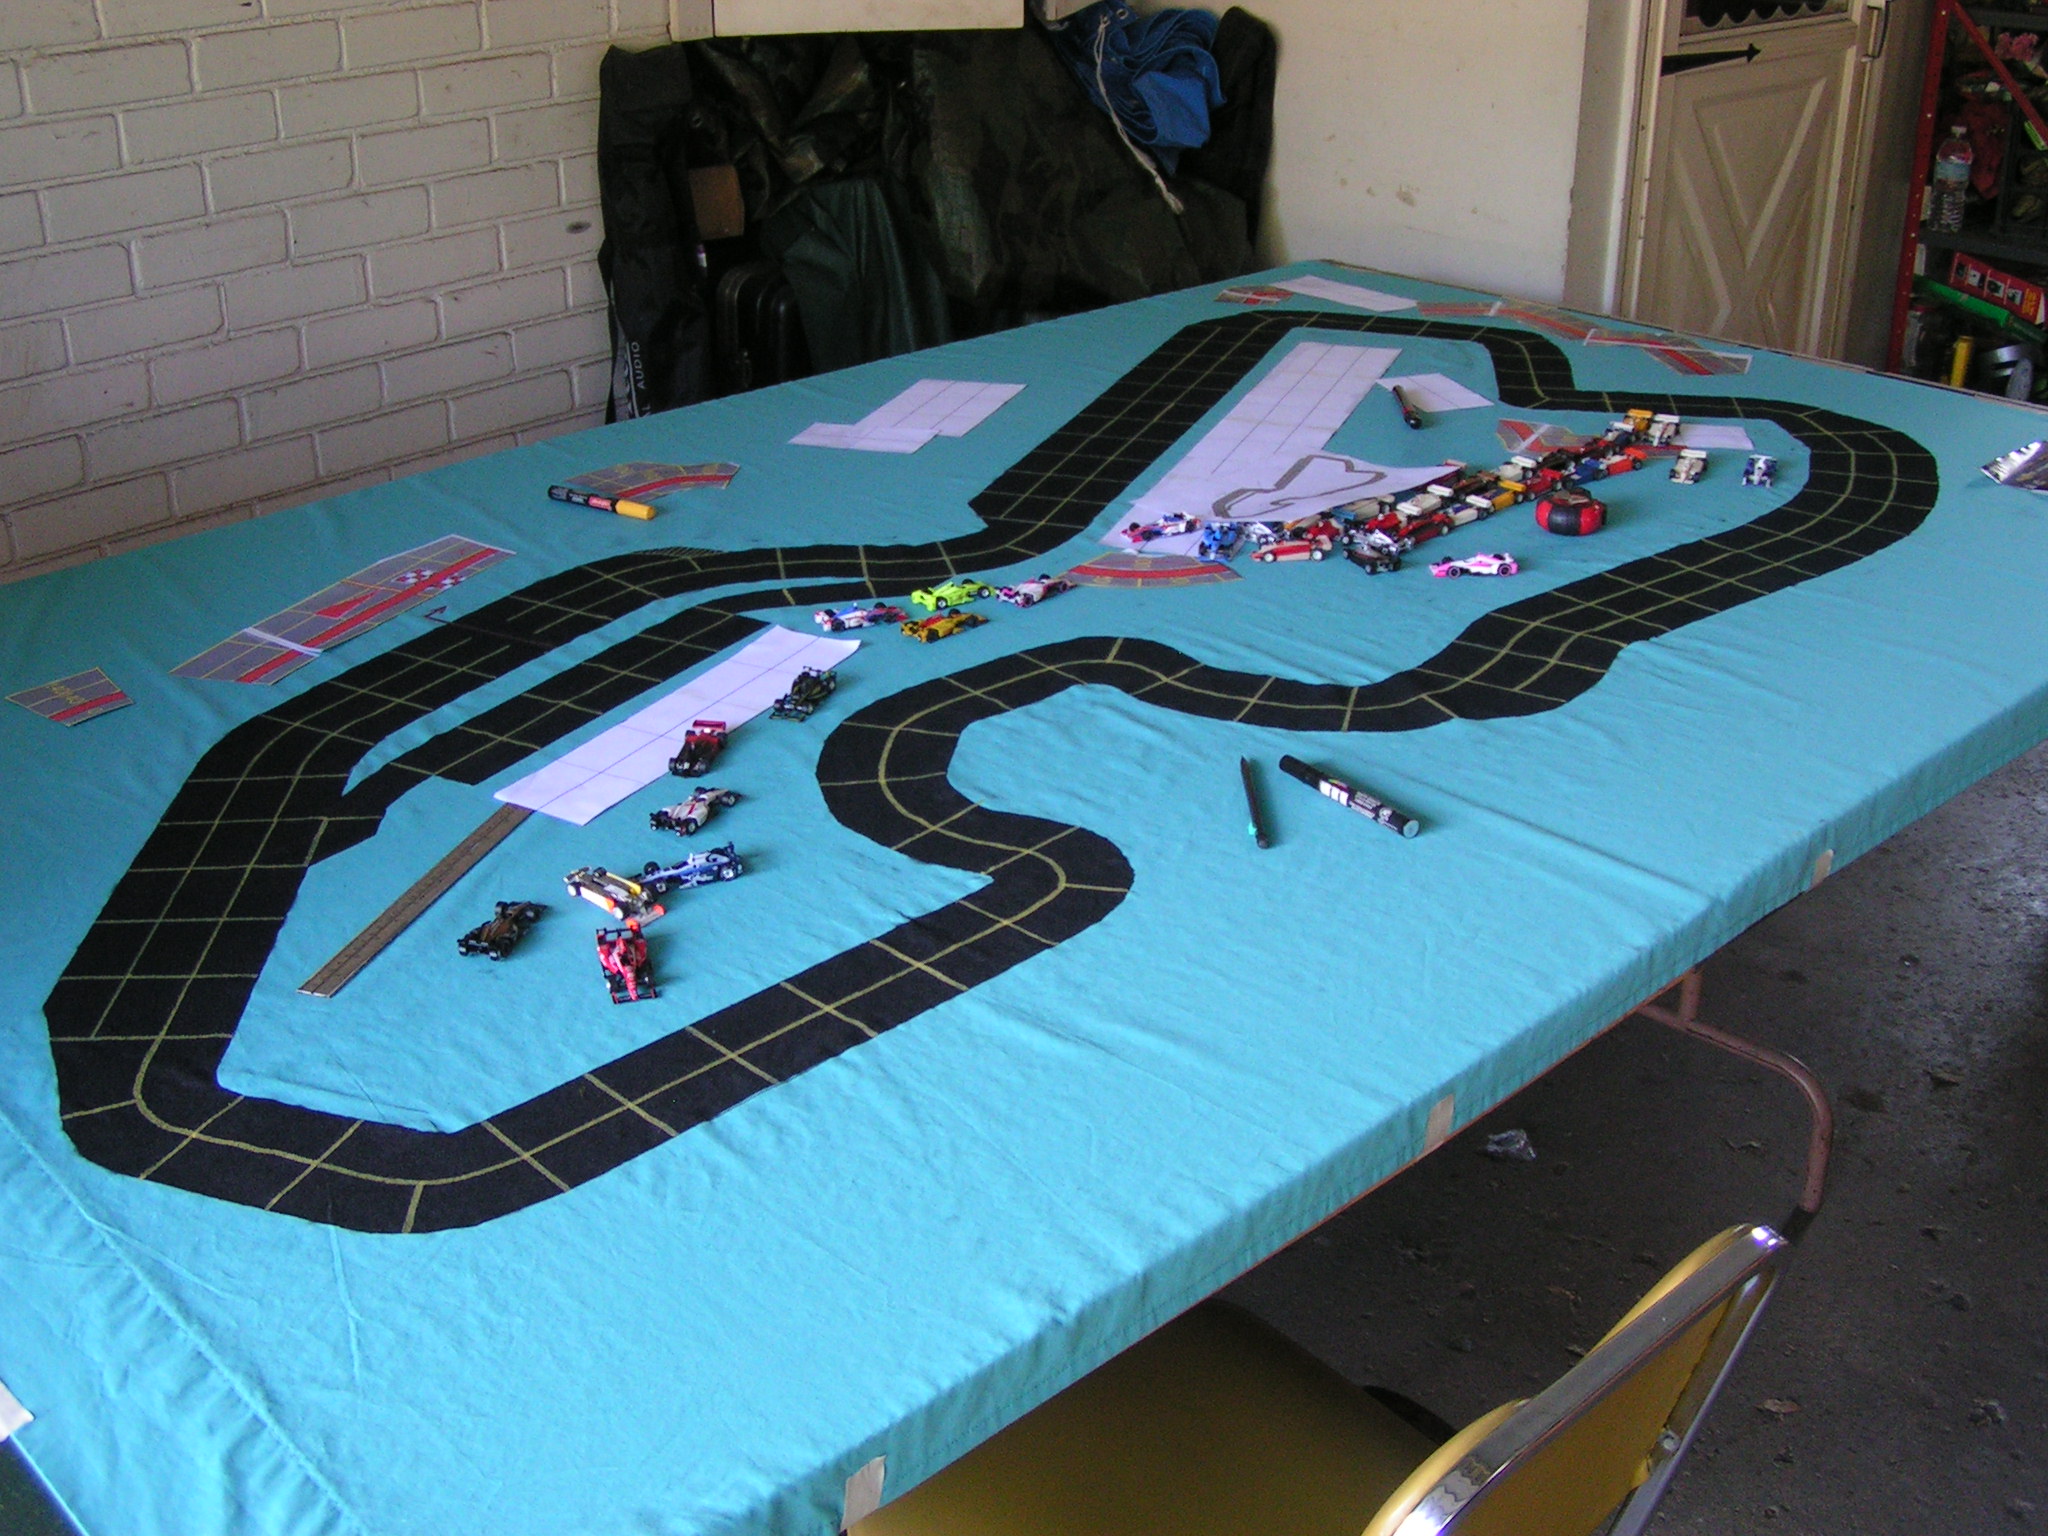
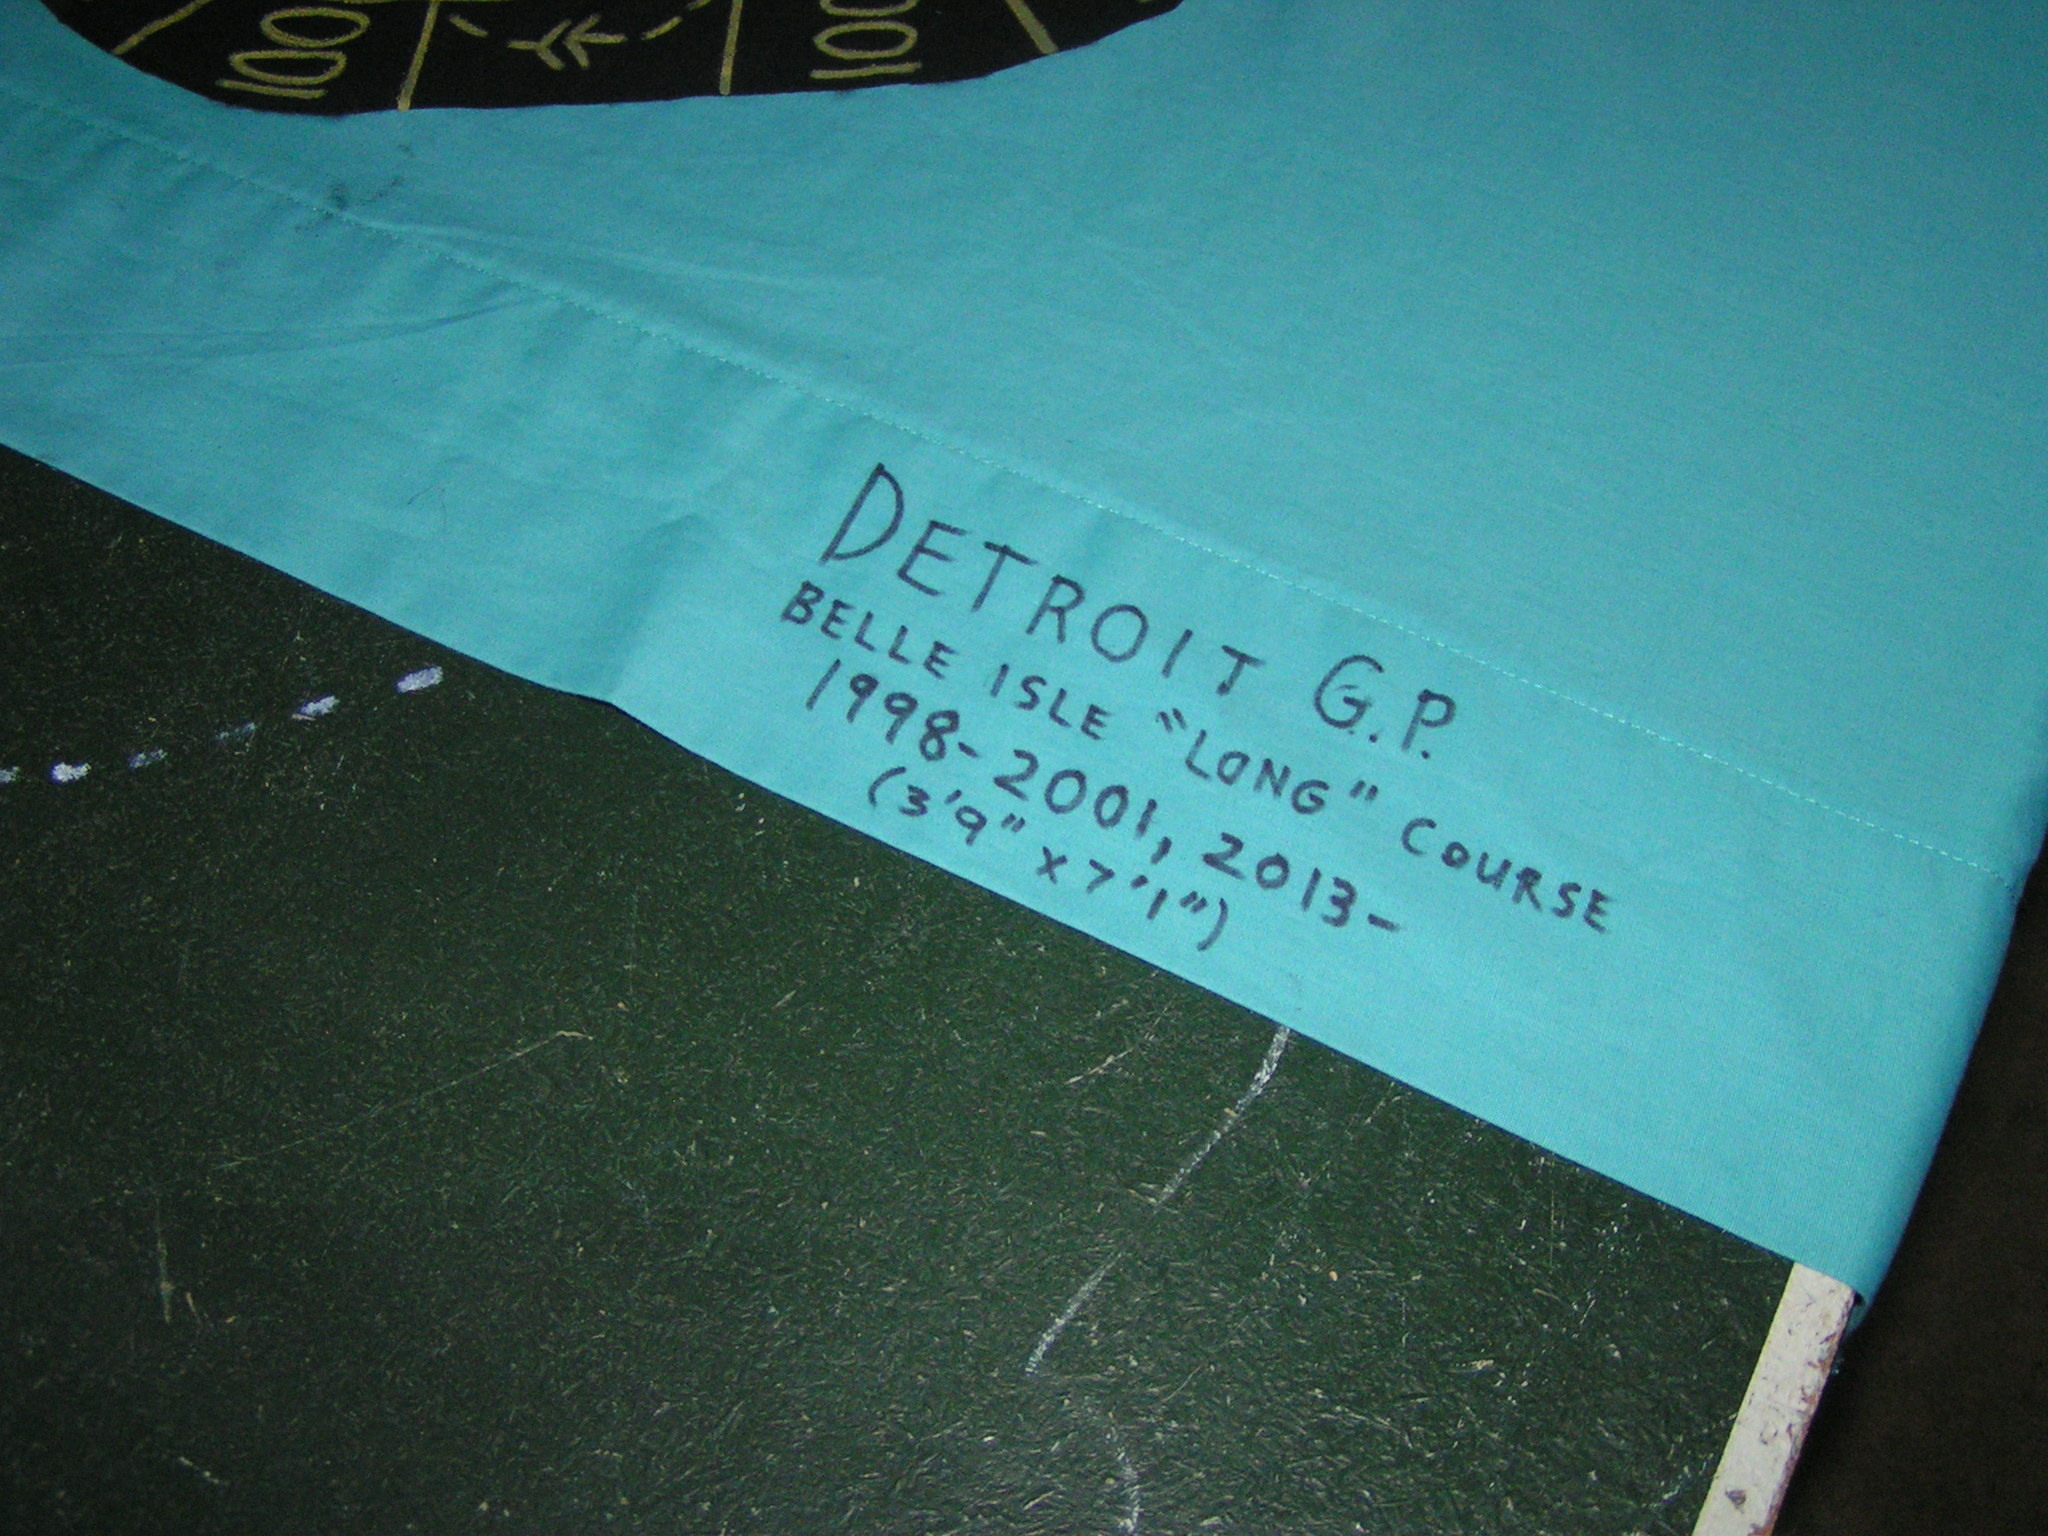
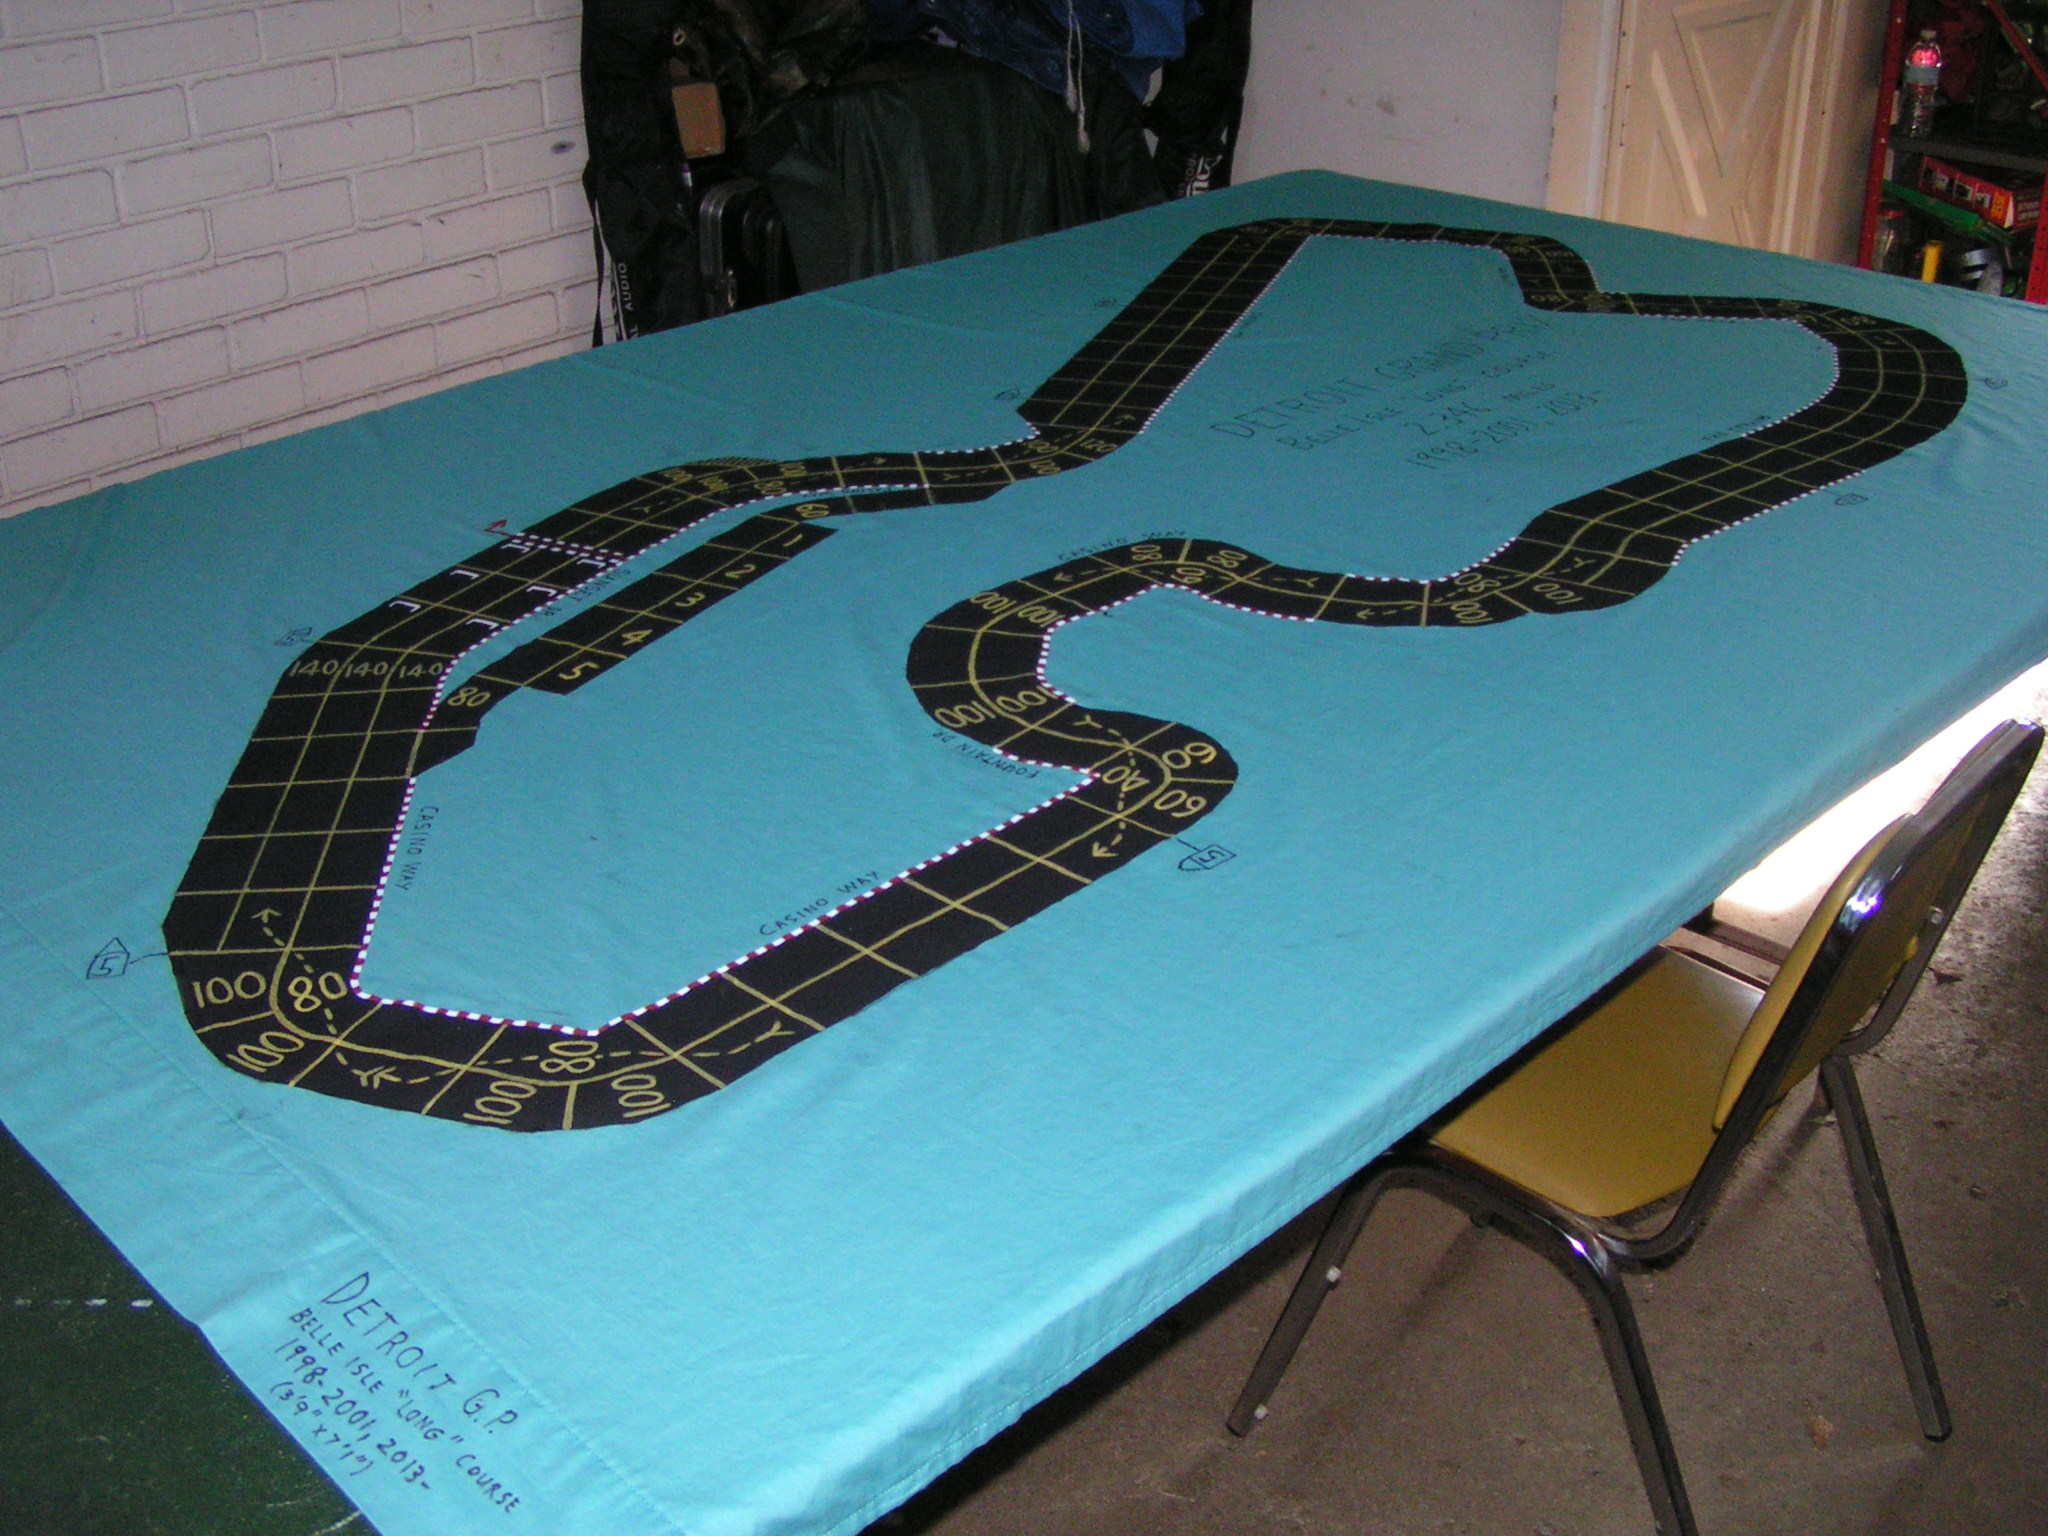
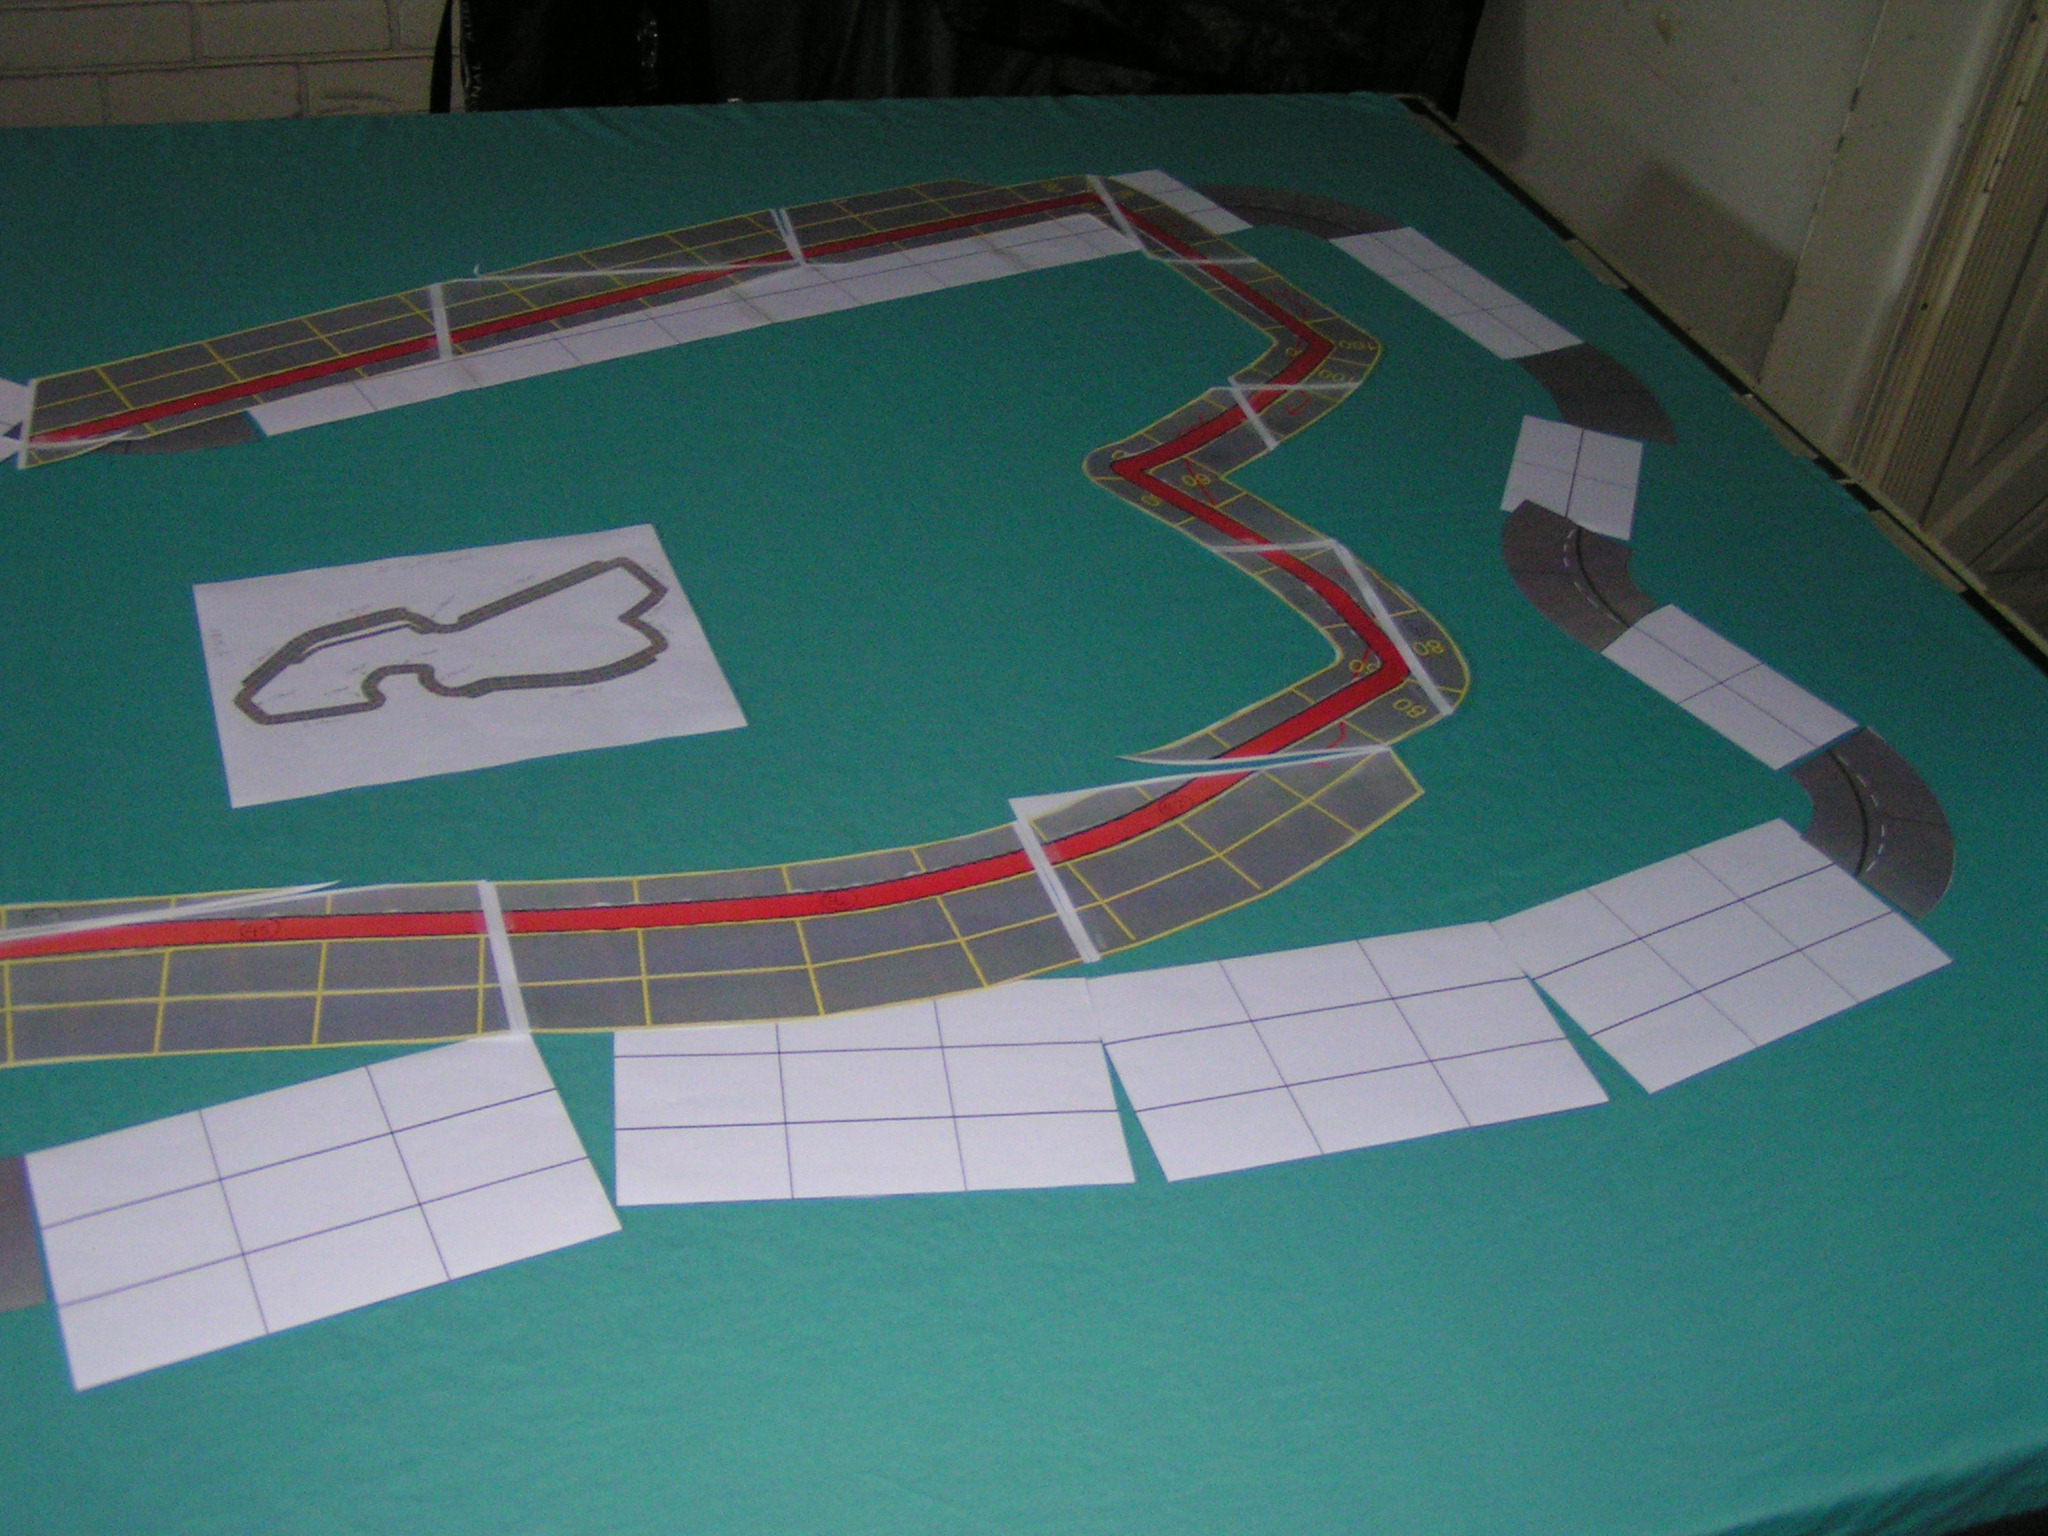
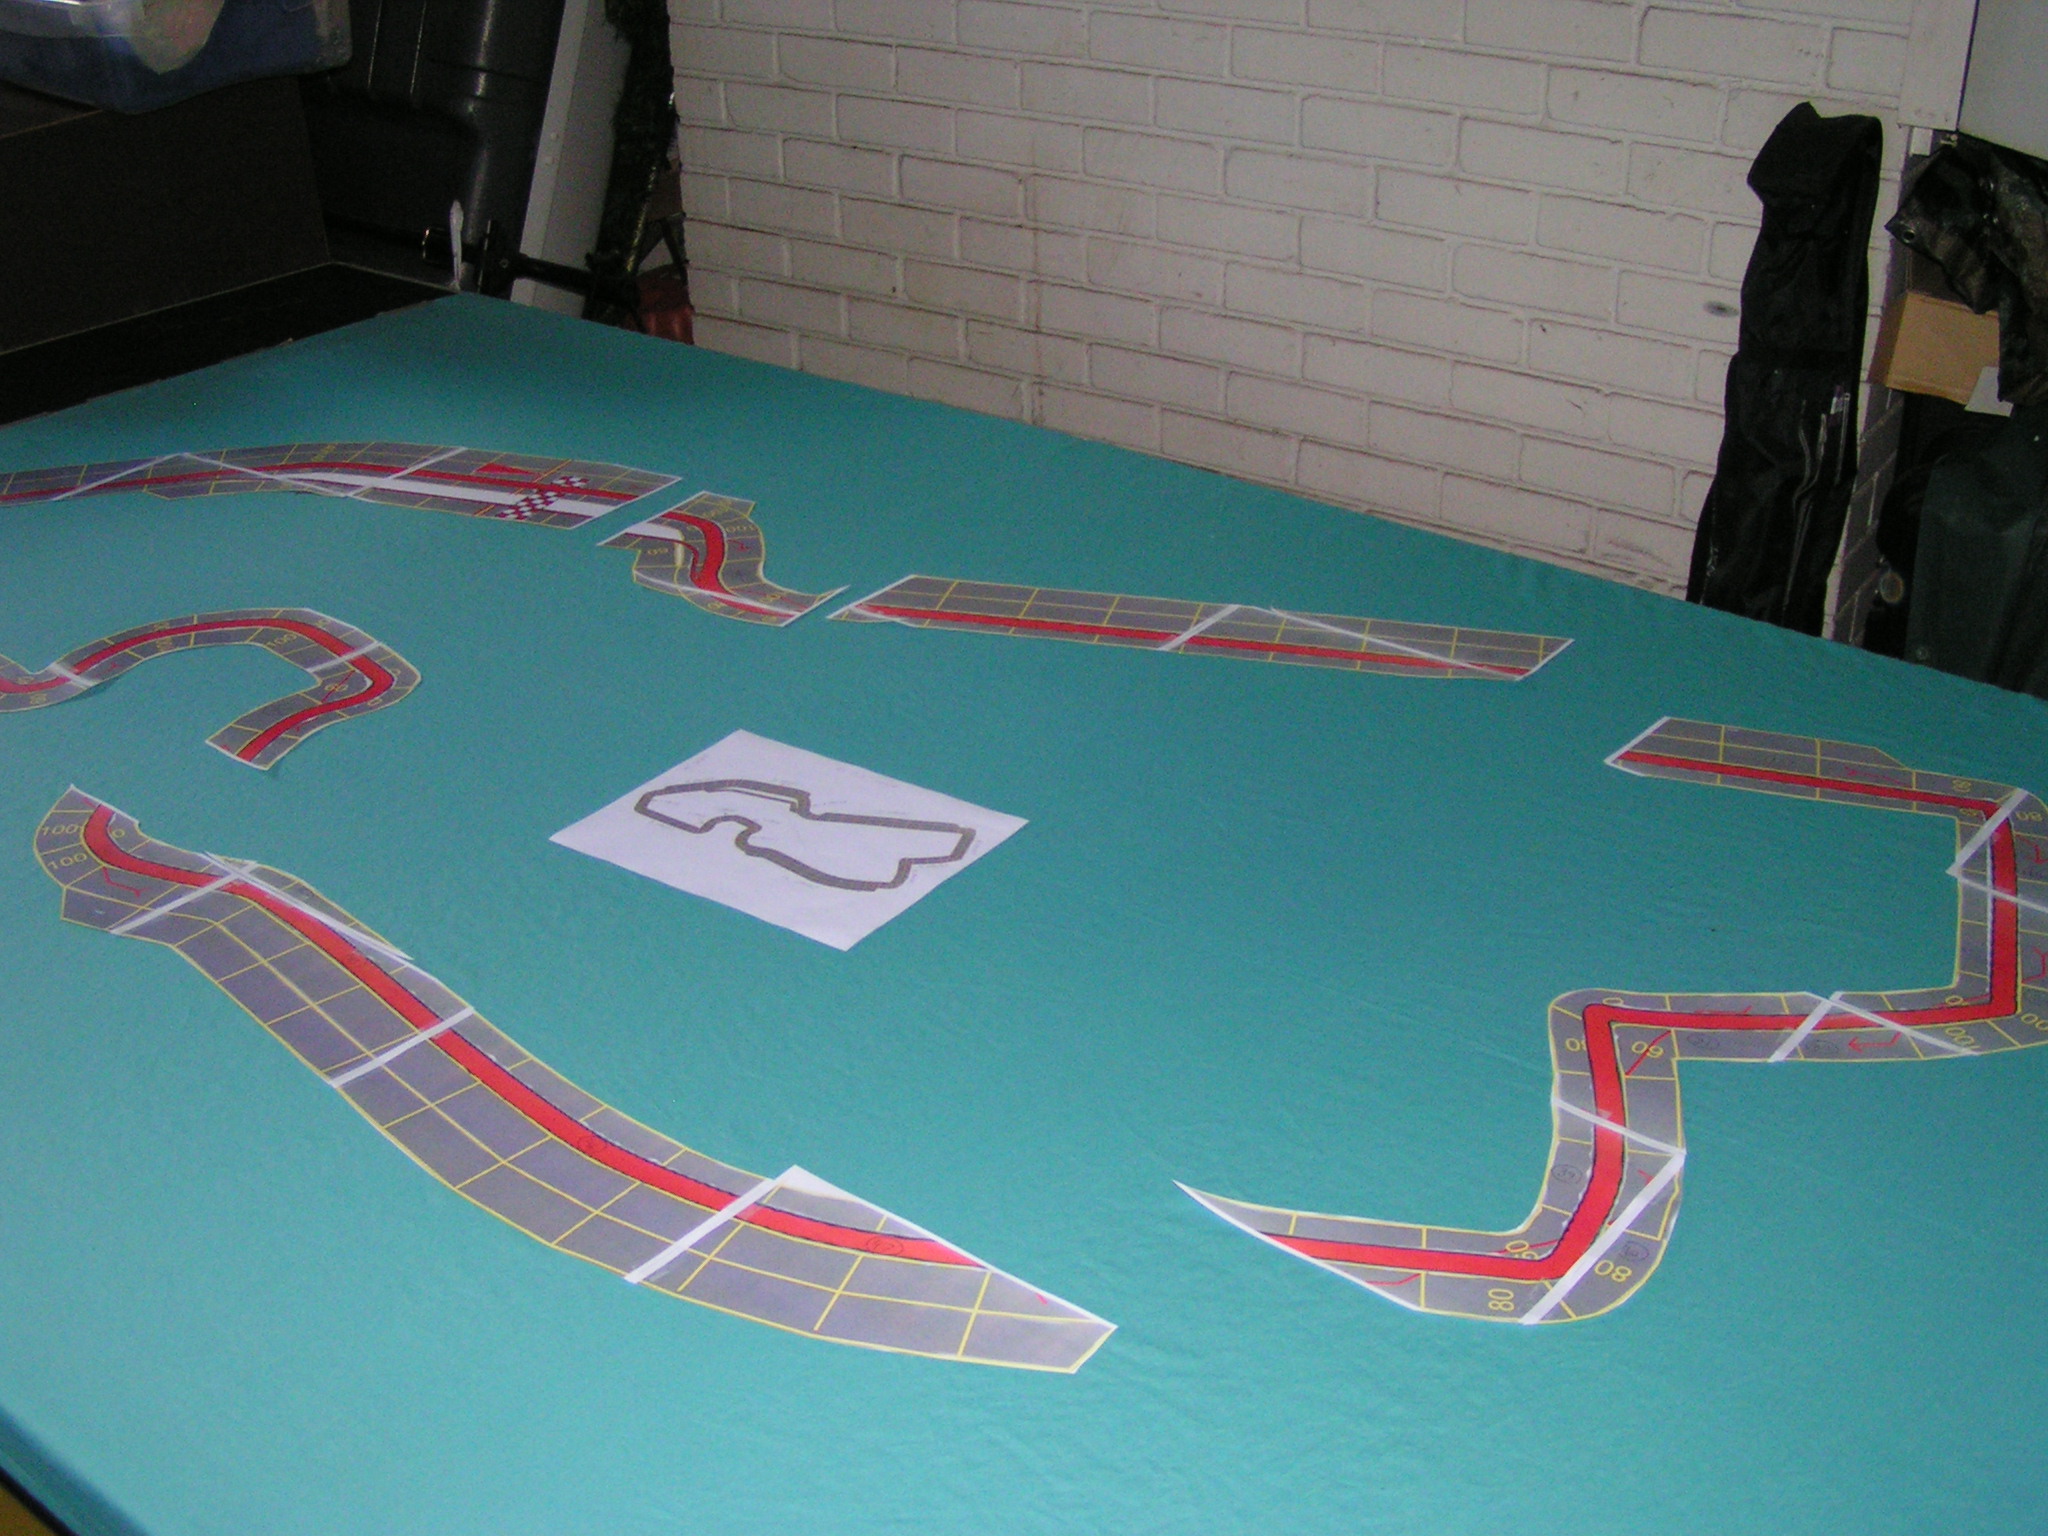
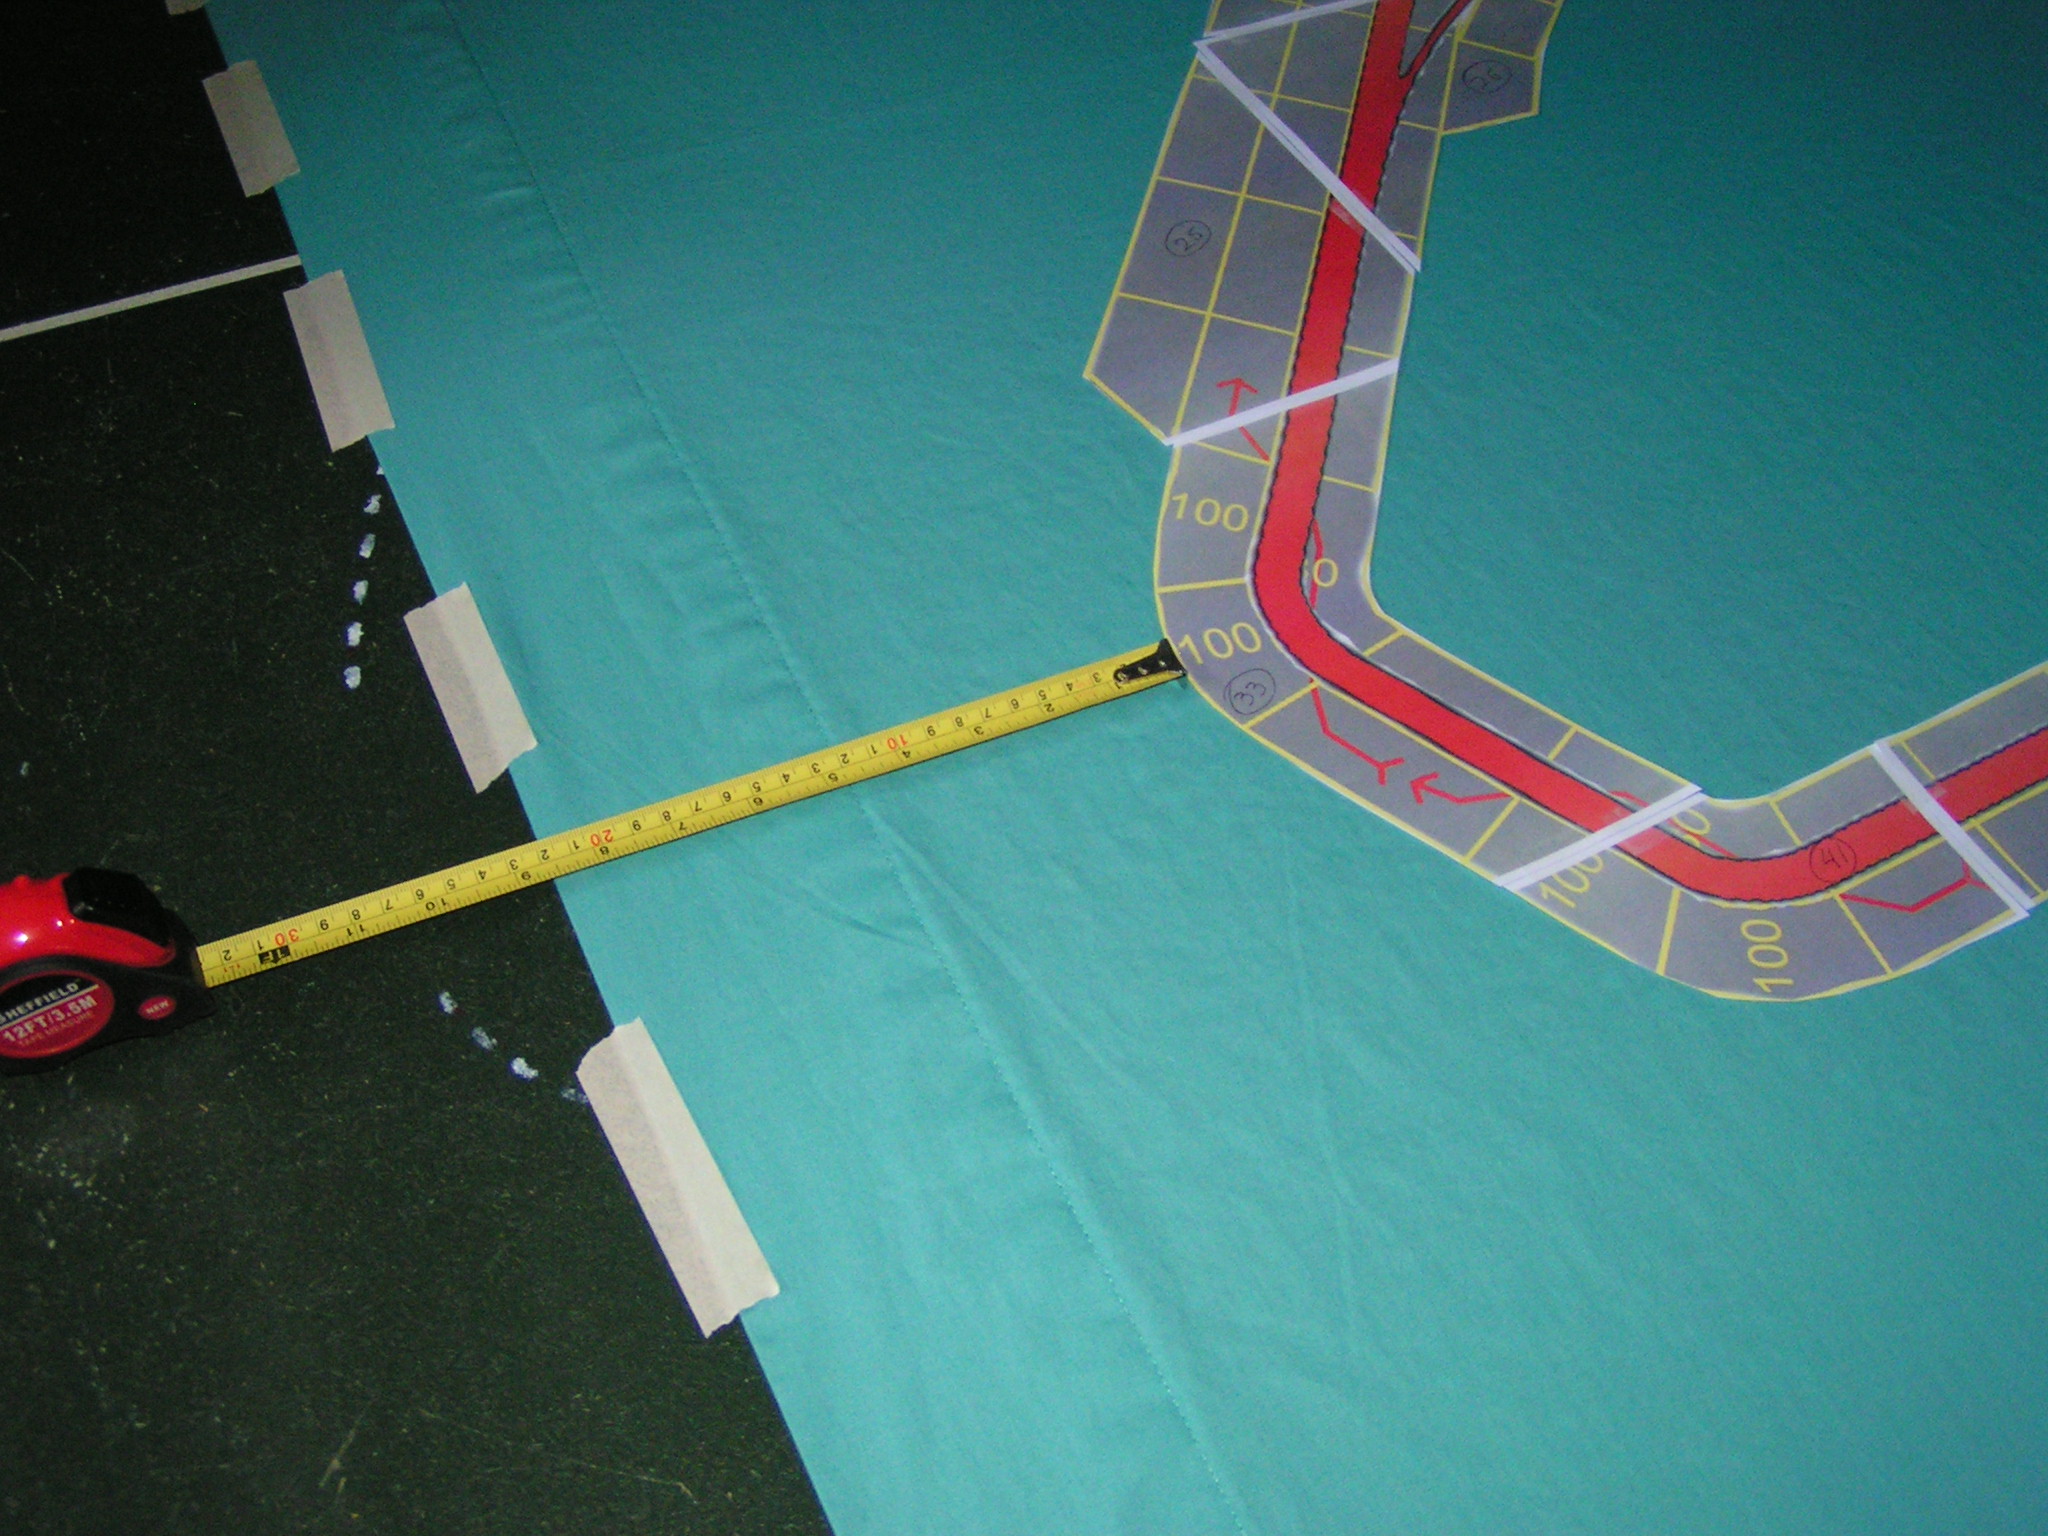
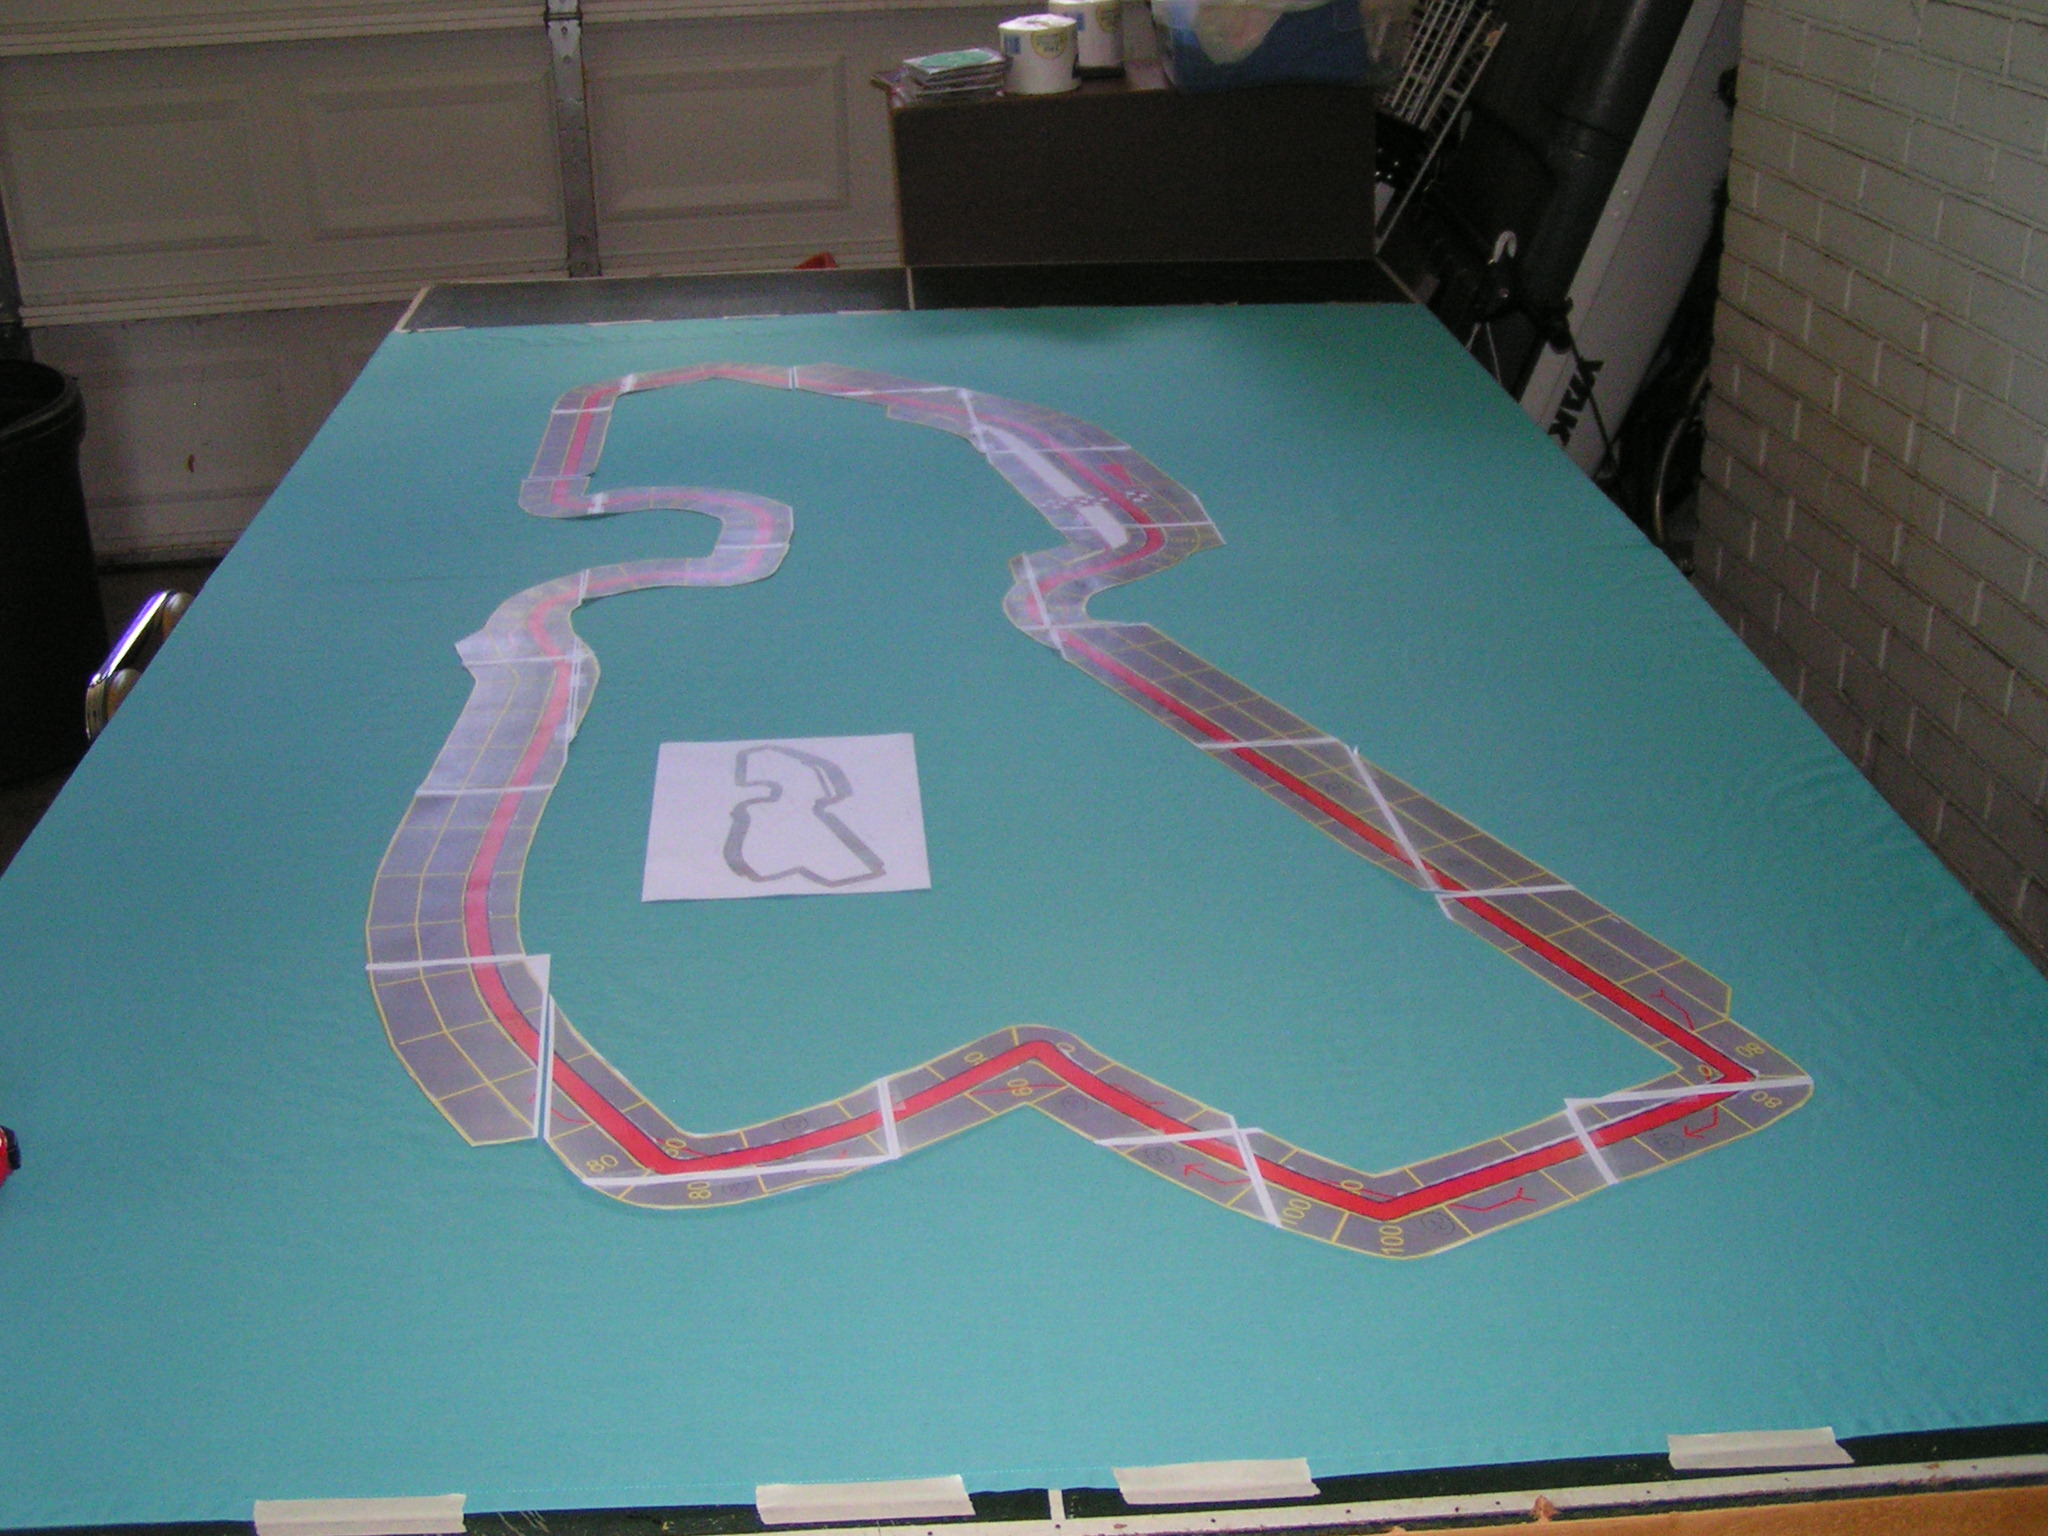
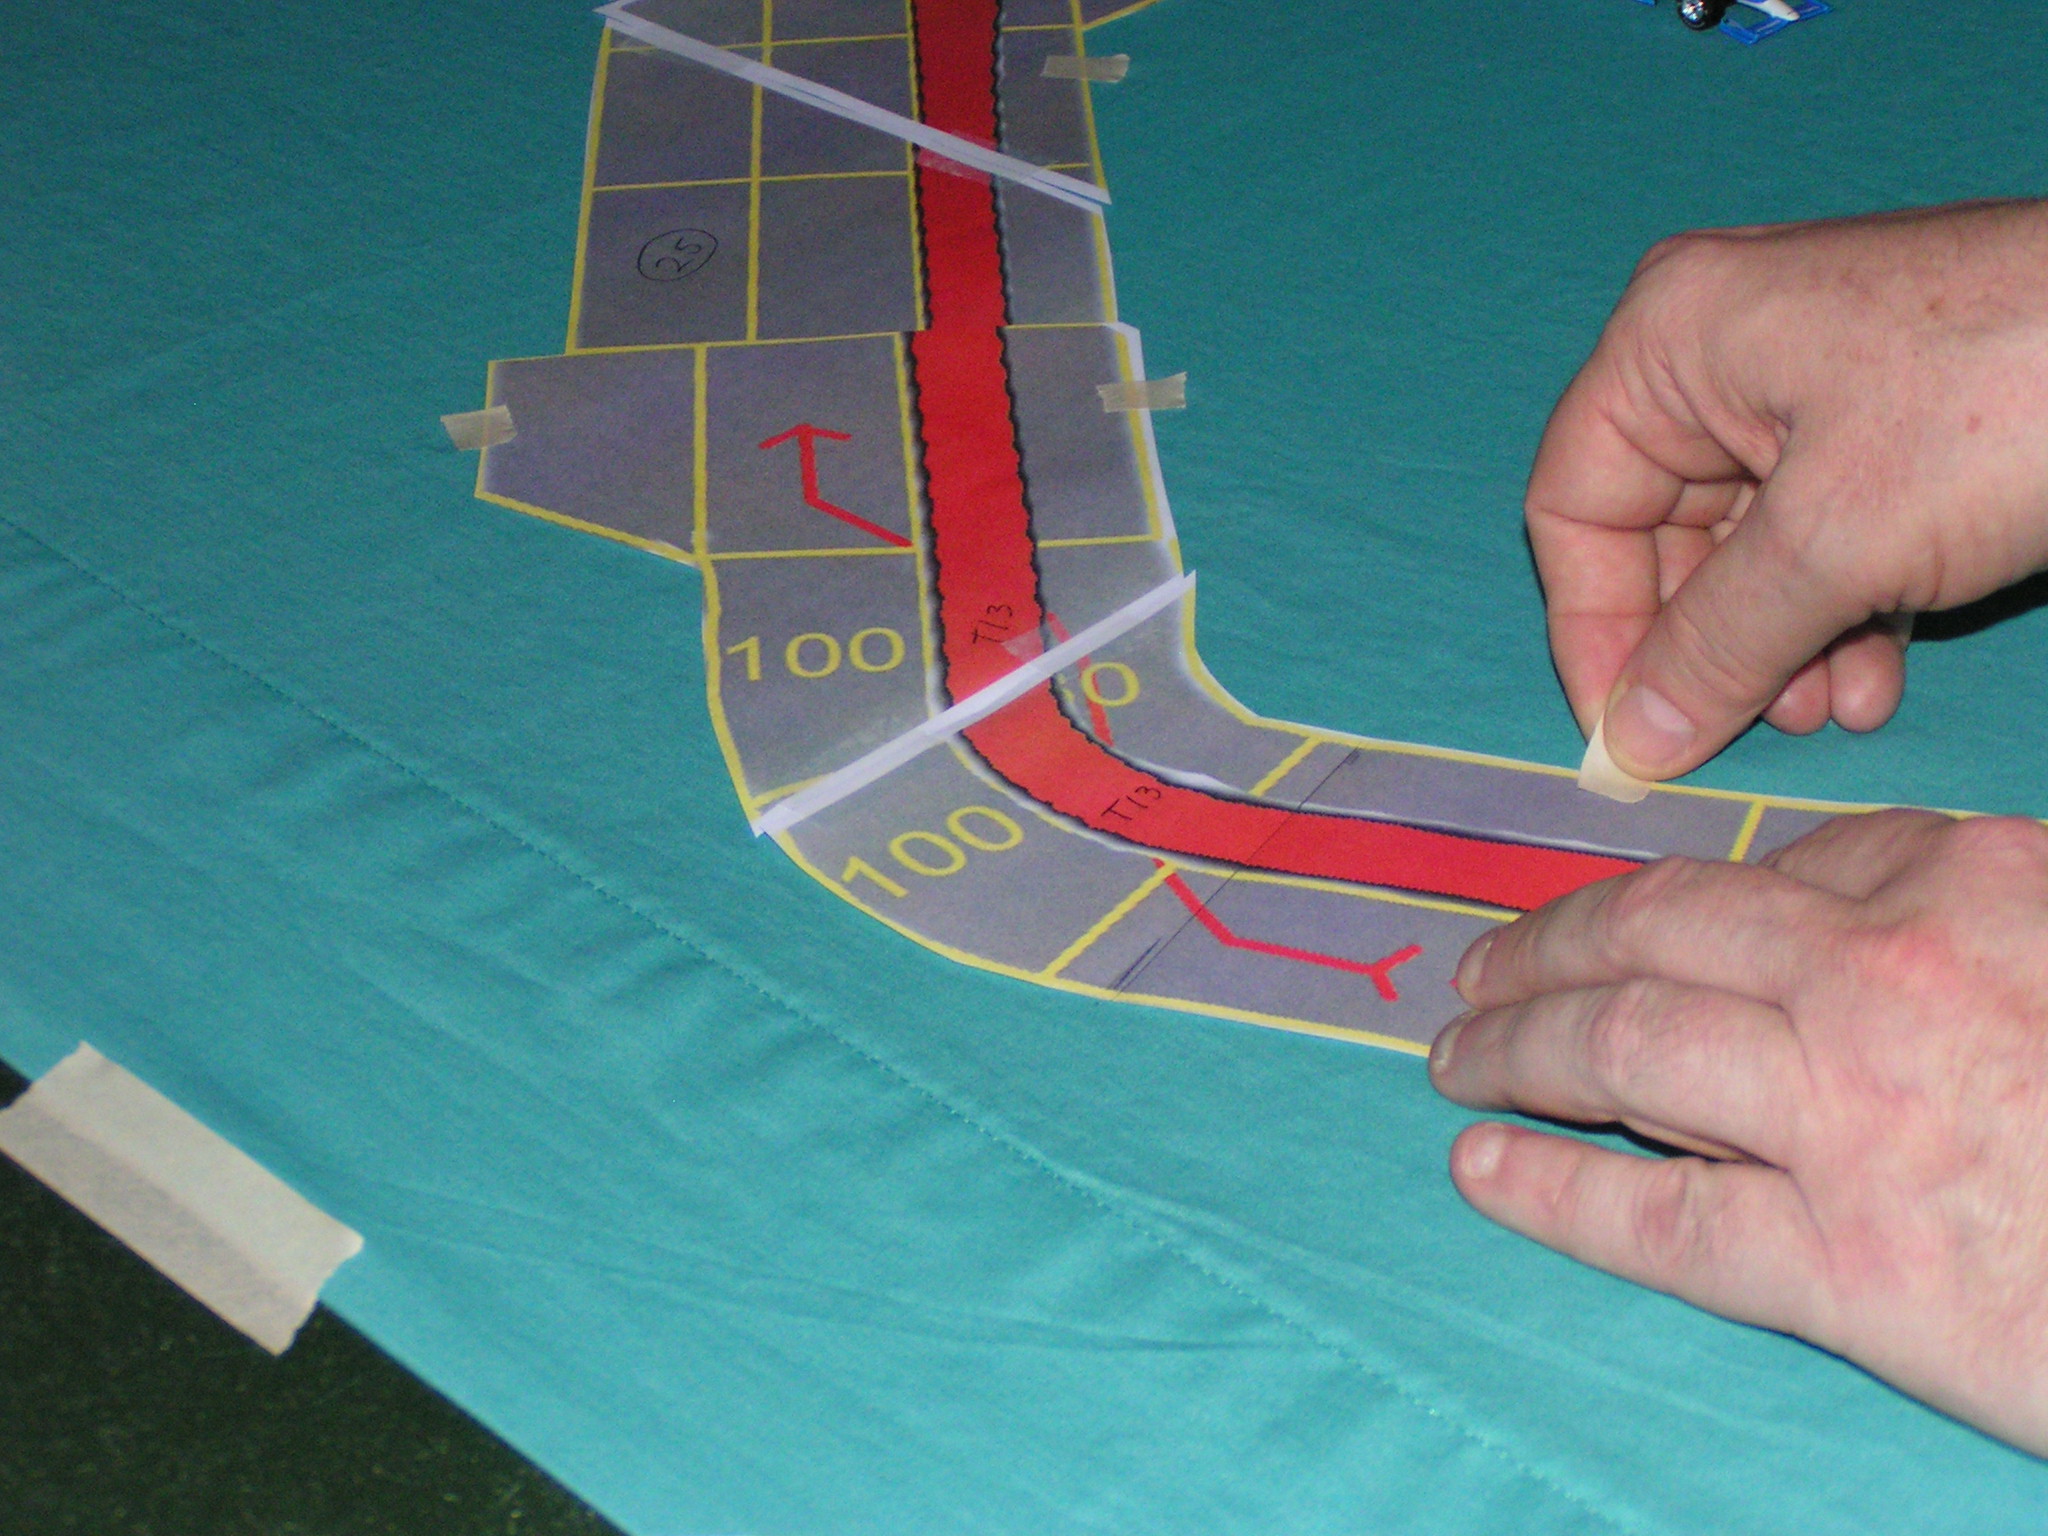
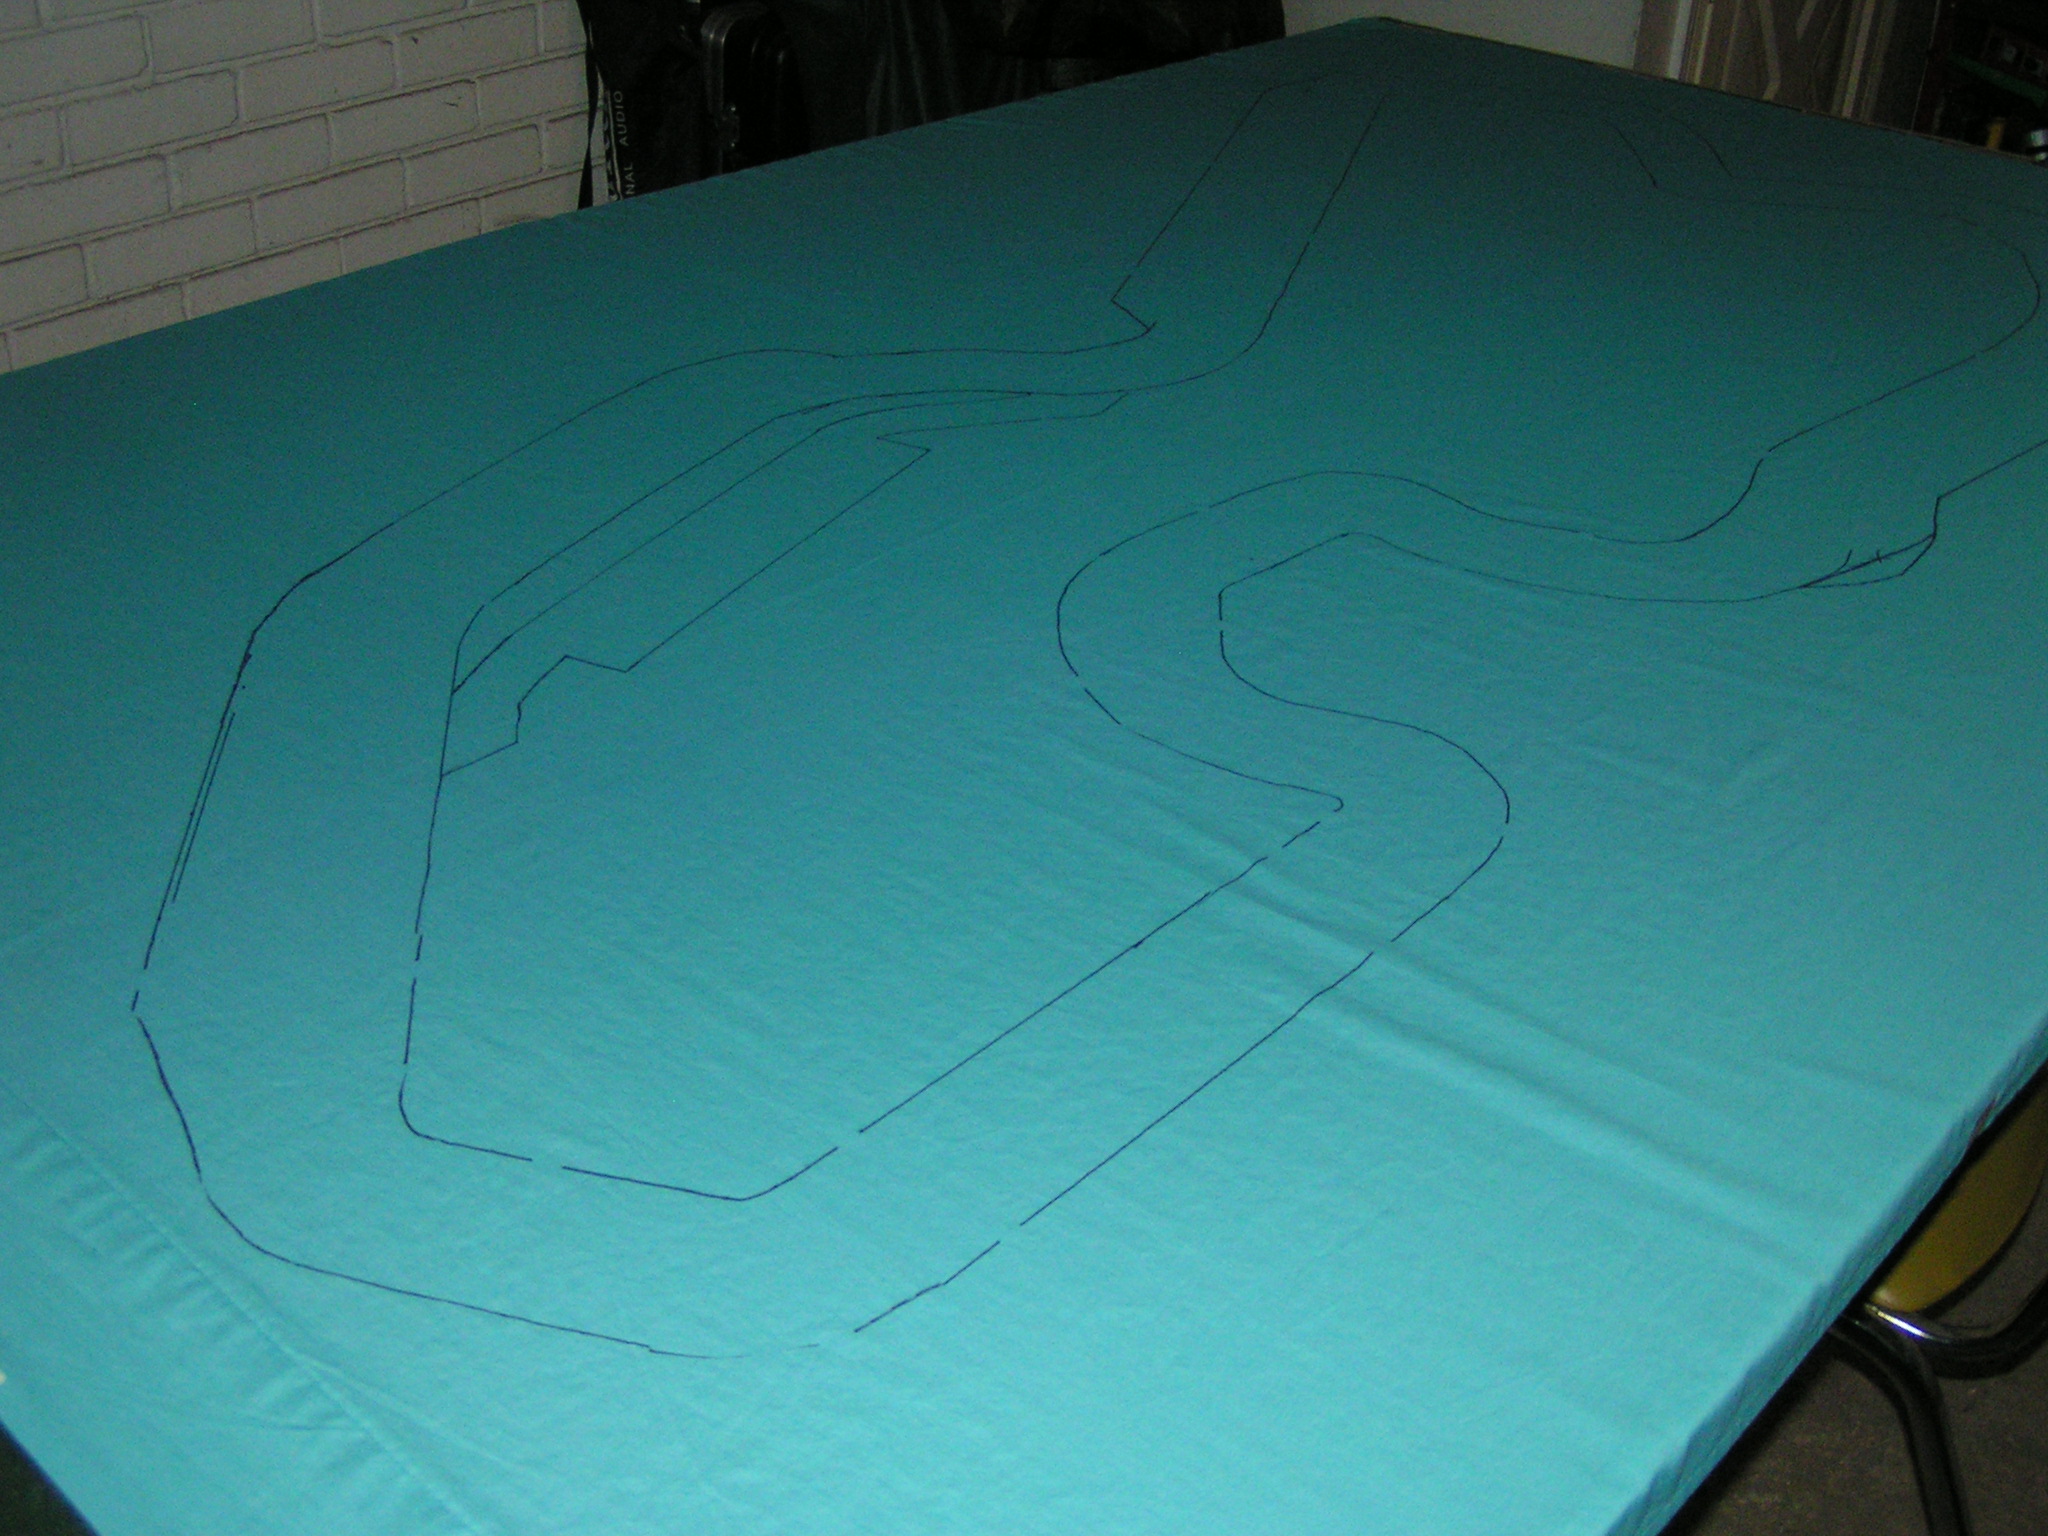
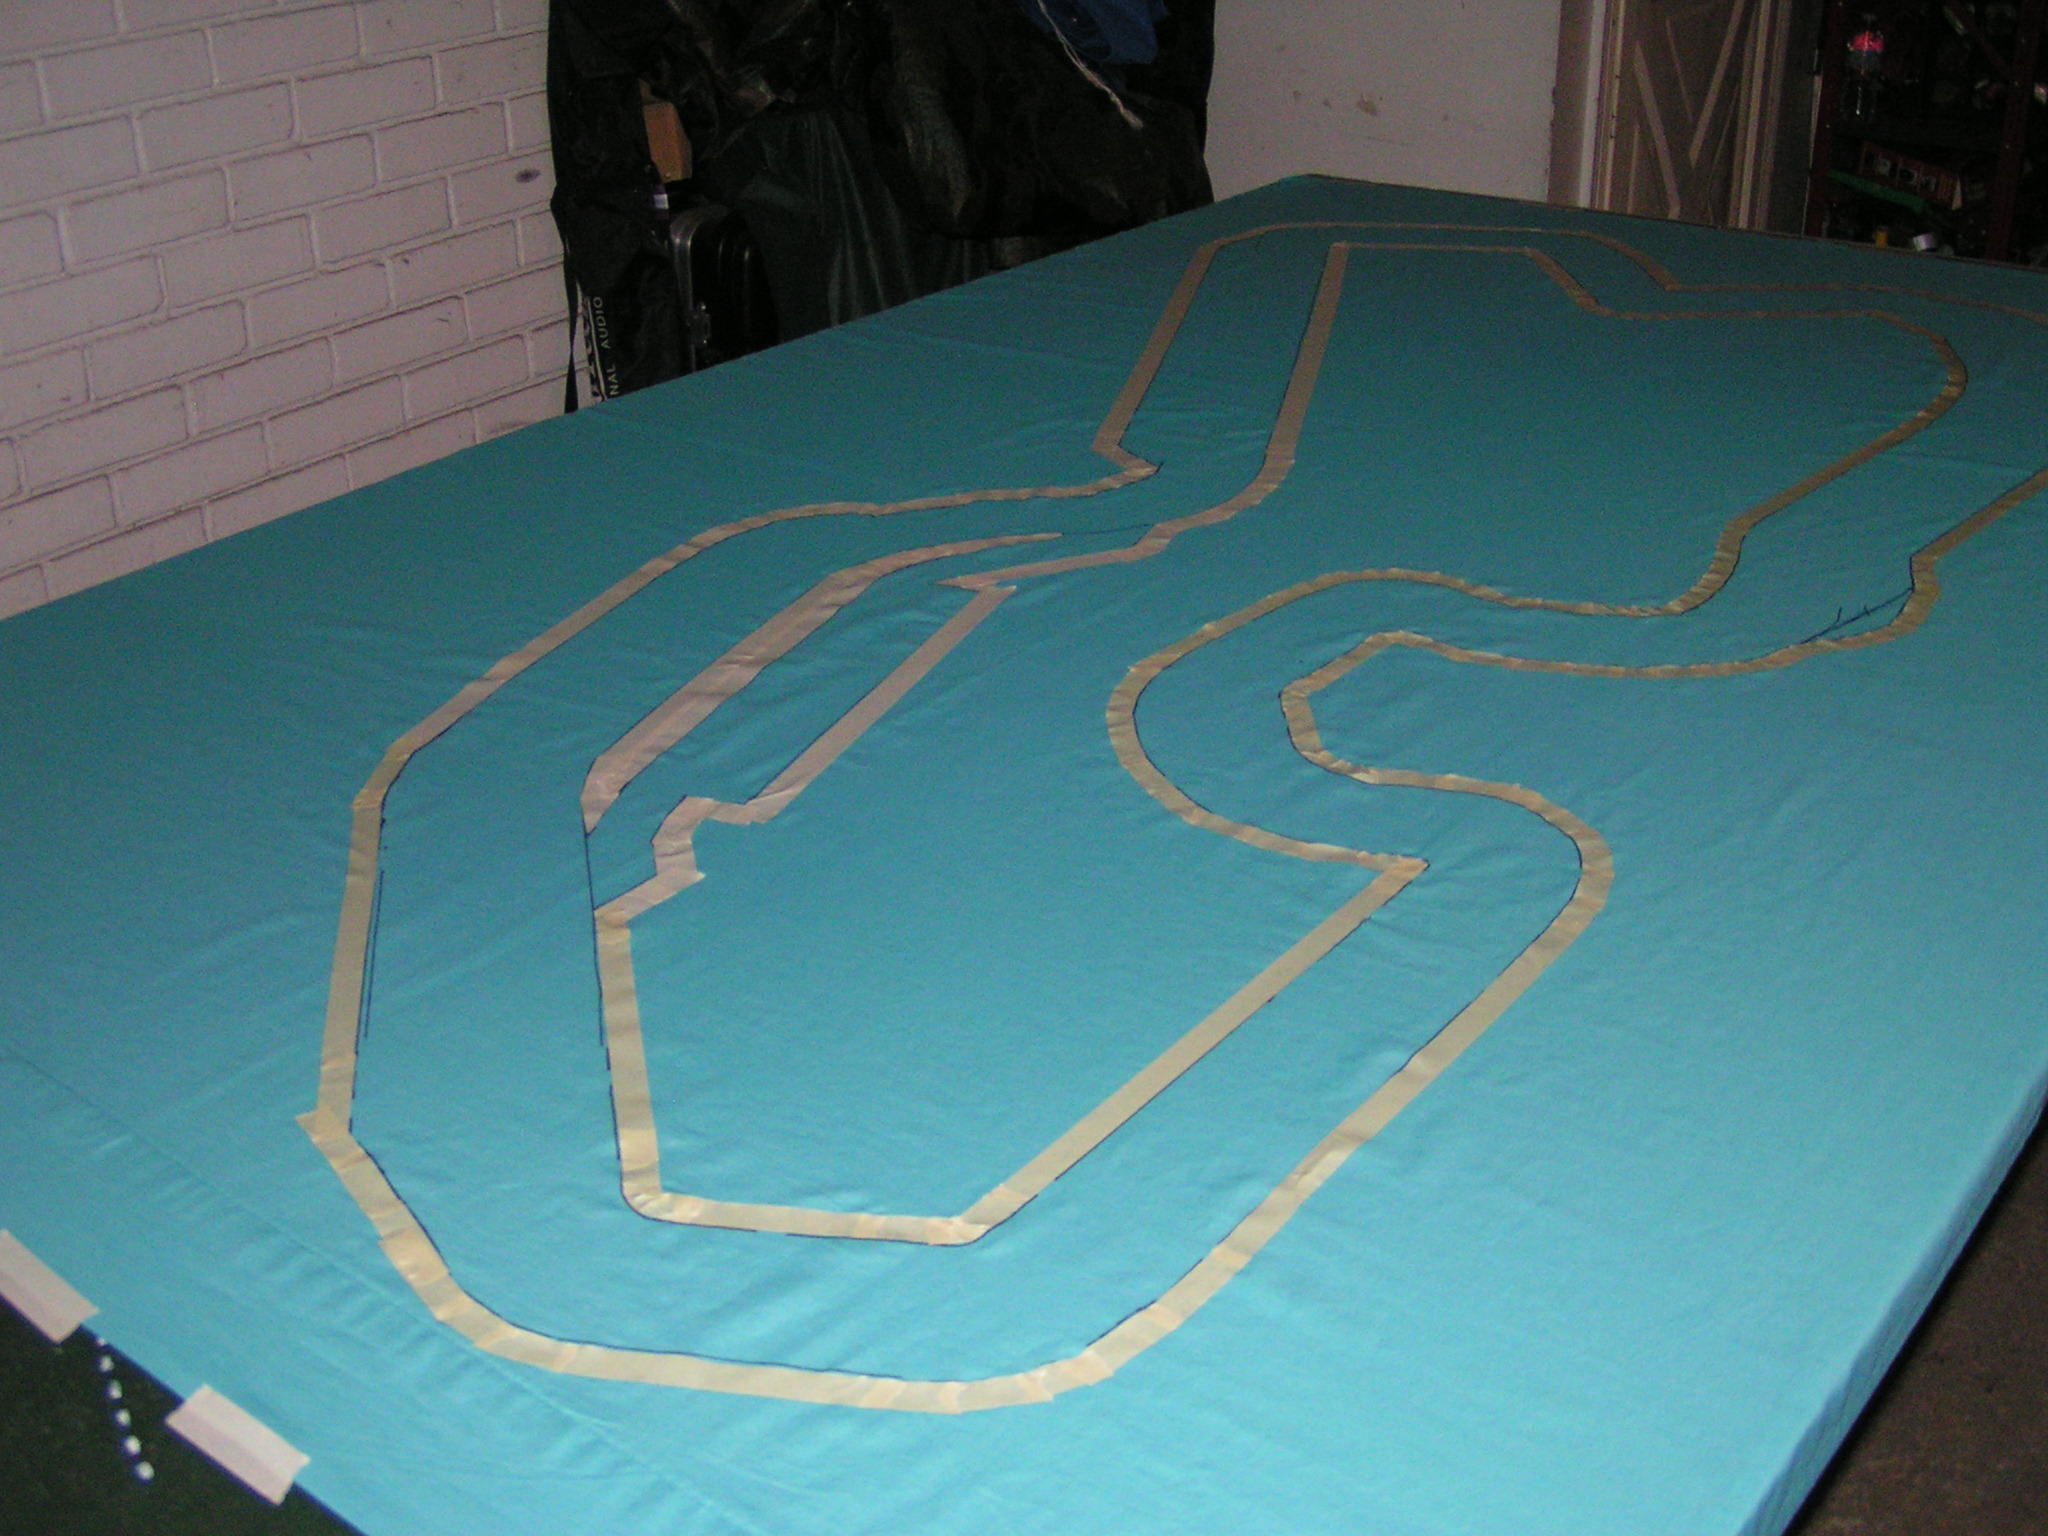
The race was held on the Kyalami track, from an old Avalon Hill design from Speed Circuit. This was the first time this track was used in the CFR-Detroit racing series, although it had been used in the old Advanced Speed Circuit races in the Detroit area back in the 1980s/1990s. Of course, we raced on a large-scale track that had been painted on a bedsheet so we could use our 1:64 scale cars.

Kyalami race track of the South African Grand Prix.

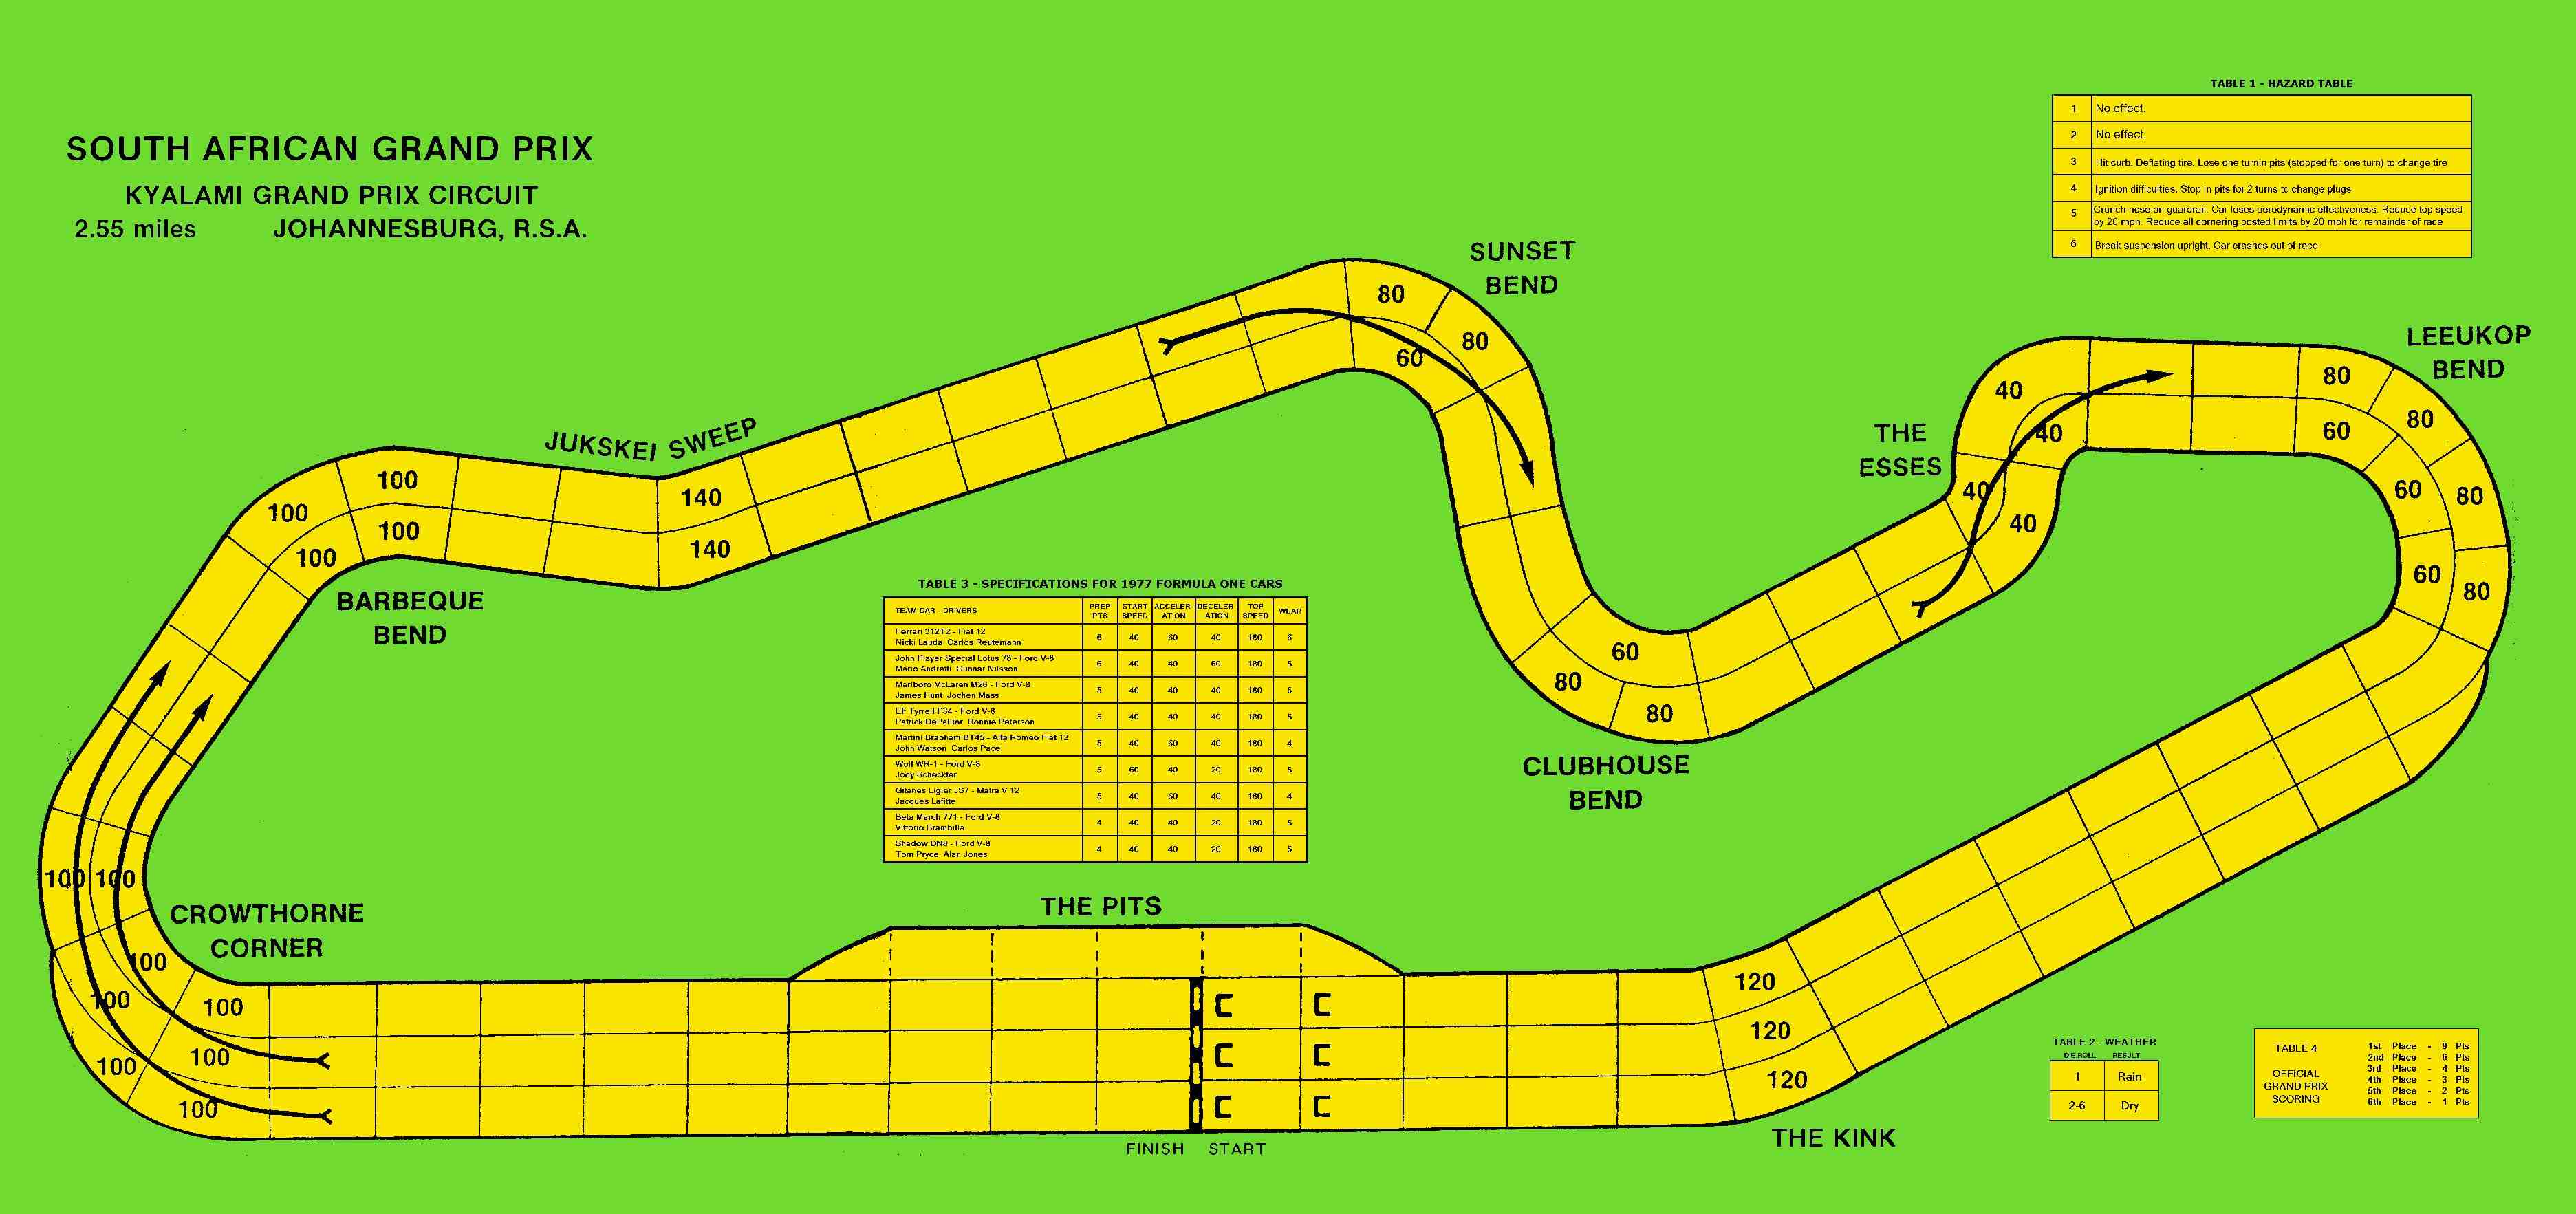
Kyalami race track of the South African Grand Prix. This was from the old Speed Circuit game and was available as an extra item from Avalon Hill.

After the drivers set up their car’s specs, the drivers secretly bid for starting positions. Each wear chit counted as 1.0, and each skill chit counted as 0.5. Higher bids started in front of lower bids. Ties were resolved by rolling percentage dice, high rolls favored over low rolls.

The four main contenders for the title, Cook, Worrel, Kaluzny, and White, all wanted to start near the front of the large pack of 15 cars. A “wild card” in this race was Louye Padol. Padol had raced in some old Advanced Speed Circuit races in the Detroit area near the end of that series in the early 1990s. Padol further stated that since he had never won a race in that old ASC series that he wanted to win a CFR race. Of course, he knew his work was cut out for him, what with the hungry drivers who really wanted to win the championship.

Qualifying

There were some high bids for pole position. Mike Cook snatched the pole with a bid of 9.5 (6 wear + 7 skill). It was Cook’s 8th pole in the 15 races he has participated in, the most of any driver. (Jim Robinson and Bill Worrel each have 2 CFR-Detroit career pole positions.) Louye Padol also started in the front row, in 2nd place, with a bid of 9.0 (8 wear + 2 skill). Garry Kaluzny started in 3rd with a bid of 8.5 (6 wear + 5 skill). Bill Worrel started 4th with his bid of 7.0 (5 wear + 4 skill). Greg Lim (3 wear + 6 skill) and Gary Sturgeon (3 wear + 6 skill) each bid 6.0. Lim started 5th after his percentile dice roll of “73” to Sturgeon’s dice roll of “06,” thus relegating Sturgeon to 6th place on the grid.

Richard White bid 5.5 (4 wear + 3 skill), so he started in the 4th row, in 7th place. Beside White, in 8th place, was Mike St. Peter with his bid of 4.5 (4 wear + 1 skill). Brian Robinson (1 wear + 5 skill) and Jack Beckman (2 wear + 3 skill) each bid 3.5 and so they had a “dice-off” for 9th and 10th place on the starting grid. Brian Robinson started 9th after rolling “63,” and Beckman started 10th after rolling “52.”

Jim Robinson was the 11th place starter with a bid of 2.5 (0 wear + 5 skill). Aric Parr (1 wear + 2 skill) and Jim Landis (1 wear + 2 skill) each bid 2.0. Parr won the dice-off by “45” to “26” and so Parr started 12th, and Landis started 13th on the grid. Joel Lauder bid only 1.0 (0 wear + 2 skill) to start 14th, and P.J. Norton (0 wear + 0 skill) bid nothing and was content to start 15th.

The starting grid for the 2018 South African Grand Prix with their car specs:

 # Driver (Car)                    Start/Accel/Decel/Top/Wear/Skill/Tires
11 Mike Cook (Camel Lotus)          100   40    40   140  5x   3x   soft
25 Louye Padol (Ligier)             100   40    40   160  5x   2x   soft
 8 Garry Kaluzny (Marlboro McLaren) 100   40    40   140  5x   3x   soft
 4 Bill Worrel (Tyrrell)             60   40    40   160  5x   3x   soft
13 Greg Lim (GoDaddy)                60   60    40   160  4x   3x   soft
22 Gary Sturgeon (McLaren)          100   40    40   160  5x   2x   soft
 1 Richard White (Brabham)           60   40    40   160  5x   3x   soft
44 Mike St. Peter (Mercedes)         60   40    40   160  5x   3x   hard
 5 Brian Robinson (Walker Racing)    20   60    60   140  5x   3x   soft
12 Jack Beckman (Ferrari)            60   40    40   160  5x   3x   soft
 2 Jim Robinson (Williams)           60   40    40   160  5x   3x   soft
14 Aric Parr (Motul BRM)             60   40    60   160  5x   3x   hard
20 Jim Landis (Benetton)             60   60    60   160  4x   2x   hard
 7 Joel Lauder (HSBC Jaguar)         60   60    60   180  3x   2x   hard
 3 P.J. Norton (Tyrrell)             60   40    40   160  5x   3x   hard

Start = Start Speed (in miles/hour); Accel = Acceleration (in mph); Decel = Deceleration (in mph); Top = Top Speed (in mph); Wear = # of Wear markers (per lap); Skill = # of Skill markers (per lap); Tires = hard or soft tires to begin the race.

The starting grid at Kyalami

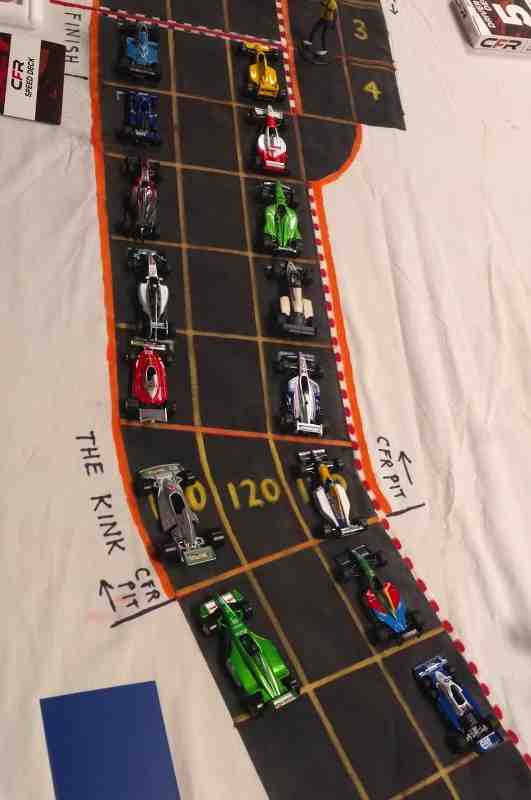
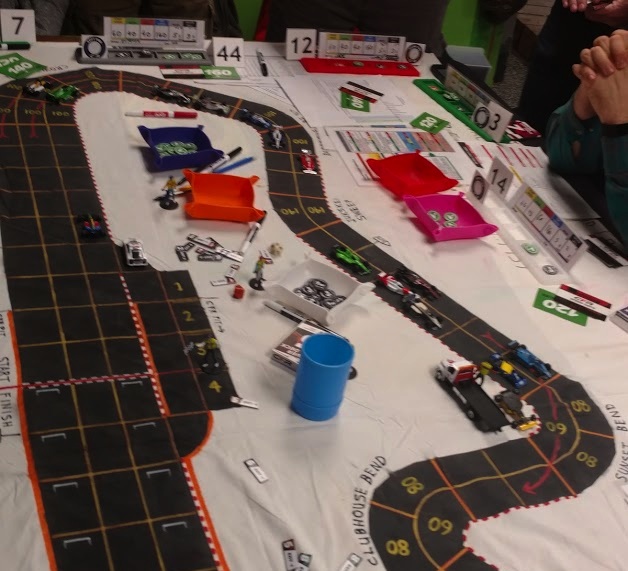
The starting grid at Kyalami: 1st row: Cook (yellow car) & Padol (blue car); 2nd row: Kaluzny (orange/white) & Worrel (blue); 3rd row: Lim (green) & Sturgeon (black/silver); 4th row: White (white/blue) & St. Peter (silver); 5th row: B. Robinson (white/blue) & Beckman (red); 6th row: J. Robinson (white/yellow/blue) & Parr (gray); 7th row: Landis (green/red/blue) & Lauder (green); 8th row: Norton (blue/white). (Bill Worrel photo)

1st Lap

At the start, pole-sitter Cook surprised the field by using his -3 skill chit and rolling dice to boost his car’s start speed to 120 mph, giving up the opportunity to use a wear (since he was on soft tires) to get the automatic 20 mph increase to his start speed. Of course, the fact Cook had bid 6 of his available 15 wear to get the pole position might have influenced his choice, since he only started the race with 9 wear. Padol and Kaluzny, both on soft tires, each used a wear to start at 120 mph. Worrel, who was starting the race with 10 wear after bidding 5 wear for qualifying, rolled dice (using two -1 skill chits) to start at 80 mph. Sturgeon was content to just start at his car’s 100 mph start speed; that allowed him to pull alongside Worrel’s blue Tyrrell. Lim used a wear to get to 80 mph; he slotted himself right behind Worrel. White, starting on the inside of the 4th row, also rolled a -2 modified start speed roll, making the roll and thus starting at 80 mph and pulling right behind Lim. St. Peter, starting on hard tires, was content to just start at 60 mph. That allowed Beckman to pull alongside St. Peter after Beckman used a wear to start at 80 mph. J. Robinson used a wear to start at 80 mph, thus leap-frogging B. Robinson who had used a wear to increase his start speed to 40 mph. Parr, starting in 12th, decided to make an unmodified start speed dice roll. Parr rolled an ‘8’ and thus started at only 40 mph, 20 mph below his car’s normal 60 mph start speed. Landis and Lauder started at their normal 60 mph start speed, and they both pulled even with Parr. Norton, making his first official start in the CFR-Detroit races, was content to start at his normal 60 mph speed.

The pack roars away!

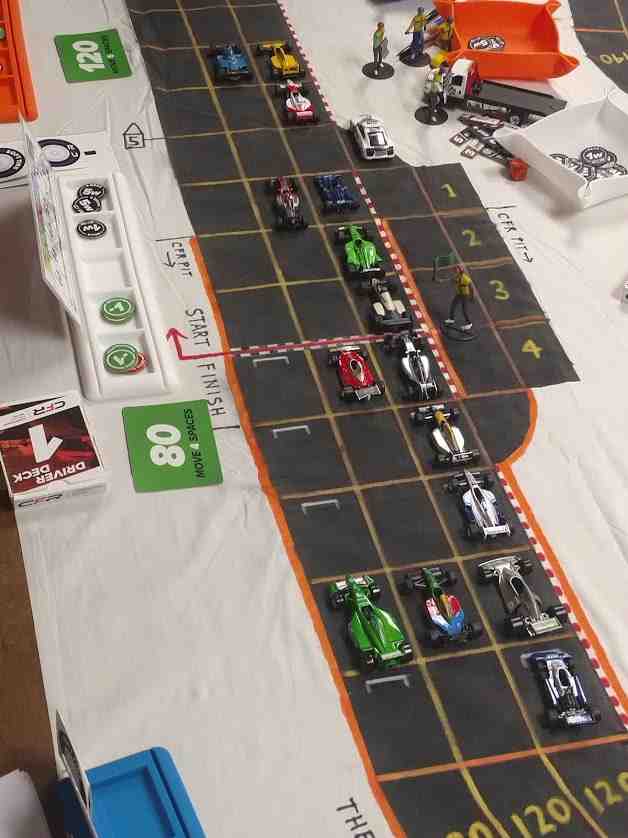
The pack roars away at the start! The order is Cook, Padol, Kaluzny, Worrel, Sturgeon, Lim, White, St. Peter, Beckman, J. Robinson, B. Robinson, Parr, Landis, Lauder, and Norton. (Bill Worrel photo)

On the 2nd move of the game, the leading trio of Cook, Padol, and Kaluzny all increased their speed to 140 mph through the Crowthorne Corner. Worrel spent a -1 skill marker and successfully rolled dice to increase his acceleration. J. Robinson rolled a -2 acceleration roll (and made it). Most of the following cars maintained their order, although Beckman got by St. Peter, and J. Robinson pulled to the inside of St. Peter. Landis got by Parr, and Lauder pulled alongside B. Robinson. As the leaders approached the Jukskei Sweep, Worrel and Sturgeon had caught up to the leading trio. Lauder moved to the inside of White.

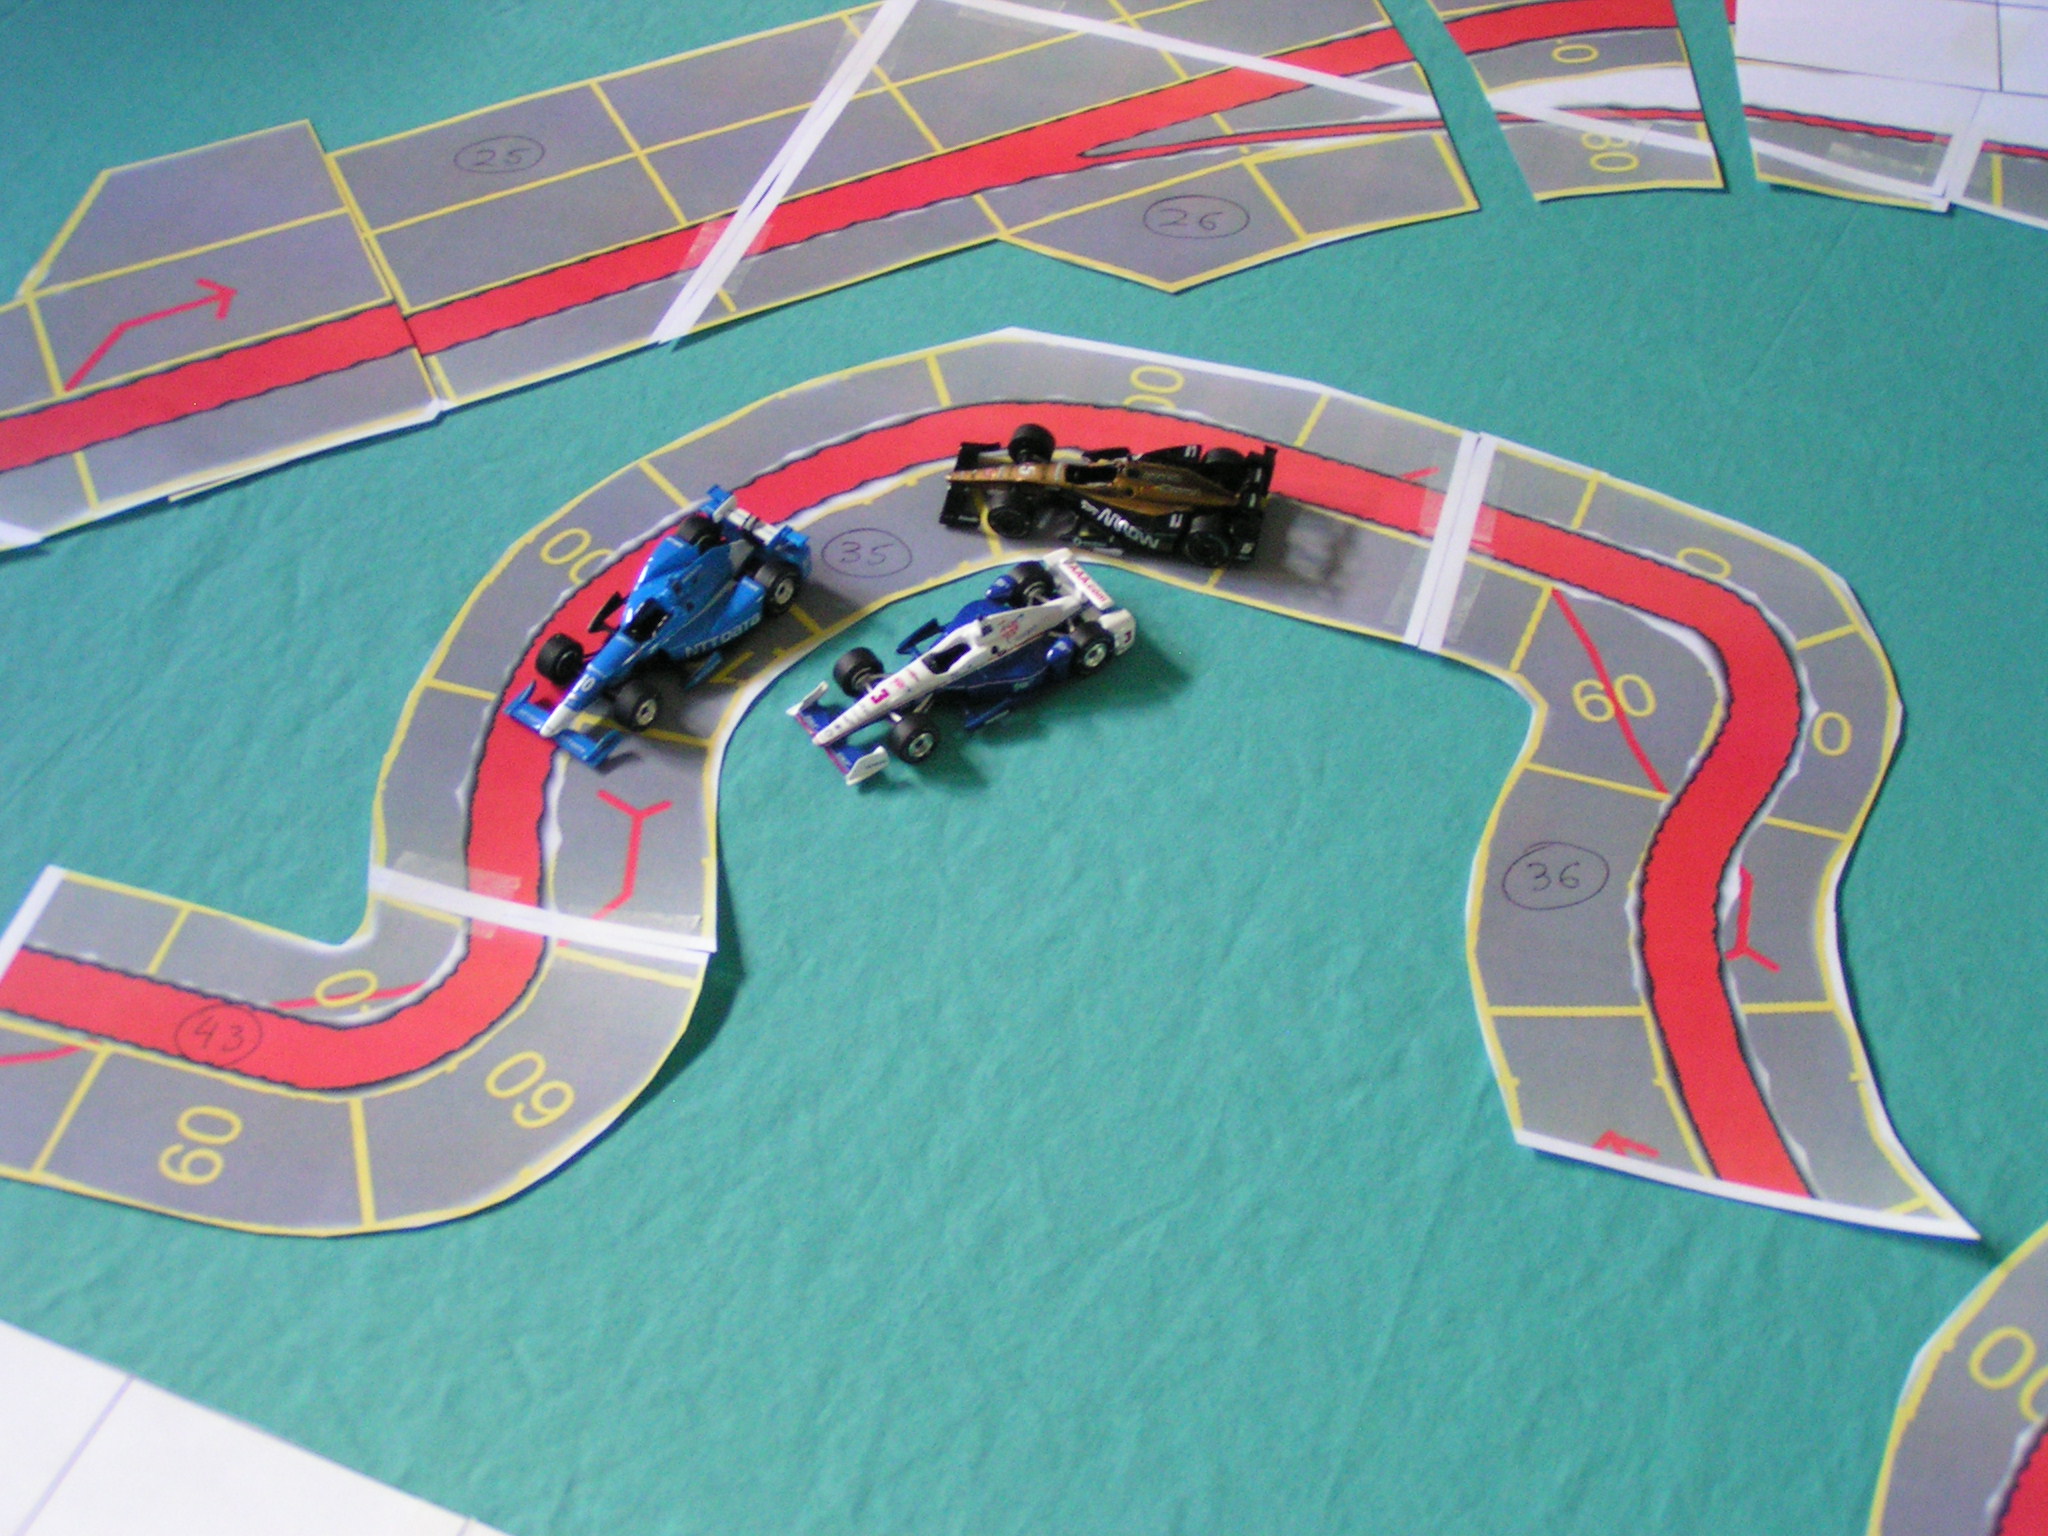
Going into Clubhouse Bend, Kaluzny passed Padol for 2nd, and the pack was all bunched up again.

Cook still leads at Clubhouse Bend

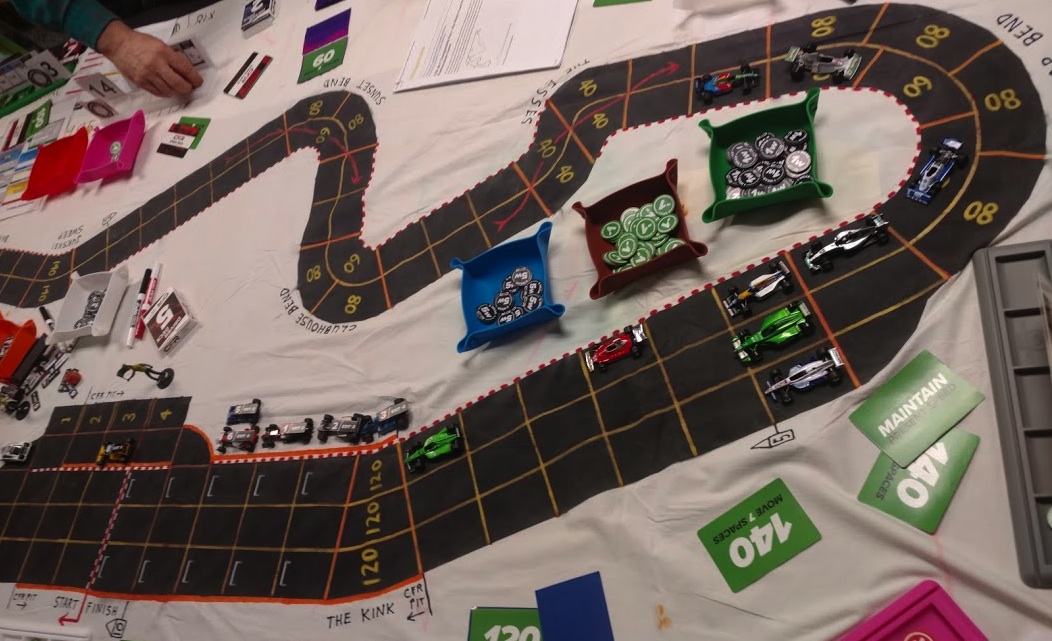
Cook still leads at Clubhouse Bend, followed by Kaluzny, Padol, Worrel, Sturgeon, Lim, White, Beckman, J. Robinson, Lauder, St. Peter, B. Robinson, Landis, Parr, and Norton. (Bill Worrel photo)

St. Peter spent two wears and two -1 skill markers (making a chance roll) going through The Esses at 120 mph. Parr tried to force a pass by Landis through Clubhouse Bend, but was balked. Parr then had to scrub off 40 mph to reduce his speed to 60 mph.

Going through Leeukop Bend, Cook was able to get clear of the pack, opening a 3-space lead over Kaluzny. Cook was one space shy of The Kink, though, and so he was unable to enter the pits before his following competitors. Then on the next move of the race, Cook did pull into the pits just after crossing the start/finish line. It was the 17th lap Cook has led in his CFR-Detroit driving career, far and away the most of any driver. (Cook has led 38% of the laps he has raced.) Also pitting were Kaluzny, Worrel, Sturgeon, White, and Padol. Lim accelerated to 160 mph out of Leeukop, but then had to roll a -2 deceleration roll to reduce his speed to 140 mph as he didn’t have any wear remaining and so would not have been able to enter The Kink at 160 mph. That left Lim one space shy of getting into the pits on that move.

Cook leads the 1st lap

Cook (just past the start-finish line) leads the 1st lap, pulls into pits. (Bill Worrel photo)

During the immediately succeeding move, the cars of Lim, Beckman, and B. Robinson joined the other cars in the pits; they were eventually joined in the pits by Parr. B. Robinson made a -2 chance roll going through The Kink so he could get into the pits at a higher speed. Not pitting were Lauder, J. Robinson, St. Peter, Norton, and Landis. Lauder was then the leader on the track due to his staying out of the pits.

The official order at the end of the 1st lap: Cook (0); Lim (+3); Lauder (+11); J. Robinson (+7); St. Peter (+3); Norton (+9); Worrel (-3); Kaluzny (-5); Sturgeon (-3); White (-3); Padol (-9); Landis (+1); Beckman (-3); B. Robinson (-5); and Parr (-3). The numbers in parentheses indicate how many places a driver either gained (+) or lost (-) from their starting position. After the pit stops were resolved, the running order on the track was Lauder, J. Robinson, St. Peter, Norton, Cook, Worrel, Kaluzny, Sturgeon, White, Padol, Landis, Lim, Beckman, B. Robinson, and Parr.

2nd Lap

Coming out of the pits, Worrel made a -1 modified dice roll to boost his top speed to 180 mph. Kaluzny also used a -1 modifier to increase his top speed to 160 mph. Since the top four contenders basically needed to win the race to also win the championship, they knew going in to this race that they would need to roll some dice! Going into Sunset Bend, Cook made a -1 deceleration roll, and St. Peter used 2 wear and made a -2 chance roll. Then going through Clubhouse Bend, J. Robinson took the lead from Lauder. White then made a forced pass of Worrel coming out of Clubhouse Bend.

Jim Robinson takes the lead

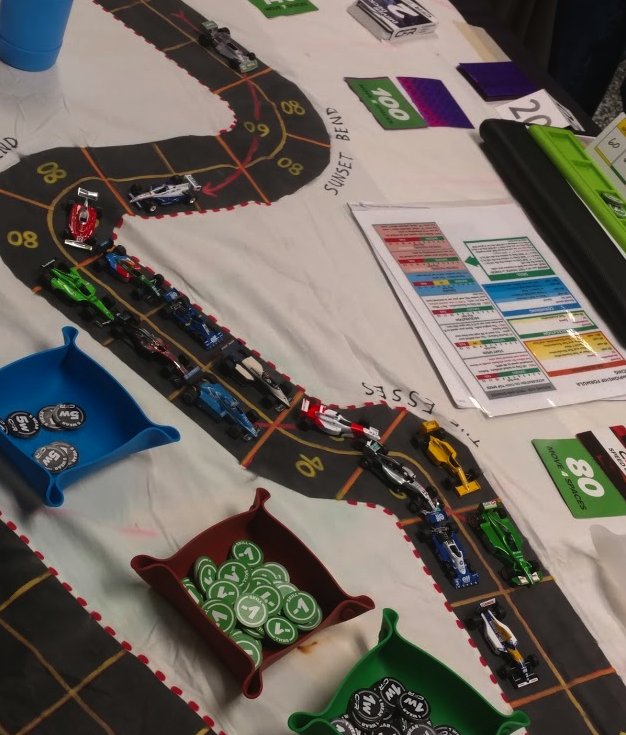
Jim Robinson takes the lead. Following are Norton, Lauder, St. Peter, Cook, Kaluzny, White, Padol, Worrel, Sturgeon, Landis, Lim, Beckman, B. Robinson, and Parr. (Bill Worrel photo)

Jim Robinson managed to gain a 2-space lead over Norton and Lauder coming out of Leeukop, but J. Robinson had to make a -3 chance roll to gain that advantage. Cook had to make a -1 deceleration roll going into Leeukop (dropping to 80 mph from 100 mph), as the road ahead was blocked by Norton’s Tyrrell. In the process, Cook used his last skill modifier, leaving him with no more skill markers, and there was still a little more than a lap left to race.

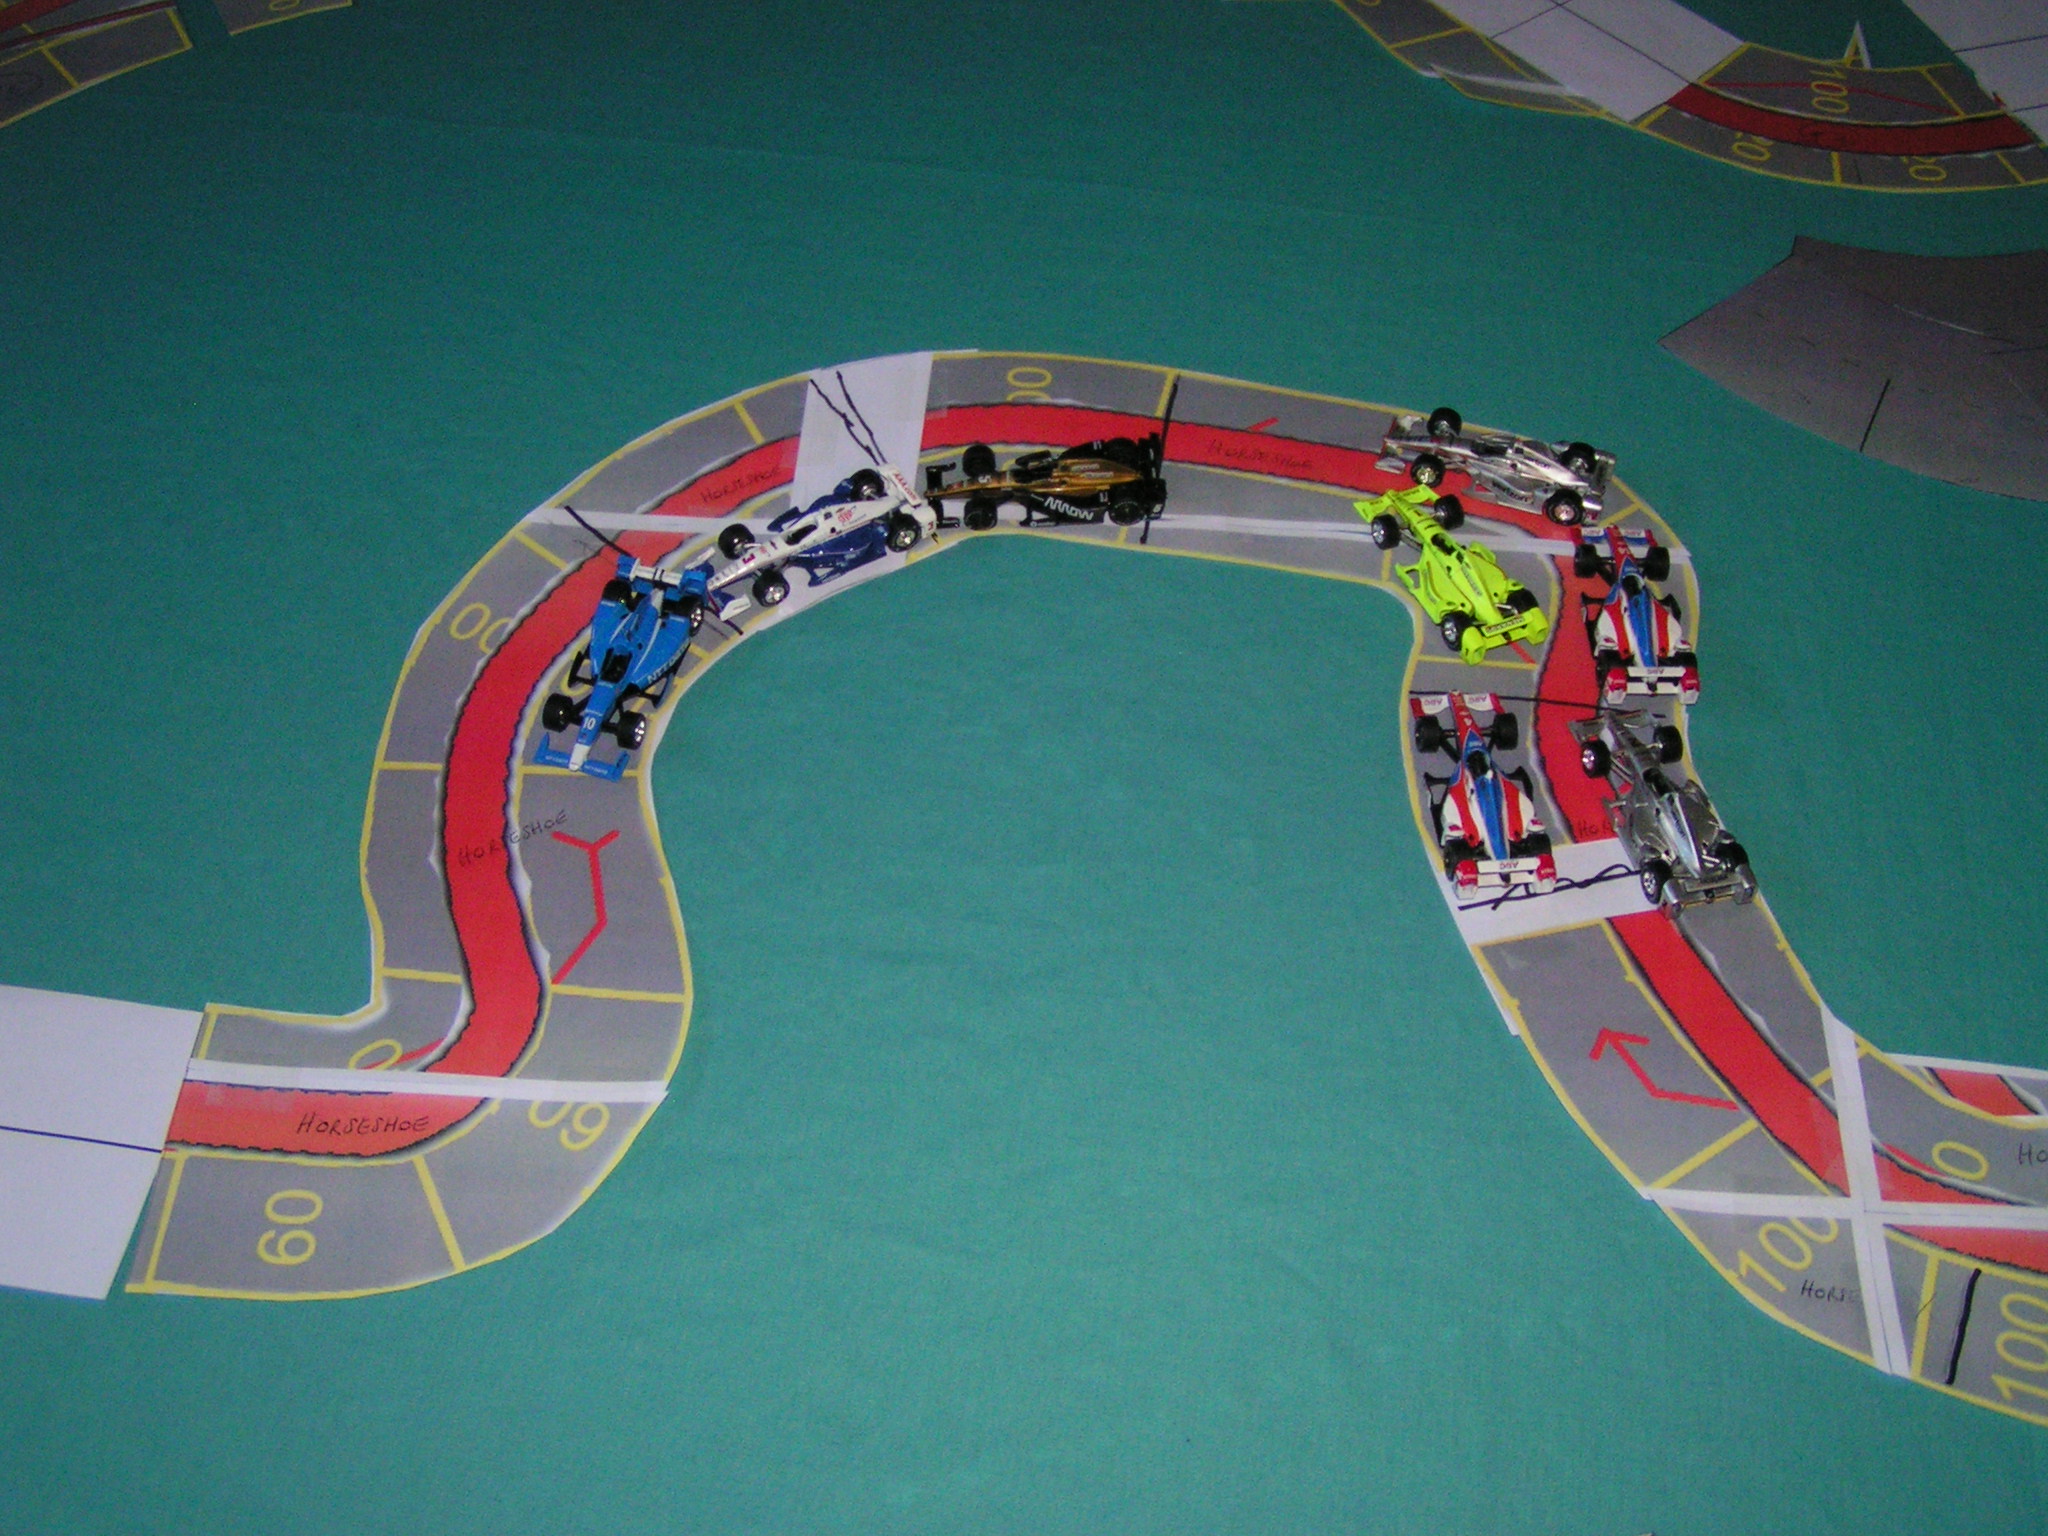
Now the dice started really flying. Jim Robinson needed to pit, and he wanted to pit on his current move, so he rolled a -2 chance at The Kink, but he spun. He had to roll as he was out of wear. Then Lauder tried to get into The Kink at 160 mph, so he used a wear and also rolled a -2 chance. Lauder also spun. Although spun, both J. Robinson and Lauder’s cars were placed into the pits, as The Kink corner was the first space where cars could pit. Norton made a -2 acceleration roll coming out of Leeukop so he could go 140 mph. That left him once space short of The Kink, meaning he couldn’t get into the pits on this move.

J. Robinson and Lauder both spin going into the pits

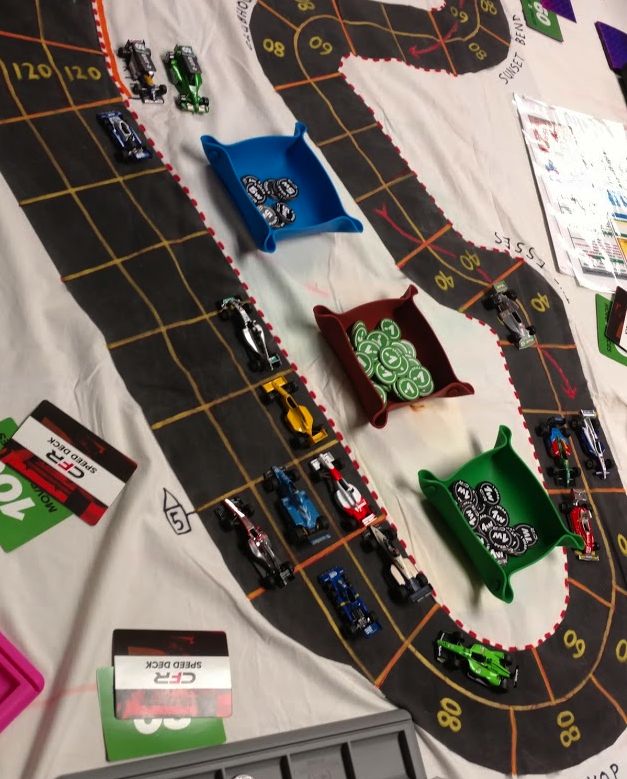
J. Robinson and Lauder both spin going into the pits (so their cars are both facing backwards to indicate they have spun). Other cars on the track are Norton, St. Peter, Cook, Kaluzny, Padol, Sturgeon, White, Worrel, Lim, Beckman, Landis, B. Robinson, and Parr. (Bill Worrel photo)

During the next move, Norton and St. Peter made it through The Kink, then they both pulled into the pits. Cook, Padol, Kaluzny, and Worrel all made it through The Kink, and Sturgeon and White were in The Kink. That meant all six of those cars could accelerate down the long straight. Cook made an unmodified top speed roll to move at 160 mph. Worrel made an unmodified top speed roll to move at 180 mph. Kaluzny wanted to move at 160 mph, and had to roll for his top speed. In spite of using a -1 skill modifier, Kaluzny failed the roll. He moved this turn at 140 mph, and his future top speed was now only 120 mph. So he knew his shot at the championship was doomed. Landis pulled his car into the pits, as he was the last of the cars that had not yet pitted.

Cook, Padol, and Worrel vie for the lead

Cook, Padol, and Worrel vie for the lead to begin the 3rd lap. (Their cars are near the Monty Python-esq hand of Kaluzny.) Kaluzny and White are right behind the leaders, and Sturgeon is also right behind. Lim is just crossing the start/finish line. B. Robinson is just in front of Beckman who is just in front of Parr. The cars of J. Robinson and Lauder have come out of the pits to be placed back in the track in The Kink, but are facing backwards to show they have spun. In the pits are Norton, St. Peter, and Landis. (Bill Worrel photo)

P.J. Norton (+14) was the official leader of the 2nd lap, although he was in the pits when he achieved that honor. The rest of the official order for the 2nd lap: Cook (-1); Padol (-1); Worrel (0); Kaluzny (-2); White (+1); Sturgeon (-1); Lim (-3); B. Robinson (0); Beckman (0); Parr (+1); St. Peter (-4); Lauder (+1); J. Robinson (-3);  and Landis (-2).

3rd Lap

Worrel made a daring move to take the lead going into Crowthorne Corner at the end of the long straight. Since he was on the outside of the track, and would have moved after other cars that plotted the same speed, Worrel plotted 180 mph, made his top speed dice roll, but then slowed to 160 mph before actually entering the corner. That let Worrel move before Cook and Padol. Cook did move alongside Worrel in Crowthorne, with Padol right behind them in 3rd. Kaluzny and White were side-by-side behind Padol, and Sturgeon was behind White.

Worrel and Cook were side-by-side racing through Barbeque Bend and the Jukskei Sweep. Kaluzny, with his damaged top speed, moved to the outside in Barbeque Bend, letting White pass on the inside. Kaluzny did not want to hold up a competitor who had a chance for the championship.

Then came the stunning event of the race. Cook made an unmodified top speed roll to move at 160 mph (so he could move before Worrel) headed into Sunset Bend, and then Cook made an unmodified deceleration roll to get down to 140 mph for the corner. Cook then used 2 wear and rolled an unmodified chance (Cook was on hard tires and so couldn’t use 3 wear, and he was out of skill markers). Unfortunately for Cook, he crashed and was suddenly out of the race, just when he was going for the lead! (Note that if Cook had made the roll successfully, it would have been a piece of “brilliant driving” and might have won the game for him.) Worrel’s car pulled up just short of Sunset, and he took the inside lane, eschewing the cornering arrow that was in the outside lane. Padol then pulled alongside Worrel and took the arrow. White pulled ahead of Kaluzny, and Sturgeon pulled alongside Kaluzny.

Cook has crashed in Senset Bend

Cook has crashed in Sunset Bend (upside down yellow car next to the flat-bed truck). Worrel and Padol are side-by-side just before Sunset Bend, followed by White, Kaluzny, Sturgeon, Lim, Beckman, B. Robinson, Norton, Parr, St. Peter, Lauder, J. Robinson, and Landis. (Bill Worrel photo)

Now Worrel and Padol had a spirited battle on the track. Worrel spent 3 wear through Sunset and Clubhouse, leaving him with only 3 wear remaining for the rest of the race (and with three more corners to go). Worrel then pulled ahead of Padol at The Esses, as Worrel used a wear and made an unmodified chance roll. (It goes without saying that White, Padol, and Kaluzny were hoping for a spin or crash!) As Padol had taken the line behind Worrel, White had to go off-line at The Esses, using 2 wear and making a -2 chance roll so he could be at 100 mph.

Worrel moves in front at The Esses

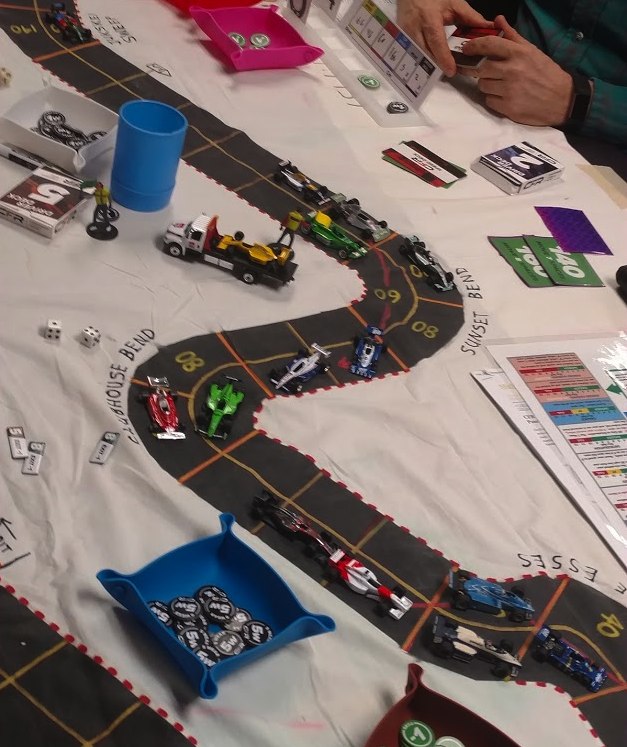
Worrel moves in front at The Esses. Padol and White are right behind, then are Kaluzny, Sturgeon, Lim, Beckman, B. Robinson, Norton, St. Peter, Lauder, Parr, J. Robinson, and Landis. Cook’s crashed Camel Lotus has been loaded on the flat-bed truck, and the flagman is waving the yellow caution flag just before Sunset Bend. (Bill Worrel photo)

Worrel then pretty much wrapped up the race victory and the championship at Leeukop, as he was the only car that made it to the end of the corner where he would be able to accelerate out of that corner in the next move.

Worrel continues to lead at the exit of Leeukop

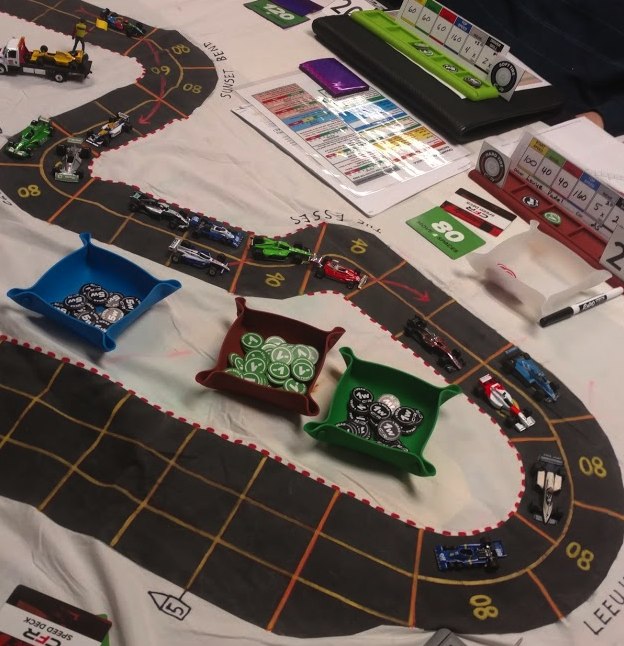
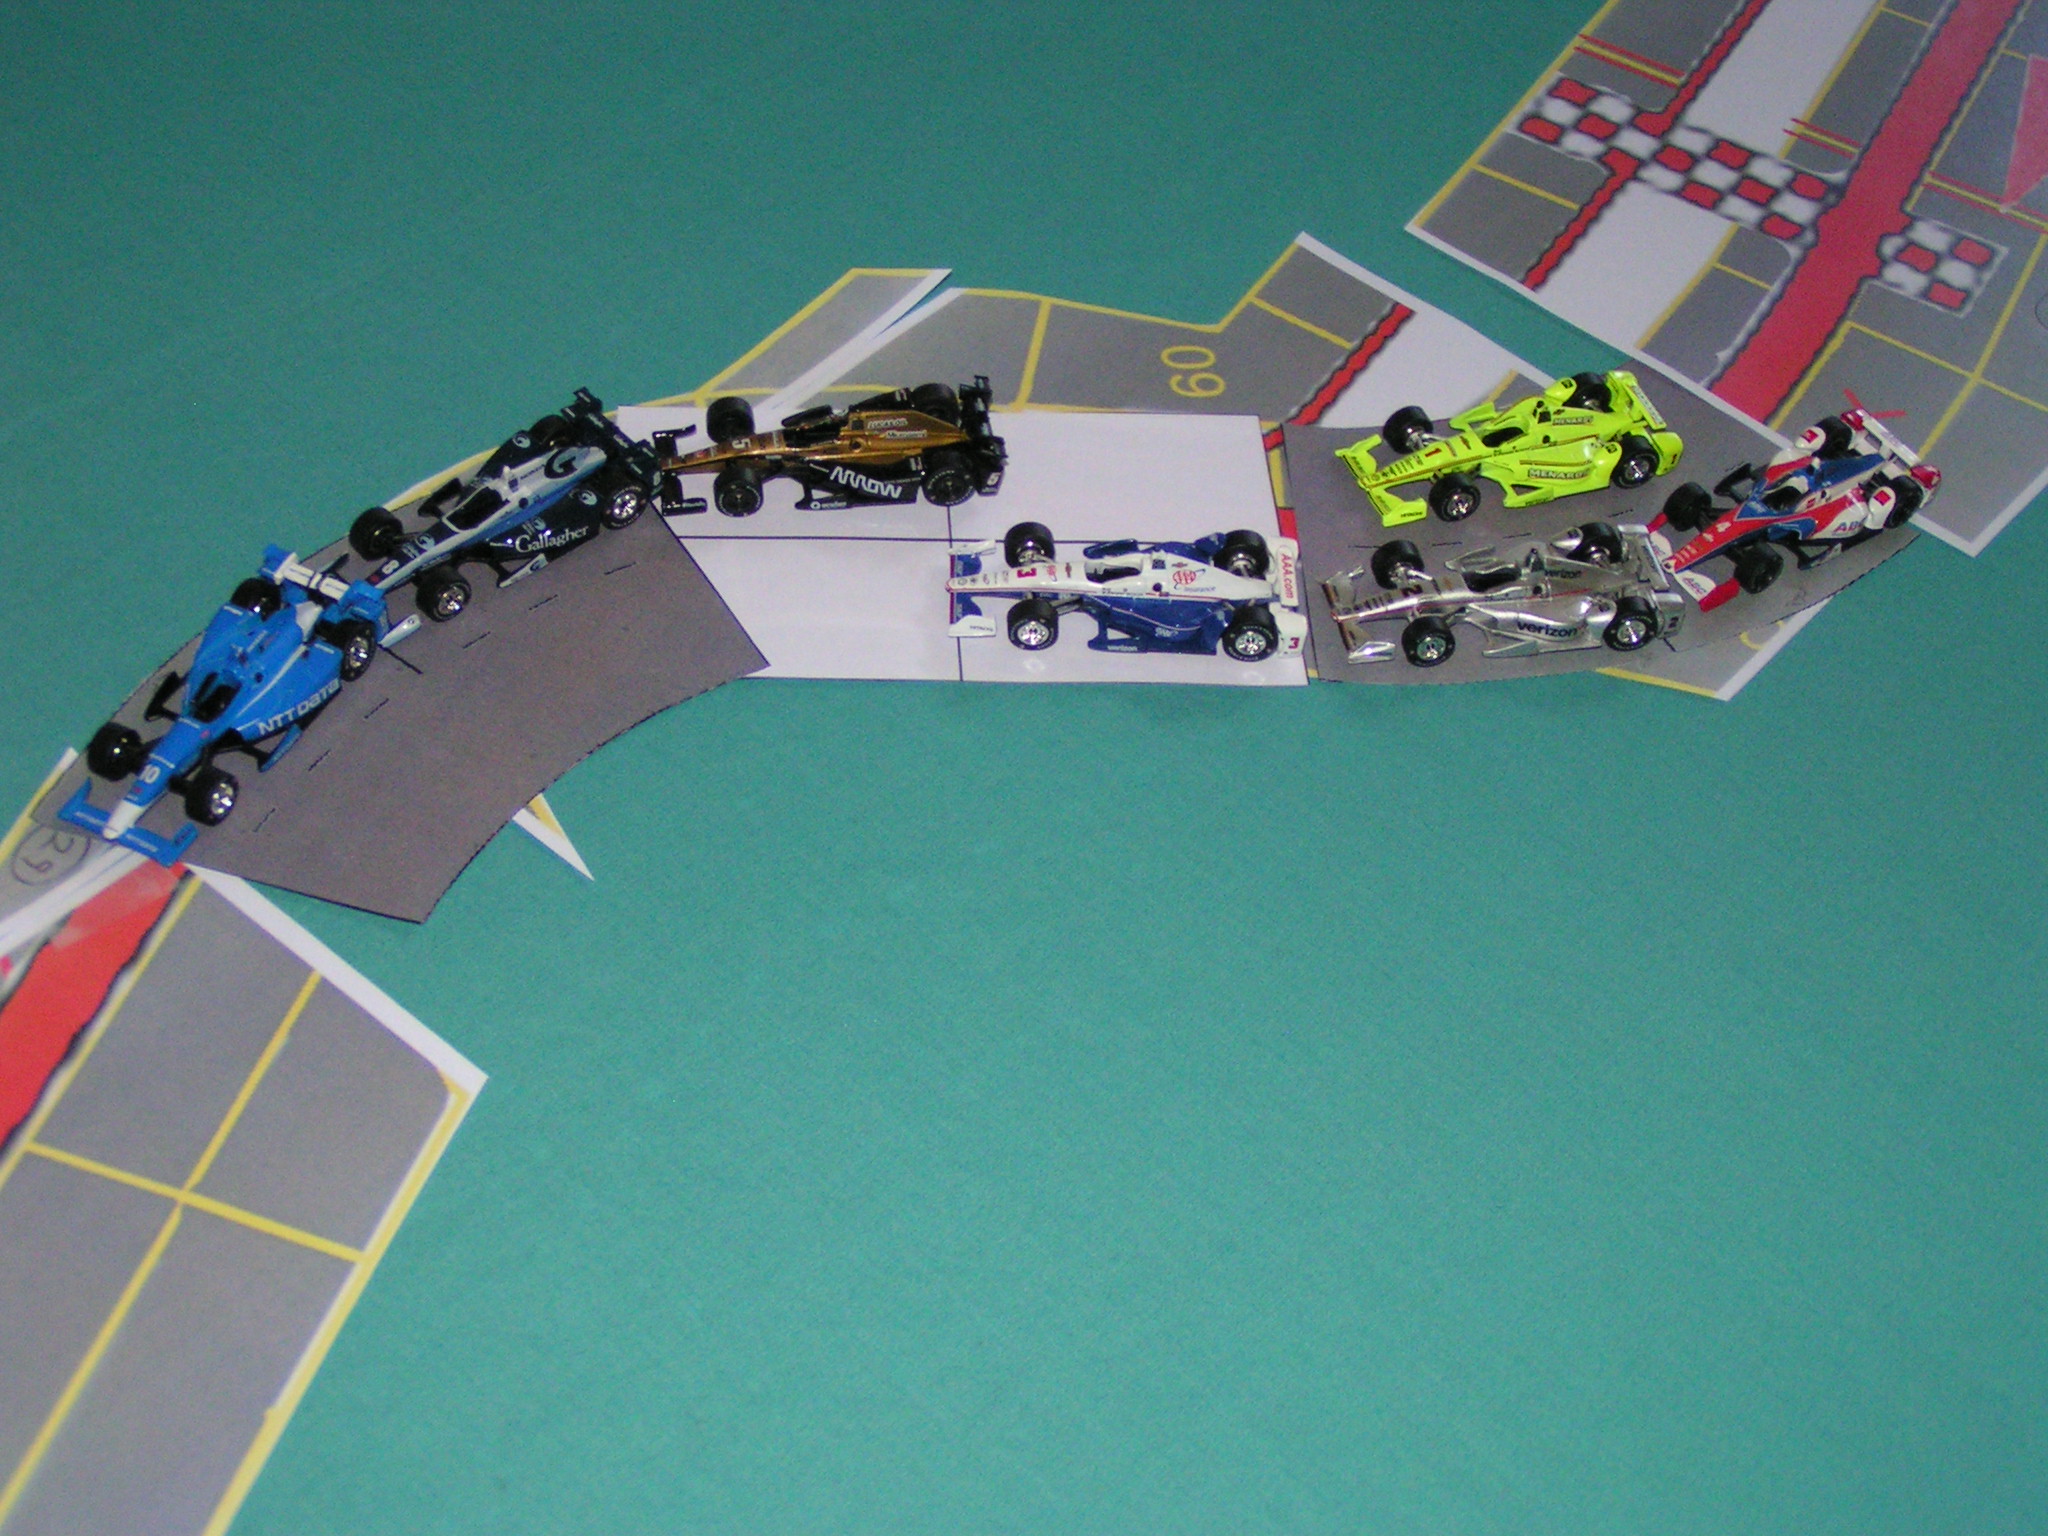
Worrel continues to lead at the exit of Leeukop. White is 2nd, Kaluzny has taken the inside and 3rd place from Padol (who is 4th). Sturgeon is 5th, and Beckman (red Ferrari) has just passed Lim for 6th place in The Esses. (Bill Worrel photo)

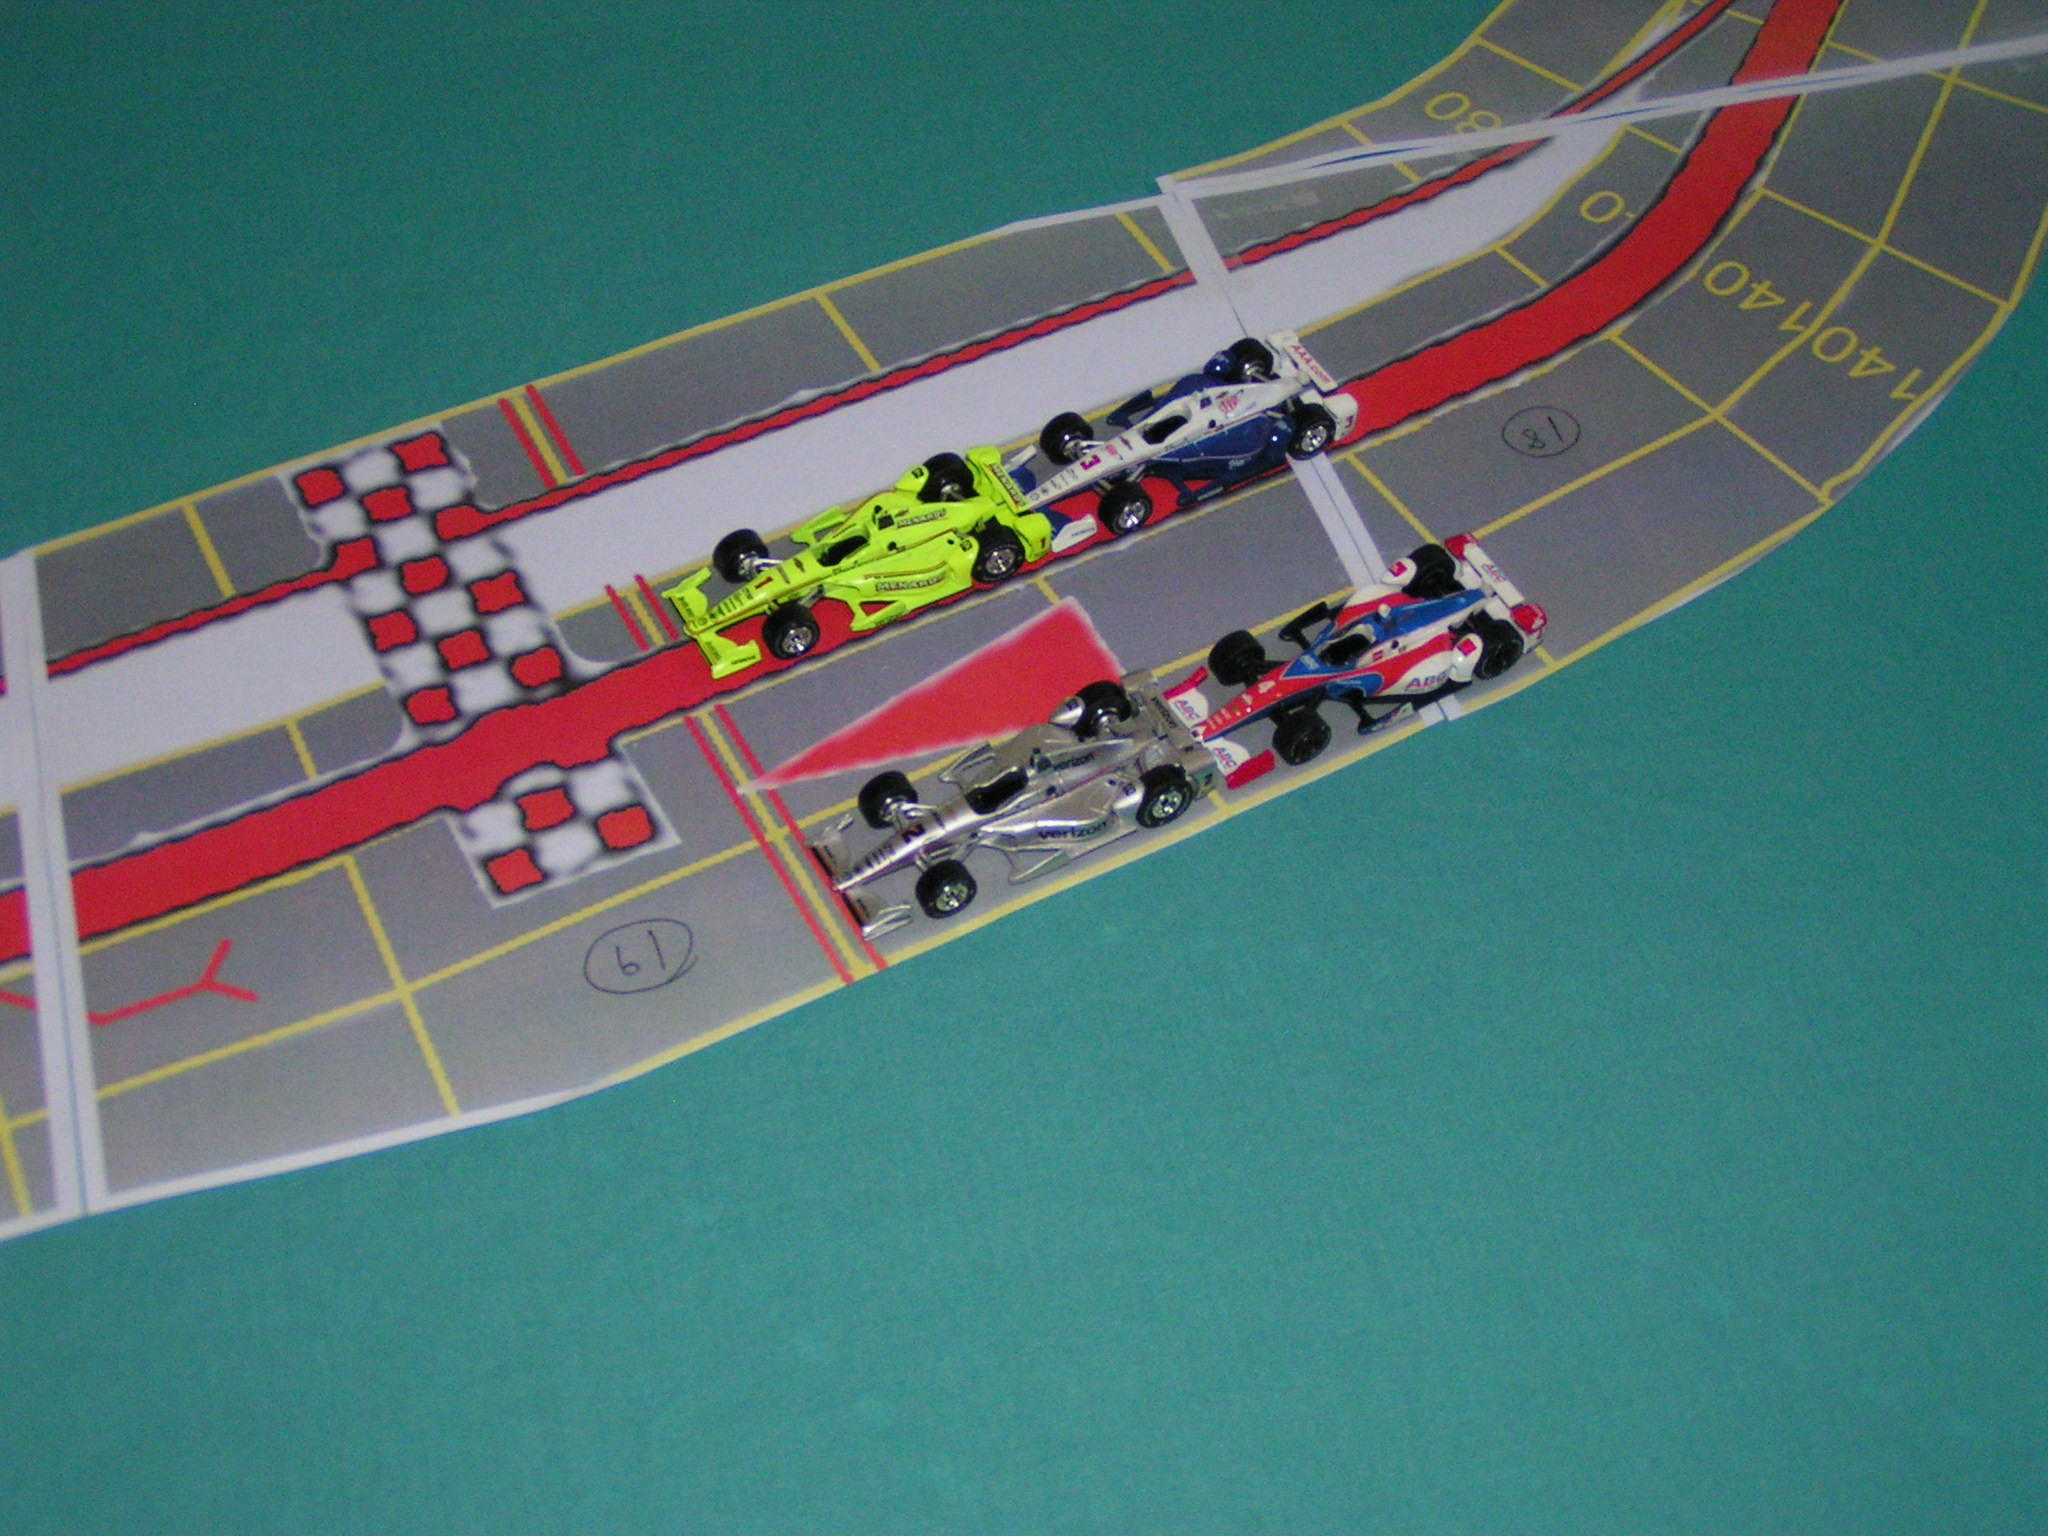
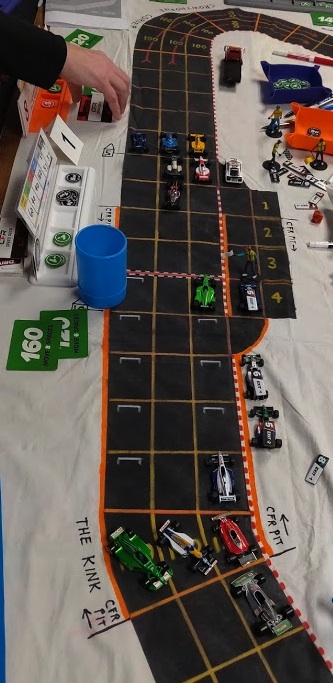
From that point on, the race to the finish line was an anti-climax, as Worrel crossed the line 3 spaces ahead of White and Kaluzny to win the race and the 2018 CFR-Detroit championship! Kaluzny had used a slip to pull alongside White, especially as Kaluzny didn’t dare roll for his top speed again.

Worrel wins the race and the title!

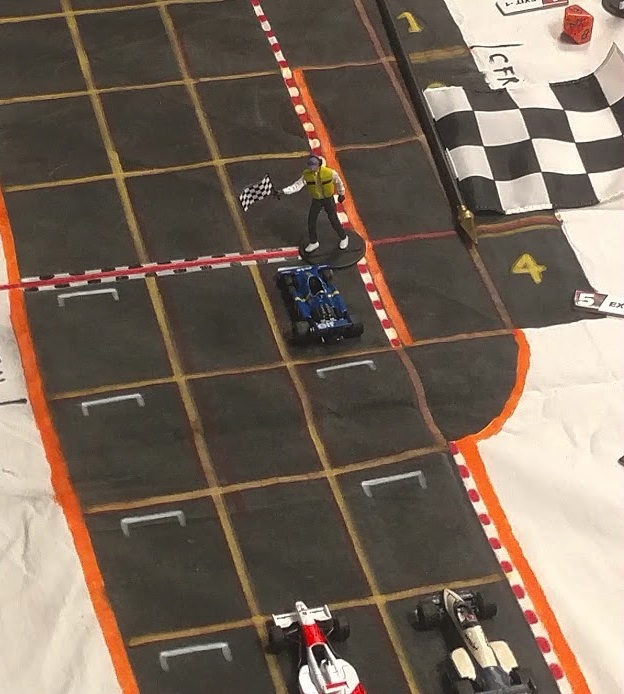
Worrel takes the checkered flag to win the 2018 South African Grand Prix and also winning the 2018 CFR-Detroit points championship. (Bill Worrel photo)

There was still a race on for other positions. Beckman made a -3 chance roll at Leeukop, and Brian Robinson used 2 wear and made a -3 chance roll, also at Leeukop. At some point late in the 3rd lap, Padol failed a top speed or acceleration roll, although it wasn’t recorded when it happened. Failing that roll cost Padol a couple of positions at the finish, at least. Also, Sturgeon was able to pass Kaluzny as they crossed the finish line, thereby earning a podium finish in 3rd for Sturgeon.

The official finishing order at the 2018 South African Grand Prix: 1st-Bill Worrel (+3); 2nd-Richard White (+5); 3rd-Gary Sturgeon (+3); 4th-Garry Kaluzny (-1); 5th-Louye Padol (-3); 6th-Jack Beckman (+4); 7th-Greg Lim (-2); 8th-P.J. Norton (+7); 9th-Brian Robinson (0); 10th-Mike St. Peter (-2); 11th-Joel Lauder (+3); 12th-Jim Robinson (-1); 13th-Aric Parr (-1); 14th-Jim Landis (-1). Classified in 15th with a DNF was Mike Cook (-14).

Aftermath

Louye Padol had a nice drive for his first race using the CFR rules. He was in contention, but he seemed to not want to interfere with the four-way battle for the lead amongst the main contenders for the title. And P.J. Norton, although he had previously raced in a few demo races, performed well in his first official CFR race, moving up 7 places from his starting position to finish in 8th place.

Points awarded at the 2018 South African Grand Prix: Worrel 10; White 6; Sturgeon 4; Kaluzny 3; Padol 2; Beckman 1.

The final points standings of the 2018 CFR-Detroit season (after eight of eight races):

Place Driver (Car)                    Points
  1   Bill Worrel (Tyrrell)             37*
  2   Richard White (Brabham)           32
  3   Garry Kaluzny (Marlboro McLaren)  30
  4   Mike Cook (Camel Lotus)           29
  5   Jack Beckman (Ferrari)            20
  6   Jim Robinson (Williams)           18
  7   Gary Sturgeon (McLaren)           14
  8   Mike St. Peter (Mercedes)          9
  9T  Brian Robinson (Walker Racing)     4
  9T  Aric Parr (Motul BRM)              4
  9T  Jim Landis (Benetton)              4
 12T  Joel Lauder (HSBC Jaguar)          2
 12T  Greg Lim (GoDaddy)                 2
 12T  Louye Padol (Ligier)               2
 15T  Mark Moellering (McLaren)          0
 15T  Gary Kempen (Williams)             0
 15T  Chuck Modzinski (Arrows)           0
 15T  Jim Lauder (Shadow)                0
 15T  P.J. Norton (Tyrrell)              0

* Drivers could only count their 6 best finishes out of the 8 races. Bill Worrel had to forfeit 1 point (from a 6th place at Monaco) due to his having earned points in 7 races. (Worrel did earn 38 points, but could only count 37 of them.)

After the race, Bill Worrel was awarded the 2018 CFR-Detroit Individual Points Championship trophy from outgoing race steward Garry Kaluzny. Kaluzny was then surprised when the rest of the drivers gave Kaluzny a trophy for the appreciation the drivers had for his organizing and running the race series for 2017 and 2018.

Worrel and Kaluzny receive trophies

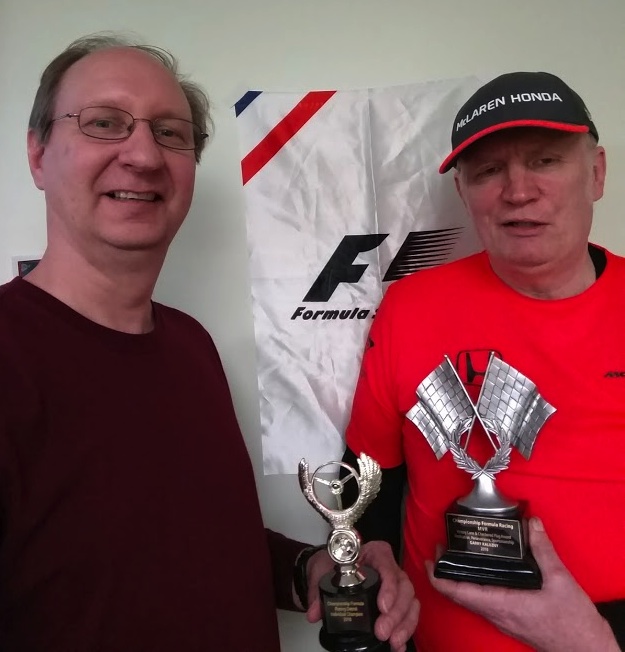
Bill Worrel with his 2018 CFR-Detroit championship trophy (left), and Garry Kaluzny with his appreciation trophy (right).

After the championship trophy presentation, the drivers continued to uphold an old tradition dating back to the Advanced Speed Circuit days in Detroit–they voted to award the “Tom Kane Memorial Award” to the most sportsmanlike driver of 2018. Each driver got to vote for one driver, via secret ballot. The voting tallies were:

Jim Landis – 7
Jim Robinson – 3
Jack Beckman – 2
Greg Lim – 2

Thus, Jim Landis was voted the Most Sportsmanlike driver of 2018 and was awarded the Tom Kane Memorial Award trophy.

Jim Landis receives the Sportmanship trophy

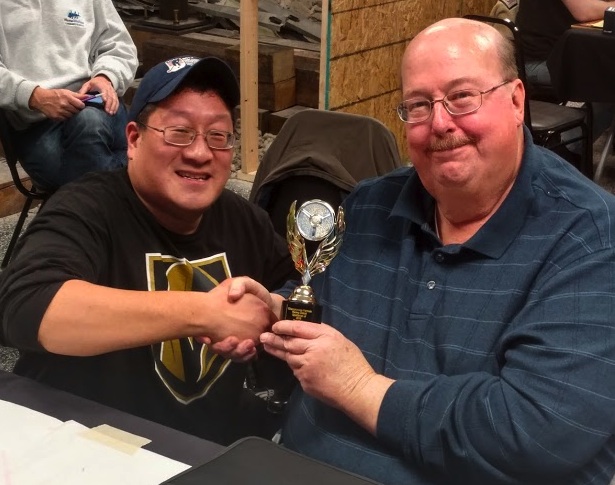
Jim Landis (right) receives the Tom Kane Memorial Award trophy as the CFR-Detroit Most Sportsmanlike driver of 2018. Presenting the award is the 2017 Most Sportsmanlike driver, Greg Lim (left). (Bill Worrel photo)

In the 2018 CFR-Detroit racing season, a total of 20 different drivers took part in the eight races. The most drivers at any race was 15, at both the Belgian and South African Grand Prix. The fewest drivers in any race was 11, at both the Italian and German Grand Prix. The average number of drivers for the season was 12.8 drivers per race. This was an increase from the average of 10.3 drivers per race in 2017.

For the 2019 CFR-Detroit racing season, Jack Beckman will be the race steward. There will also be a “team championship” award added, and already the drivers have mostly formed teams for 2019.

As always, keep up to date for the CFR-Detroit schedule at the CFR-Detroit home page at http://michigumbo.com/cfr/.

A demo race will take place at Flintcon (in Flint, Michigan) on Saturday, February 9, 2019, using the Indianapolis road course. The actual 2019 CFR-Detroit schedule begins on Friday, February 15, 2019, at Pandemonium Games in Garden City, Michigan. We will race the Australian Grand Prix using the Adelaide track. Qualifying begins at 6:45pm. No experience is necessary; you are welcome to join us!

Making a 1:64 Scale Track — Part 3 — Painting the Track

Tuesday, July 25th, 2017

Welcome to the final installment of how to make a large scale race track on a bed sheet. Of course, by “large scale” I am not writing about a “real life” size race track, but a track that can be used to play auto racing board games on something larger than a small board game sized board. Previous blog posts in this series were:

Part 1 — Laying out the track

Part 2 — Marking the track on the sheet

At the end of part 2, we used masking tape to mask off the inside and outside edges of the track. We then mentioned masking off the parts of the sheet that you don’t want to paint, and then start spraying the track. After I finished masking the sheet with newspapers, I then sprayed the first coat of flat black paint on the sheet. It looked like this:

First coat of paint has been sprayed.

First coat of paint has been sprayed.

As you can see, although I tried to spray the paint fairly heavily, it soaked into the sheet and almost looks like it wasn’t sprayed very well. While I found that I usually only had to spray two coats of paint to fully cover a track in the past (allowing about 30 minutes between spraying each coat), this time I went cheap. Instead of buying a “name brand” of flat black spray paint, I opted for the “house brand” paint from a local hardware store. Big mistake. With the house brand paint, I had to apply about five coats of paint to get good coverage, and one can of spray paint wasn’t enough to do the entire job! I had to start using a second can of spray paint. When I previously used the higher quality paint on other tracks, it would usually only take 3/4 to an entire can of paint to cover the track satisfactorily.

The track after several coats of paint.

The track after several coats of paint.

Let the coats of paint dry enough to where you are satisfied with the results, then remove all of the masking. I suggest letting the paint dry at least a full day before applying any other markings to the track.

Masking has been removed.

Masking has been removed.

There was a little bit of spray paint that “bled” onto the sheet, but it’s not too bad. C’est la vie, as they would say in France.

Next, retrieve the track templates you saved, and place them on the track where they belong (i.e., put the turn 1 template where turn 1 should go, etc).

Track templates are back on the track.

Track templates are back on the track.

When you are satisfied with the track template placement, use your templates to mark where the horizontal lane lines will go to divide the track spaces. You should use a pencil to make “tick marks” on the sheet, just inside and outside the track. Then make tick marks with your yellow paint marker on the edges of the track. Note: You should only mark the spaces on straight sections at this time. Leave the corners and “curvy” straights for a little later.

Tick-marking for the horizontal lines.

Tick marking the horizontal lines.

Then remove the template and use a ruler/straight-edge to make straight horizontal lines across the track with your yellow paint marker.

Marking the horizontal lines.

Marking the horizontal lines.

There are usually a few special cases for marking the horizontal lines. On the Belle Isle track, the southeast “straightaway” actually has a gentle curve to its right when it starts outside of turn 6, and then it kinks a bit to its left just before turn 7. See the track diagram:

The Belle Isle track layout from Wikipedia.

The Belle Isle track layout from Wikipedia.

It was difficult to layout the horizontal spaces using a ruler or tape measure, so finally I just placed three rows of 1:64 scale cars on the track (with 12 cars in each row).

Using scale cars to determine track spaces on a curvy section of the track.

Using scale cars to determine track spaces on a curvy section of the track.

There needed to be 12 spaces in this curvy section, so lining up the cars on the track template helped with initial alignment, but then I moved the cars a little until the spacing looked right. I then made tick marks with the yellow paint marker on both sides of the track, then removed the cars and the track template, then used a straight-edge to paint the horizontal lines in this section of the track.

Horizontal lines are painted on the curvy section of the track.

Horizontal lines are painted on the curvy section of the track.

Note that a yellow line is missing in the left side of the above picture. I still wasn’t satisfied with where I had painted the yellow line, so then later I went over it with the black paint marker, effectively erasing that yellow line. Later, when the black paint dried, I re-painted the yellow line in a slightly different location.

Horizontal lines are painted on the track.

Horizontal lines are painted on the track.

Give the just painted yellow horizontal lines a little time to dry (so you don’t smear them by rubbing your hand across them in the next step), perhaps 15 to 30 minutes, then paint the lane divider lines. For straight sections, I usually use the straight section templates, and make tick marks where the lanes should be.

Placing tick marks where the lane lines will go.

Placing tick marks where the lane lines will go.

Move the template down the track, making more tick marks every two or three spaces along the track. When you have marked that entire straight section of track, then use a straight-edge and mark the yellow lane lines. When you have finished a straight section, it should look something like this:

Lane lines have been added to a straight section.

Lane lines have been added to a straight section.

After marking the lane lines on all of the straight sections of the track, we have to add lane lines to corners and other curvy parts of the track. I use the ruler to make tick marks along the curves, then draw the actual lane lines “freehand.” It’s not that difficult to draw an arc. Just place the side of your hand on the table, and slowly “connect the dots.” To make the tick marks on this “3-wide” section of track, I marked ticks at 1.75″ and at 3.5″ from one side of the track.

Drawing lane lines on curvy parts of the track.

Drawing lane lines on curvy parts of the track.

In the above picture you can see me drawing a slightly curved lane line. If you are not sure about this step, you could always practice on some scrap material before you draw on your track. But don’t worry about mistakes, because you can always use your black paint marker to “erase” mistakes you drew with the yellow marker!

Now, some of the corners have one space in their inside lane, and two spaces in the outside lane. This means we need to draw a horizontal line to divide the spaces, but only in that outside lane. Which is why we had to mark all of the lane divider lines before we could divide the outside corner lanes into spaces. For this step, I once again like to use the actual cars I will use for races. Place the cars on the corner, and you can the best place to make that horizontal line. Make tick marks at either side of that outside lane, then remove the cars, and use a straight-edge to draw the line.

When all of the spaces have been marked on the track, it should look something like this:

All track spaces have been marked.

All track spaces have been marked.

Start/Finish Line

Although I could have performed this next step earlier, I will now make a special start/finish line, to make it easily recognizable.

Most track spaces are marked with yellow lines, but to differentiate the start/finish line, I will use a white paint marker to create a sort of “checkered” line. Use a straight-edge, and draw “dots” across the width of the track where the start/finish line will go.

The start/finish line and starting spaces.

The start/finish line and starting spaces.

I also painted an arrow off the extended start/finish line as an aid as to which way the direction of travel goes on that track. Of course, there are also the other cornering arrows, and I also draw the corner speeds so they are readable in the direction you approach them from. Note I also marked six “starting” spaces, like a real F1 race track would have (the real tracks will have more than 6 spaces marked as above, but three rows are sufficient for our game needs).

———-

Once all of the spaces have been marked with the yellow paint marker, use that same yellow marker to apply the speeds in the corner spaces. Make sure you refer to your track diagram to get the speeds and arrows in the proper spaces.

Corner speeds and arrows have been added to the track.

Corner speeds and arrows have been added to the track.

I will make two passes for this step. First, I will go around the track and mark all of the cornering speeds, then I will make a second pass and add the arrows. I will let the paint dry in between each step, so I don’t smear any previously applied paint will adding more speeds or arrows. I also go backwards around the track, so I don’t smear any speeds that I just marked in a corner when I add speeds to other spaces in that same corner. And after the corner speeds and arrows have thoroughly dried, you probably should go over them again, to make them brighter and easier to read from the other end of the track.

When we originally made the tracks in the 1980s, we used red paint markers to mark off the track spaces, etc, but we found that the red lines are too hard to see from some angles. We now use either yellow or white for all of the lines and speeds and arrows. The higher contrast between the black track and the yellow or white lines makes it much easier to see the spaces, no matter where one sits around the track.

We next add the red-and-white stripes to denote the side of the track that is inside to the next corner. Although we never worried about this when we played Speed Circuit (we just designated the infield side of the track as the inside lane), with Championship Formula Racing (CFR) it is more important to know which side of the track is the inside lane to the next corner, so we need to add the red and white stripes. You could make a simpler marking, but the red and white stripe is easy to see at a glance. You will have to go over this striped line at least twice, as the first time you paint the unpainted sheet, the paint will soak in when it dries so that it will almost look like you didn’t paint it in those areas. The 2nd coat should look much better. Go around the entire track in this order: Mark the white dashes, then go around again and mark the red dashes in between the white dashes. Then make a second pass with white, and finally a second pass with red. After you add those stripes, it will look like this:

Red and white stripes have been added to the sides of the track.

Red and white stripes have been added to the sides of the track.

Either use a black permanent marker or a black paint marker to add the name of the track, its location, miles per lap, and years it was raced on. Add this somewhere in the infield of the track, if you can, although it could be anywhere.

Name of the track has been added.

Name of the track has been added.

Notice that I also added the actual name of the road, “The Strand” that the track is on at that part of the Belle Isle track. In other pictures you can also see a “5” or a “10” in a box outside the track. Those numbers are a play-aid so drivers can more easily count the number of straight spaces remaining until the next corner space.

Here’s a little trick to line up the letters nice and even. Mark some pencil lines along where the top and bottom of the letters will go.

Pencil lines were used to line up the lettering.

Pencil lines were used to line up the lettering.

Although the pencil lines may be hard to see in this picture, they are there. I used my tape measure to make tick marks at several places, measuring from one side of the table’s edge. I made the tick marks for the top row (the “Detroit Grand Prix” row) 2″ apart, then the other rows are each 1.5″ high. There is a 1″ space between each row. You can use whatever spacing looks good to you. If you haven’t done this kind of lettering before, mark all of the letters in pencil before using a permanent marker. If you absolutely can’t print neatly, and don’t have time to take drafting classes so you can print neatly, you could always use some lettering stencils or get a friend who can print well to mark the name on your track.

I also add the track name to a corner of the sheet, to make it easier to tell which track it is when it is all folded up for storage. Recently, I’ve also been adding its years of use if you might have different versions of a track.

Track name on the corner of the sheet.

Track name on the corner of the sheet.

I wrote the track name on both sides of one corner of the track, so it doesn’t matter which side is folded to the inside when the track is folded. It is probably better to fold the track with the painted side to the inside, just to better protect it. We used to just apply a piece of masking tape to the folded track with the track’s name, but tape will fall off after a number of years, so using a permanent marker is a much better way to go. And since some tracks have had revisions over the years, (see the many changes of the real life Silverstone, England, track as an example), the years for a particular track configuration have been added. I’ve also been adding what minimum table size is needed to use that track, so you’ll know what size or how many tables you’ll need to set it up. In the case of this Belle Isle track, the minimum table size is 3’9″ wide by 7’1″ long. In practical purposes, this will probably be used on a 4′ x 8′ table top.

The finished track.

The finished track.

At last, the track is finished. It’s time to race!

Making a 1:64 Scale Track — Part 2 — Marking the Track on the Sheet

Thursday, July 20th, 2017

In this blog post, we’ll tape our sheet to the table, then lay out the track sections again. Read Part 1 of Making a 1:64 Scale Track to see how we arrived here. Note that you can make a similar track for other scales of cars. If you use something like 1:43 scale, you would have to adjust the size of the spaces (and a full track probably wouldn’t fit on a sheet). You could of course make large tracks on foam-core board, or other material. Part of the reason we went with 1:64 scale cars originally is that in the 1980s, when we starting making the large tracks, Hot Wheels cars were the easiest cars to find. We also found that most of Avalon Hill’s Accessory Pack tracks would fit on a sheet at 1:64 scale.

So, I finished washing and drying my twin bed flat sheet, then stretched it out on my ping-pong table, and then taped it so it would stay fairly tight so it would avoid wrinkling while I marked it up. I laid out the former track sections on the sheet, but the outline just didn’t look quite right to me.  In particular, some of the corners on the real track were sharp, 90-degree turns, while the templates I used for 90-degree turns were more gradual and rounded. So, I then printed out the actual track file using the Acorn program (from Flying Meat Software), then taped some sections together, then laid them on the table on top of the former outline. That original track plan is with the red stripe down its middle.

The new track outline is on top of the old track outline.

The new track outline is on top of the old track outline.

It was very apparent that the new outline seemed much smaller than the former outline.

The new track outline is smaller than the old track outline.

The new track outline is smaller than the old track outline.

The former outline that I used was based on templates, where all of the straight pieces had spaces that were 3″ long by 1.75″ wide, and the template corner spaces had been printed so my 1:64 cars would fit on them without encroaching on the spaces of other cars. When I printed the actual track outline (with the red stripe), I printed it at 775% of my original file’s size. That made most of the straight spaces 3″ long, but it also meant that the corner spaces were too small. If you had more than one car in a corner area, the cars would interfere with each other. Since you can only paint the track once, it is better to resolve any issues in this, the planning stage! Naturally, I had to cut out these new track sections and tape some of them together with clear cellophane tape. Note that I cut close to the track outline as eventually I will trace around the track outline with a pencil. If I just placed the printed pages on the sheet, I would have to cut them later before I could trace the edges, and that would then put pieces out of alignment.

Now, of course, the table top was too cluttered, so I picked up all of the template sections and left just the new track outline pieces on the table.

Track outline sections.

Track outline sections.

I then measured from the different edges of the track, and tried to center the sections as much as possible. This is not only for aesthetics, but for practicality, as when playing Championship Formula Racing, each driver needs to lay out their cards without laying them on the track. While you should try to leave an open “border” around all edges of the track, that won’t be possible with some tracks.

Measuring from the edges to center the track on the sheet.

Measuring from the edges to center the track on the sheet.

I then centered the pieces, and placed them together to see how it looked.

The centered track.

The centered track.

Now comes the task of checking how the 1:64 scale cars fit. Get out your scale cars and see how they fit on actual parts of the track outline.

Cars fit on the straight sections.

Cars fit on the straight sections.

It looks like the straight sections are long enough for my Greenlight IndyCars to fit. I also tested the sections with my old Hot Wheels open-wheel race cars that are the same length as the newer Greenlight cars. Note that the printed track is narrower than I will paint the finished track. The proportion of the rectangles for a poster-board size track is different than I want for my large track. When I design a poster-board size track, I make the straight spaces 1″ long by 0.5″ wide. That usually works well with small race cars. However, for the large track, I make spaces that are 3″ long by 1.75″ wide. That means that when I trace around the edge of the finished track layout, I will have to do a little more marking.

Now, to check the fit in a corner. Oh-oh! The corner spaces are too small!

Cars don't fit in the corners.

Cars don’t fit in the corners.

While the #3 car in the picture above fits on the inside space, the two cars on the outside of the corner (which is two spaces long) don’t fit into their spaces. This means I will have to allow for more space. In years past, I would just move the straight track sections a little and “fudge” or estimate the new corner area. I would put a clean piece of paper under the corner area, and pencil in where the lines should go. But this time, I decided to go back and reprint the corner sections. I printed the corners at 900% (instead of 775%) of original this time, and they printed just about right.

But before I reprinted the corners, I substituted the template pieces.

Cars on template sections.

Cars on template sections.

Using the template sections, I can see that the cars will fit. Of course, by allowing for a longer corner section in this area of the track (this is turns 1 and 2, just past the start-finish line), it will affect the alignment of other parts of the track.

Another part of the track where the cars don't fit.

Another part of the track where the cars don’t fit.

I also found a part of the track that was in a “U” shape also didn’t fit the cars well, not for the curvy-“straight” sections nor in the actual numbered corner spaces. So I had to re-print that entire section. And even after I printed that section at 900%, some of the spaces were still too short. So, I spliced in a couple of pieces of paper to “expand” that section slightly, and also used a permanent marker to mark new lines between the spaces.

Splices added and spaces re-marked in the "U" section.

Splices added and spaces re-marked in the “U” section.

After checking all of the sections so that the cars would fit the spaces (particularly in the corners), and rechecking the track alignment (also  re-centering the track sections on the sheet), it is time to tape down the track sections so they don’t move when you mark off the outline of the track. I just use small pieces of masking tape to tack down the track sections. I’ll usually just use four small pieces of tape per track section to ensure that section doesn’t move when I mark its outline on the sheet.

Taping the sections of the track.

Taping the sections of the track.

Note that the above track sections were printed at two different scales, which is why they don’t line up along their outside edge. Since I am using the inside border of the track as a reference, that is not critical.

Now is the time to mark the outline of the track. Use a pencil for the “first pass” as if you make any mistakes, you can easily correct them! At first, I only marked off the inside edge of the track sections, as that was my “reference” point. Some of the printed track sections that I used for laying out the track were not wide enough, so I had to make sure that I marked the track as wide as it needs to be for each section. Remember that I am making each space 1.75″ wide, so if the track is “2-wide” (meaning the track is two spaces wide) in an area, then the total track width is 3.5″. (Sorry, I didn’t warn you there would be math involved in painting a large-scale track!) If a track section is “3-wide” (three lanes side by side), then the total track width is 5.25″ in that area. I use the straight edge to check the width of a section before marking the outside lines of the track.

Using a ruler to check the track width.

Using a ruler to check the track width.

In the above picture, I am making pencil “tick” marks where the 5.25″ outer edge of the track will be for this 3-wide section. I had to do this because of the varying scale of my template pieces. Even if you have perfectly sized templates, you should check the width of your track before masking and painting it. After making tick marks in an area, I used a pencil to “connect the dots (ticks).” When I was satisfied with the pencil inside and outside borders, then I went over the pencil marks with a permanent marker.

Outlining the track with a permanent marker.

Outlining the track with a permanent marker.

When the outlining was completed, I removed the paper templates. I removed the small pieces of tape from the templates, then stacked them carefully out of the way, in order, as I will need them again to aid in actually painting the lines for the spaces on the track (see Part 3 of this series).

The completed permanent marker outline of the track.

The completed permanent marker outline of the track.

Note that there is a pit lane to the left. Although Championship Formula Racing doesn’t use a formal “pit lane,” we are thinking of using our older Speed Circuit era pit stop rules, and we would need to drive down pit lane. I felt it would be easier to add the pit lane at this time, rather than to try to add it at a later time, when I would have to re-mask the track and paint part of it again. Towards the right side of the picture I also made an adjustment so a 3-wide straightaway section could blend into a 2-wide corner.

The track outline has been masked with tape.

The track outline has been masked with tape.

Next, we will need to cover all parts of the sheet with newspapers (or whatever you have on hand) and then tape it down to the inside and outside track outline, and then we’ll start painting. That process will be continued in Part 3 – Painting the track.