The fourth race of the CFR-Detroit 2018 racing season was held at Imperium Games in Wixom, Michigan, on Saturday, August 11, and Mike Cook, the pole-sitter, won handily over 11 other competitors. Second and third places went to Gary Sturgeon and Jim Robinson, respectively. Although the CFR-Detroit races have been held on Friday evenings, it was decided to move most of the races to Saturday afternoons because with the 15 racers who competed in last month’s race, the race would not have been able to be completed before most gaming stores would have closed for the evening. We were fortunate that the previous race was at Pandemonium Games and Hobbies in Garden City, and that store stayed open until midnight (most other game stores close at 11:00 pm) and so we were able to complete the race at “Pando” before being evicted for the evening!
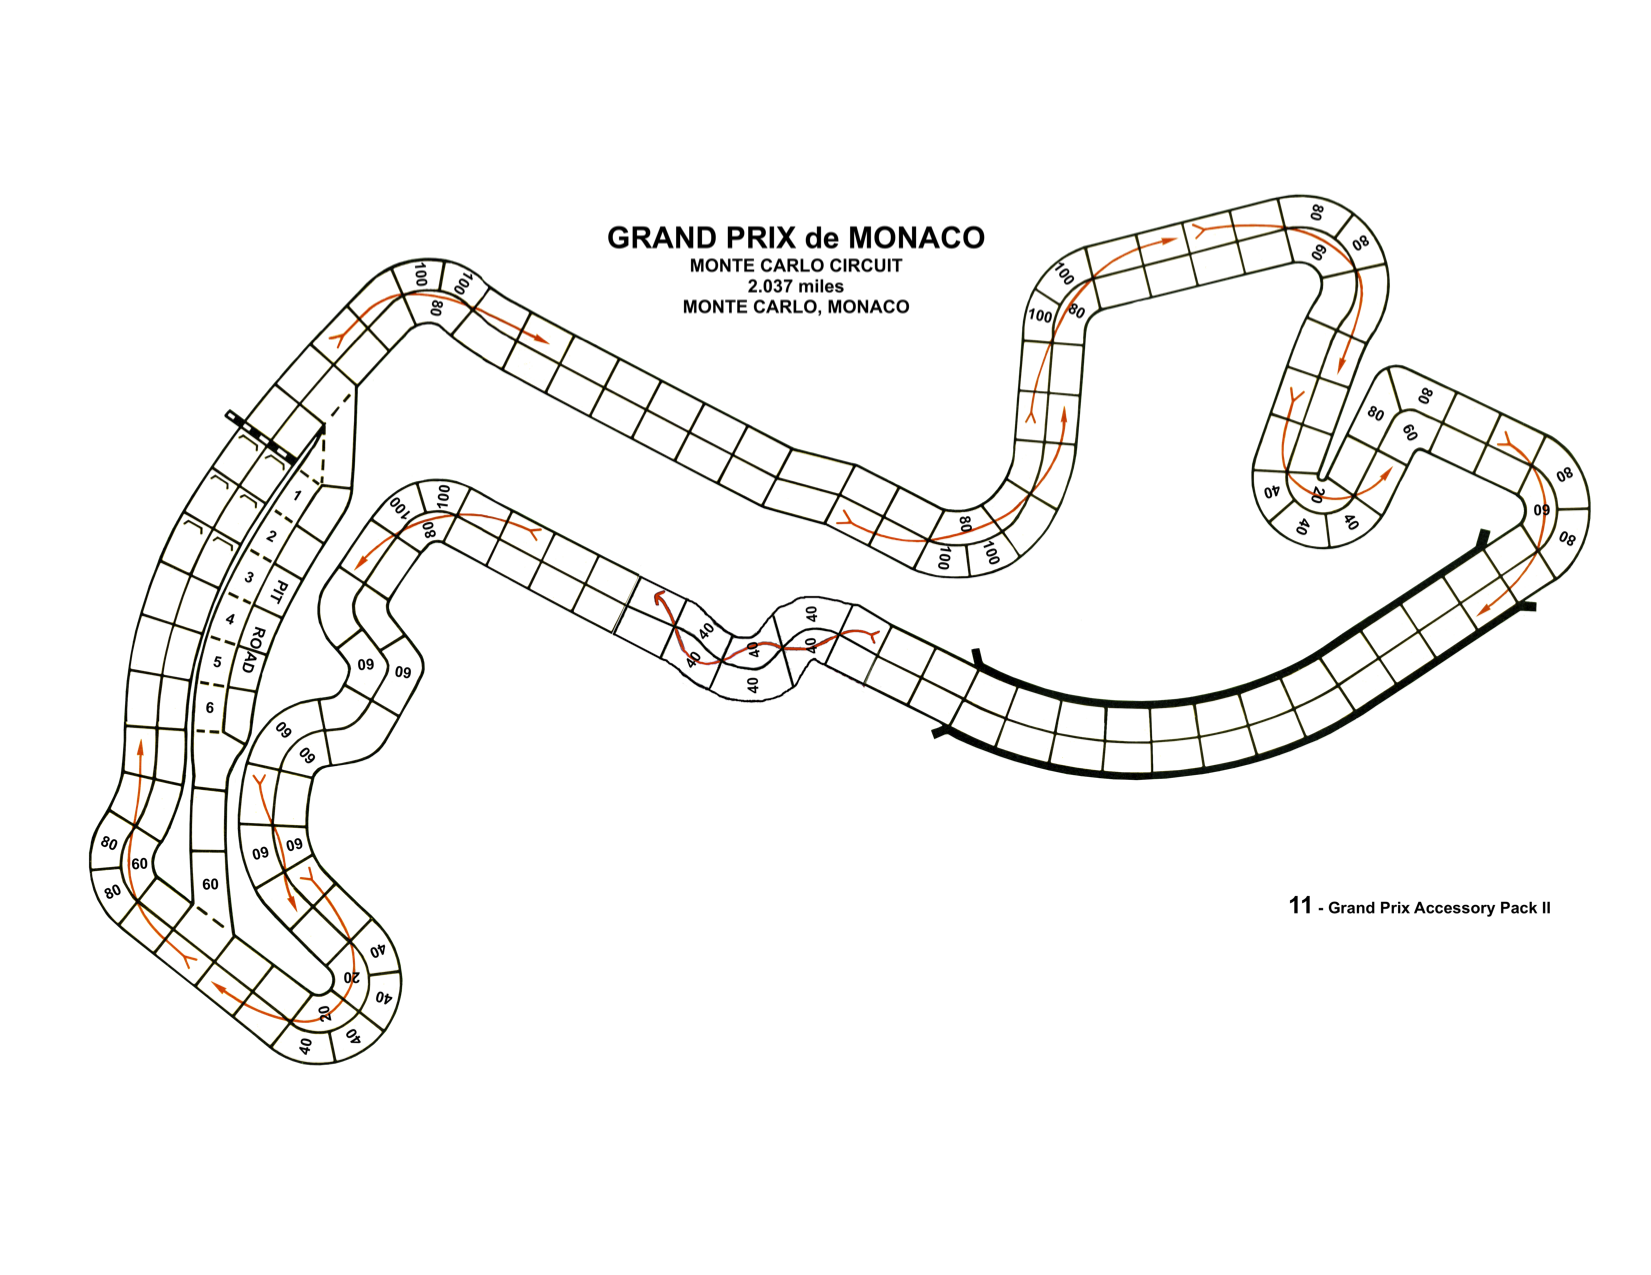
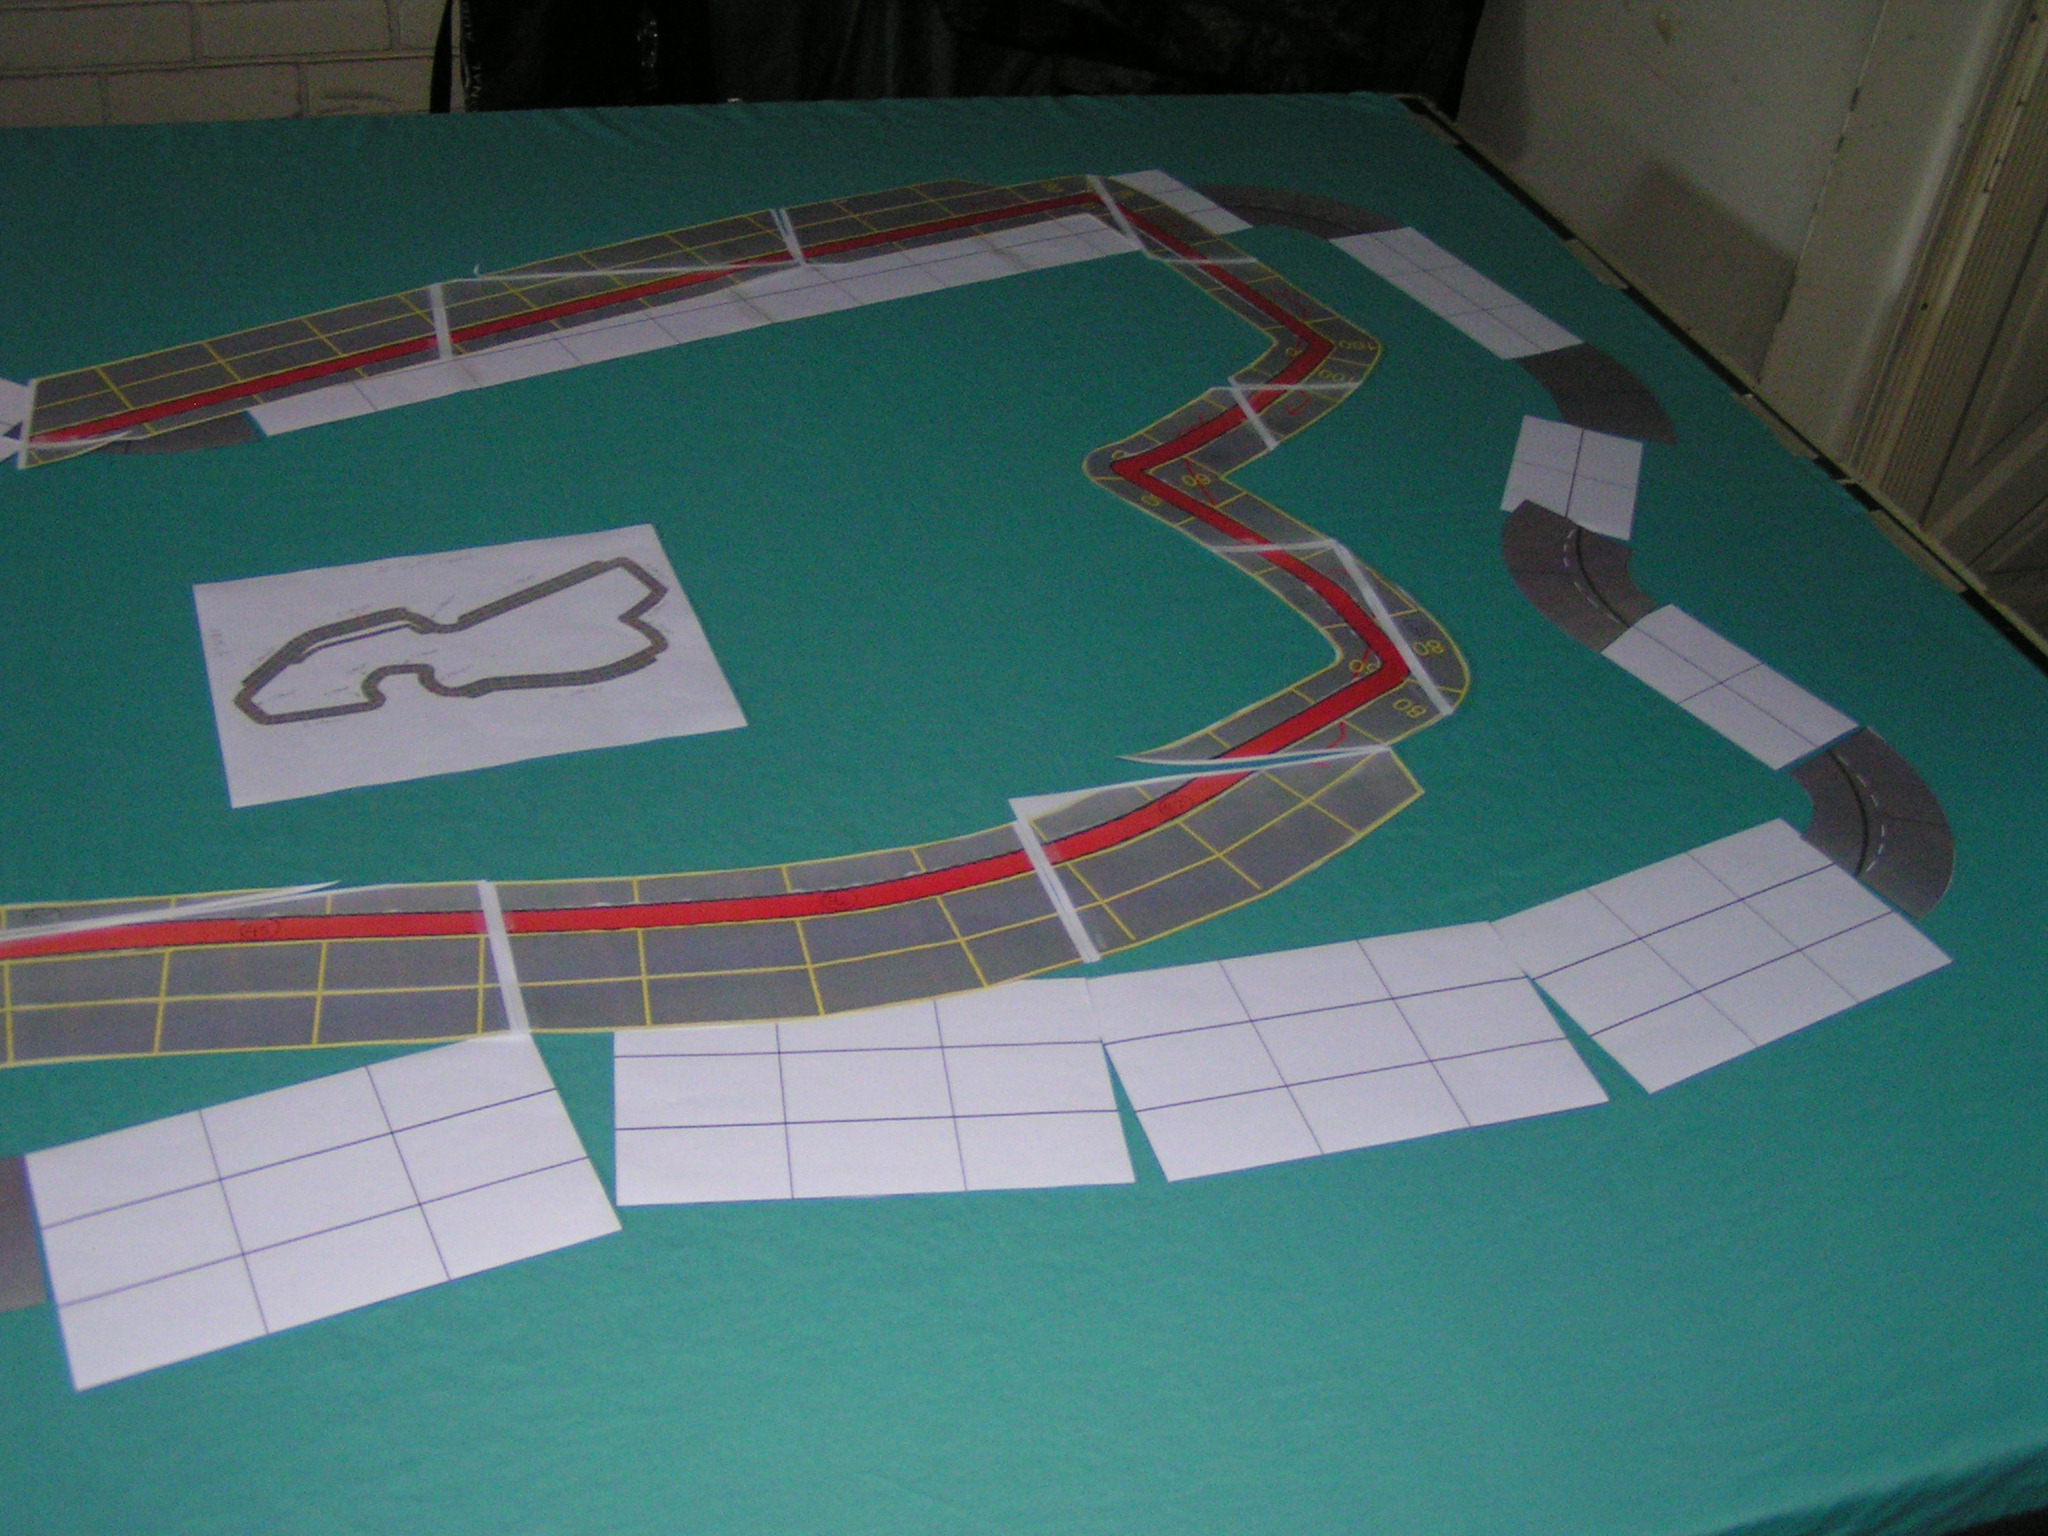
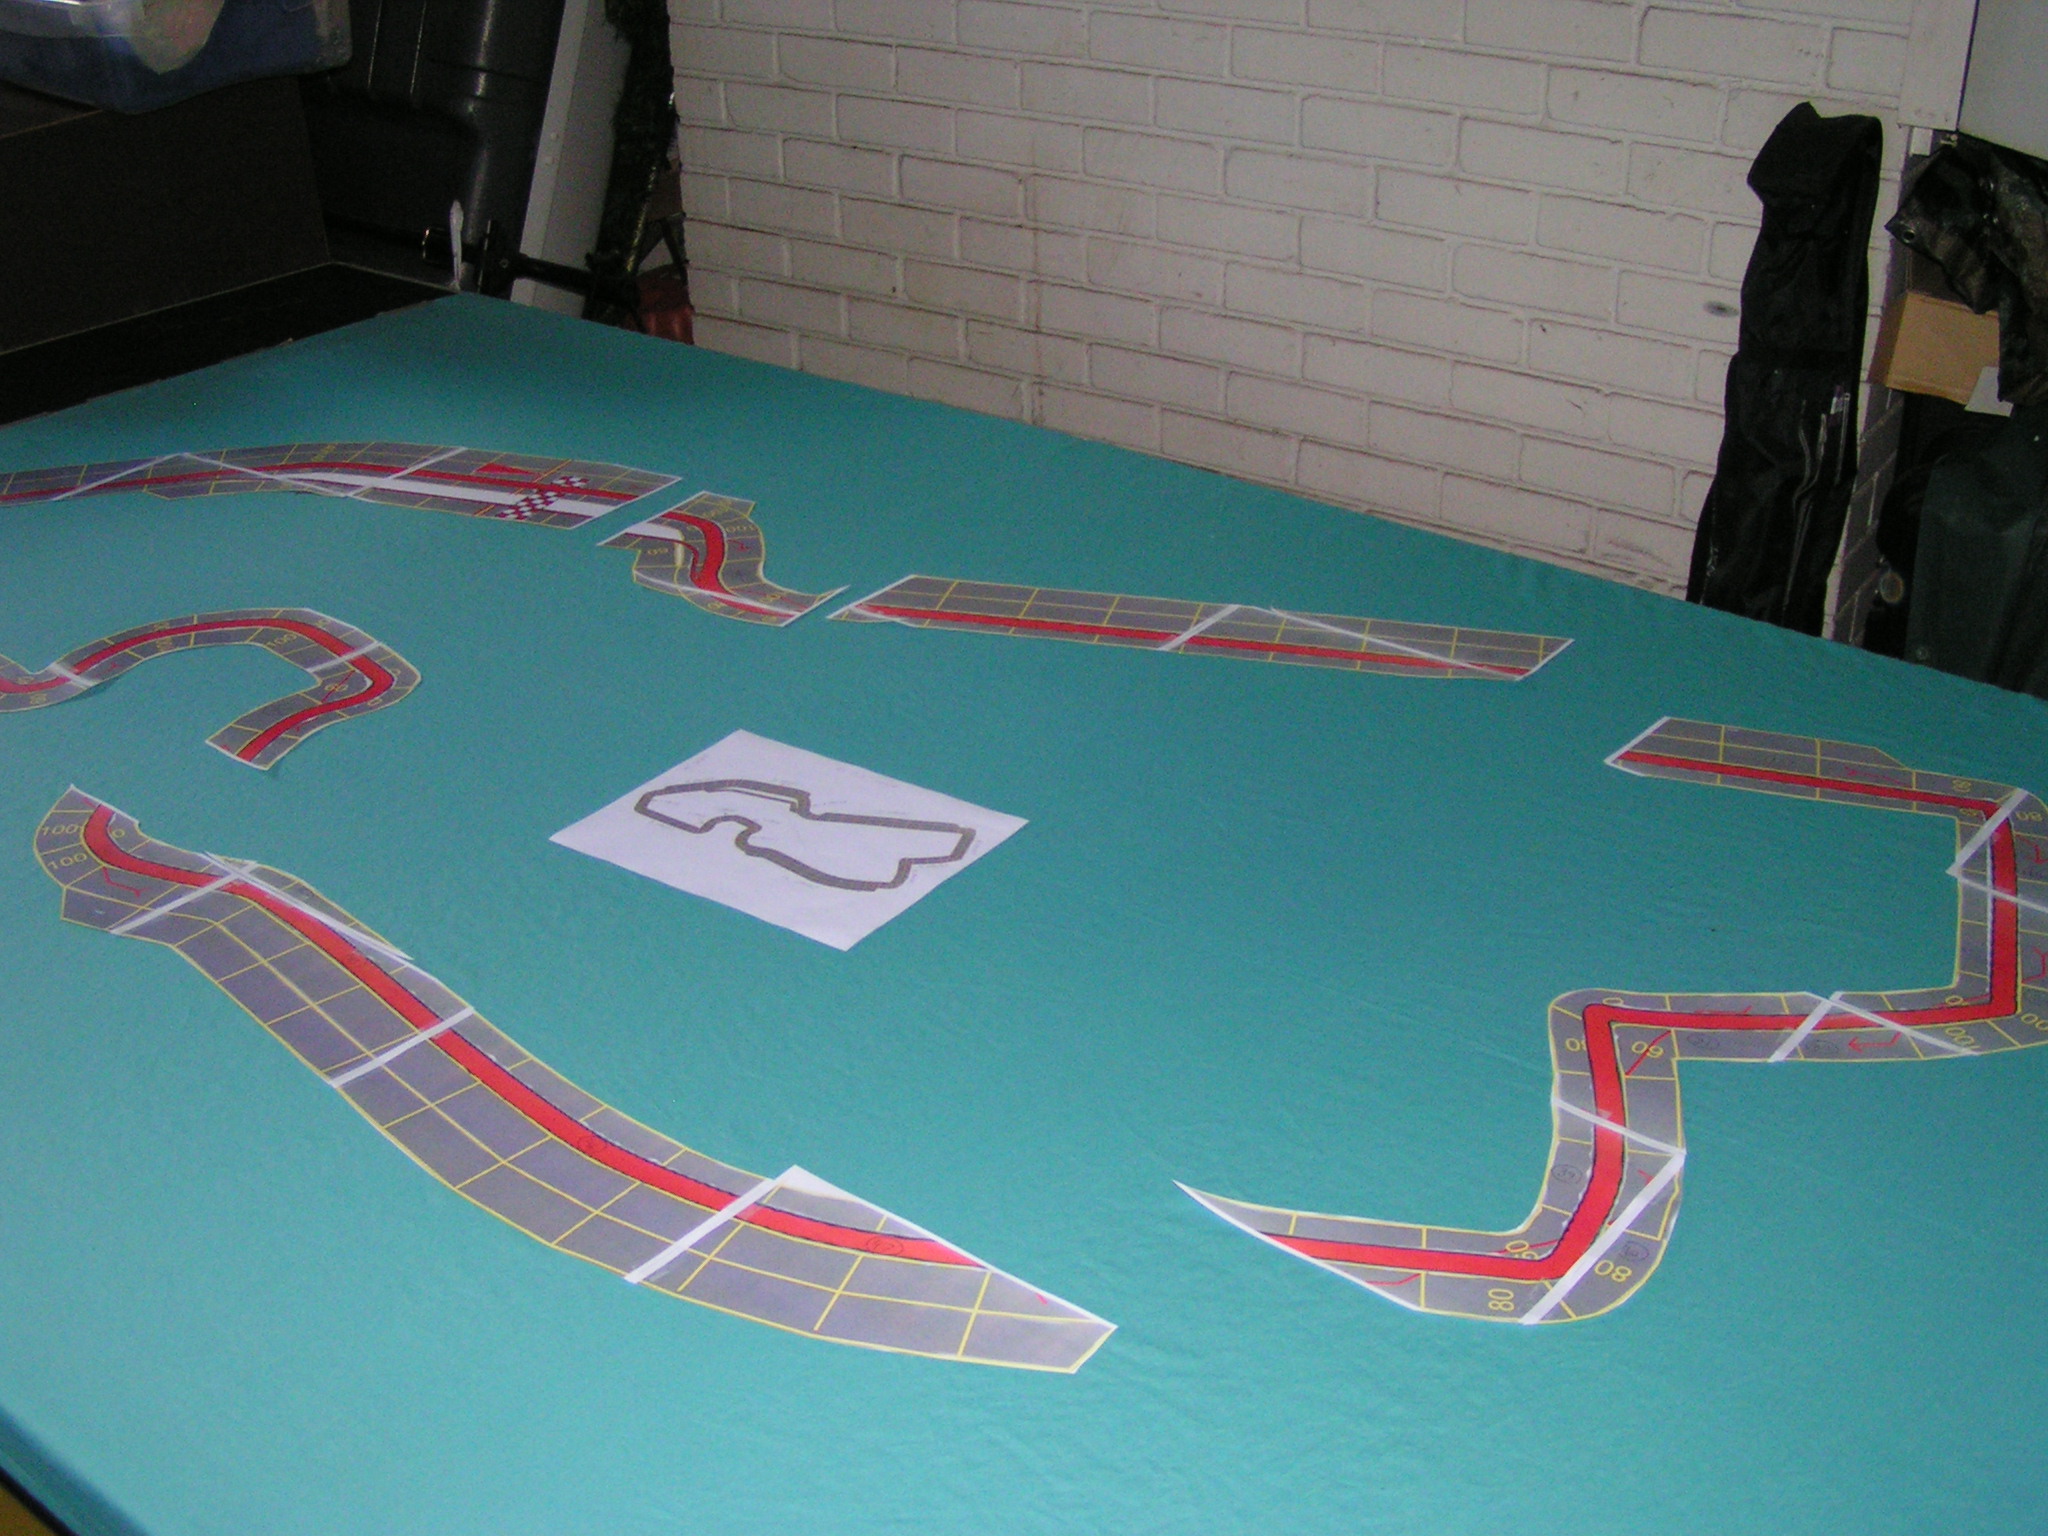
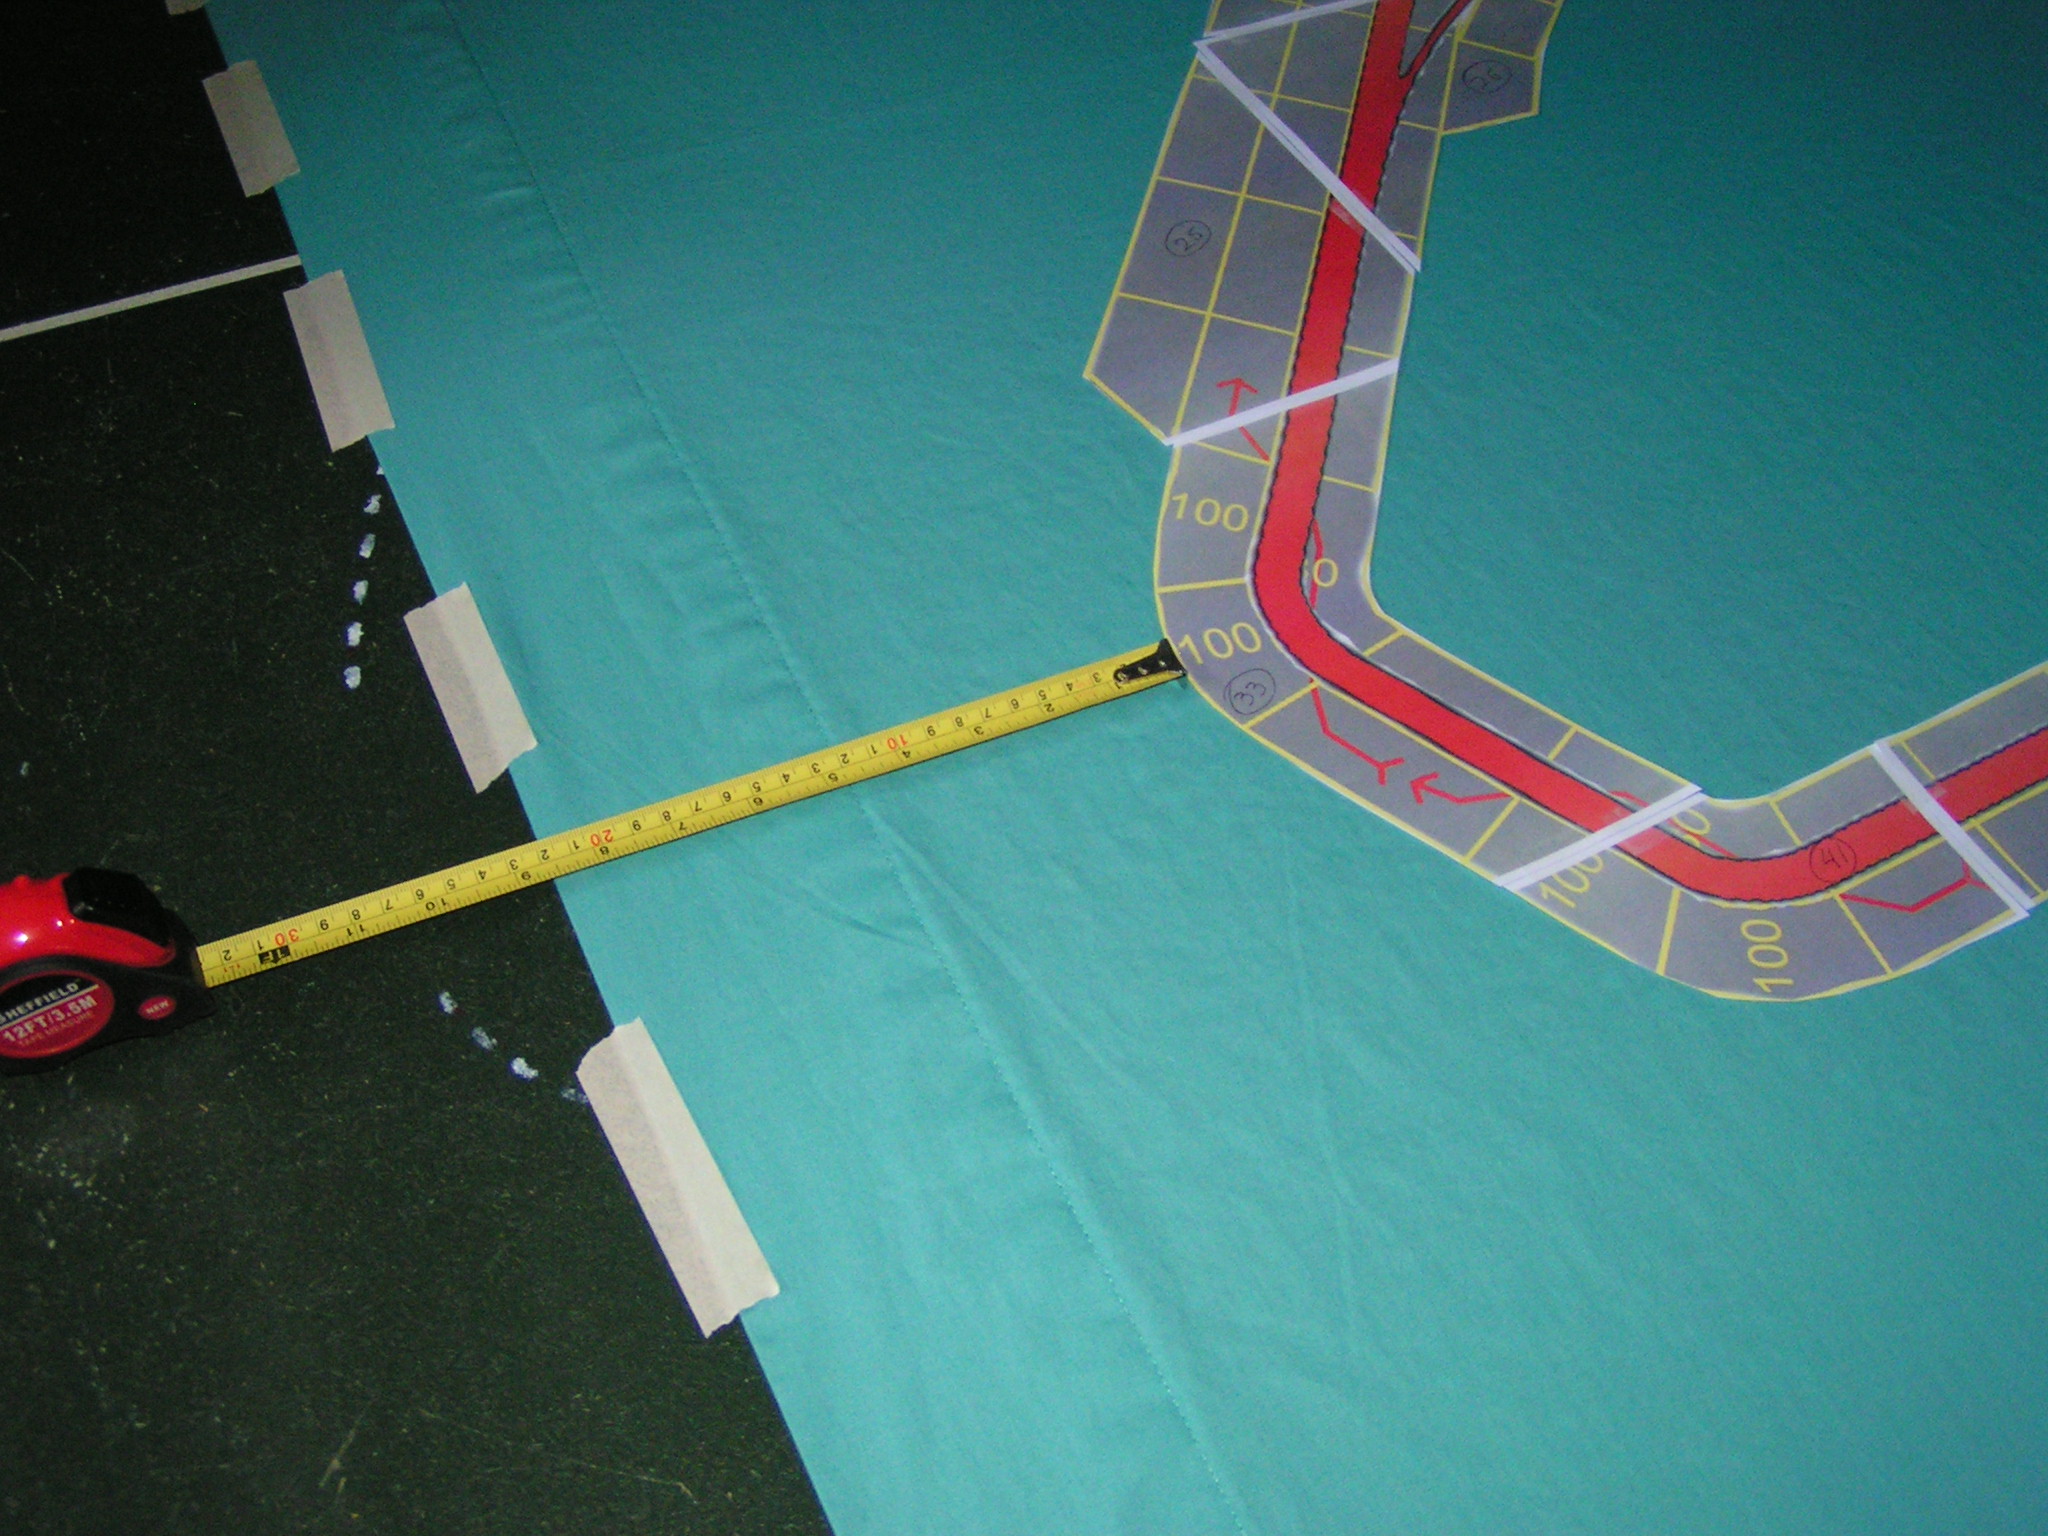
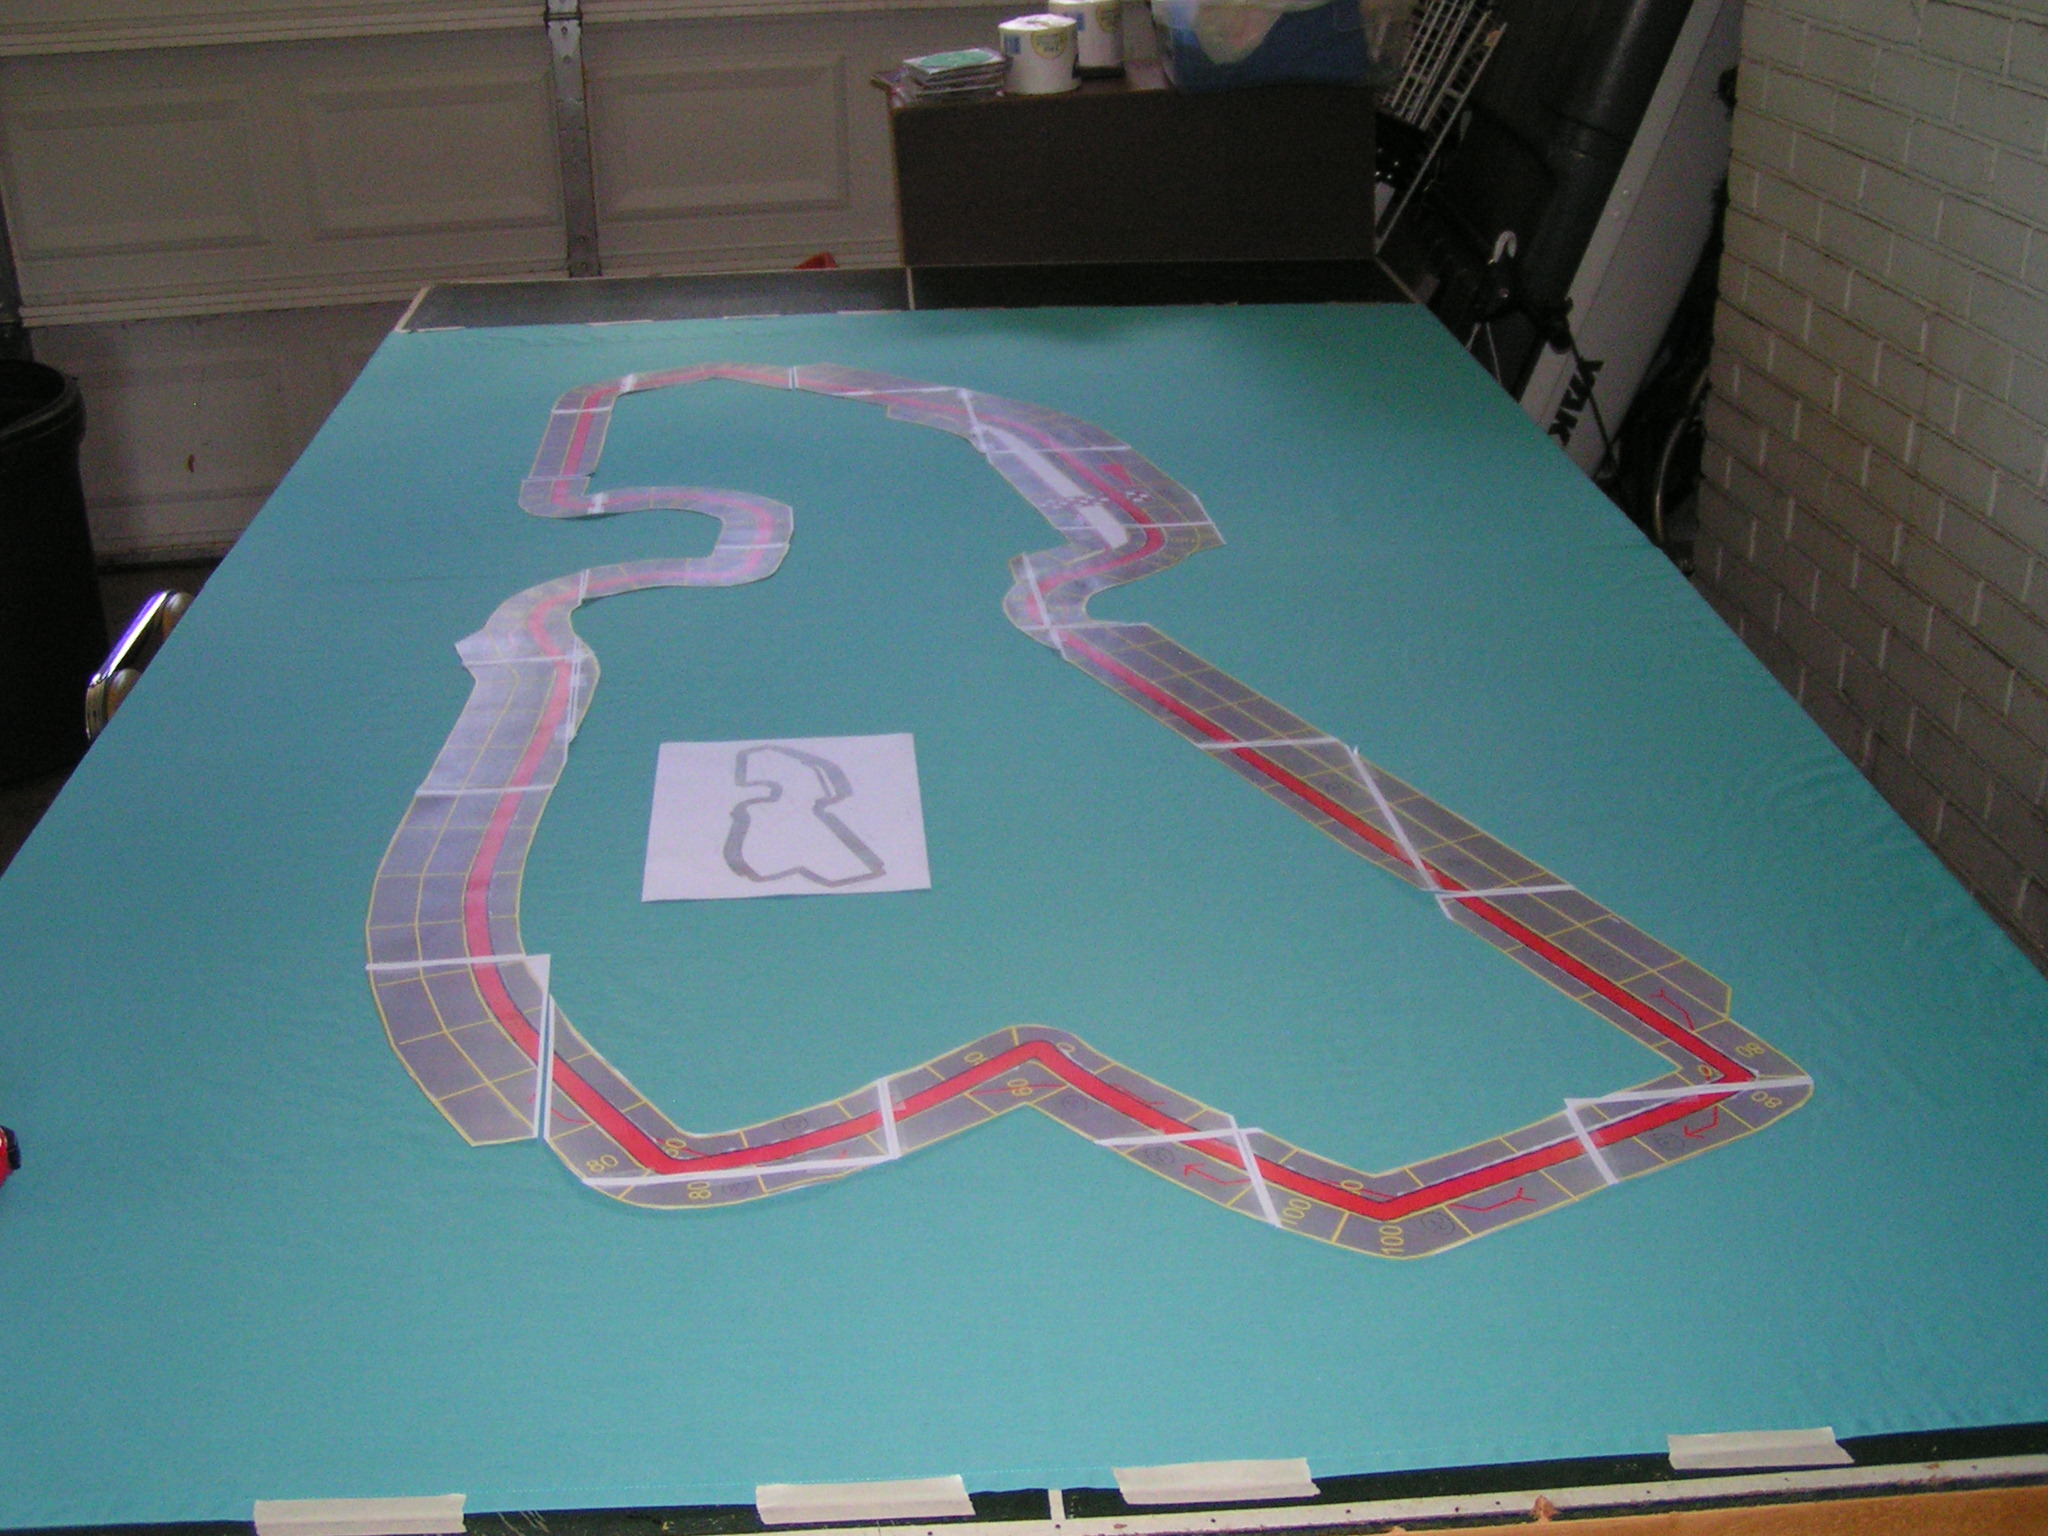
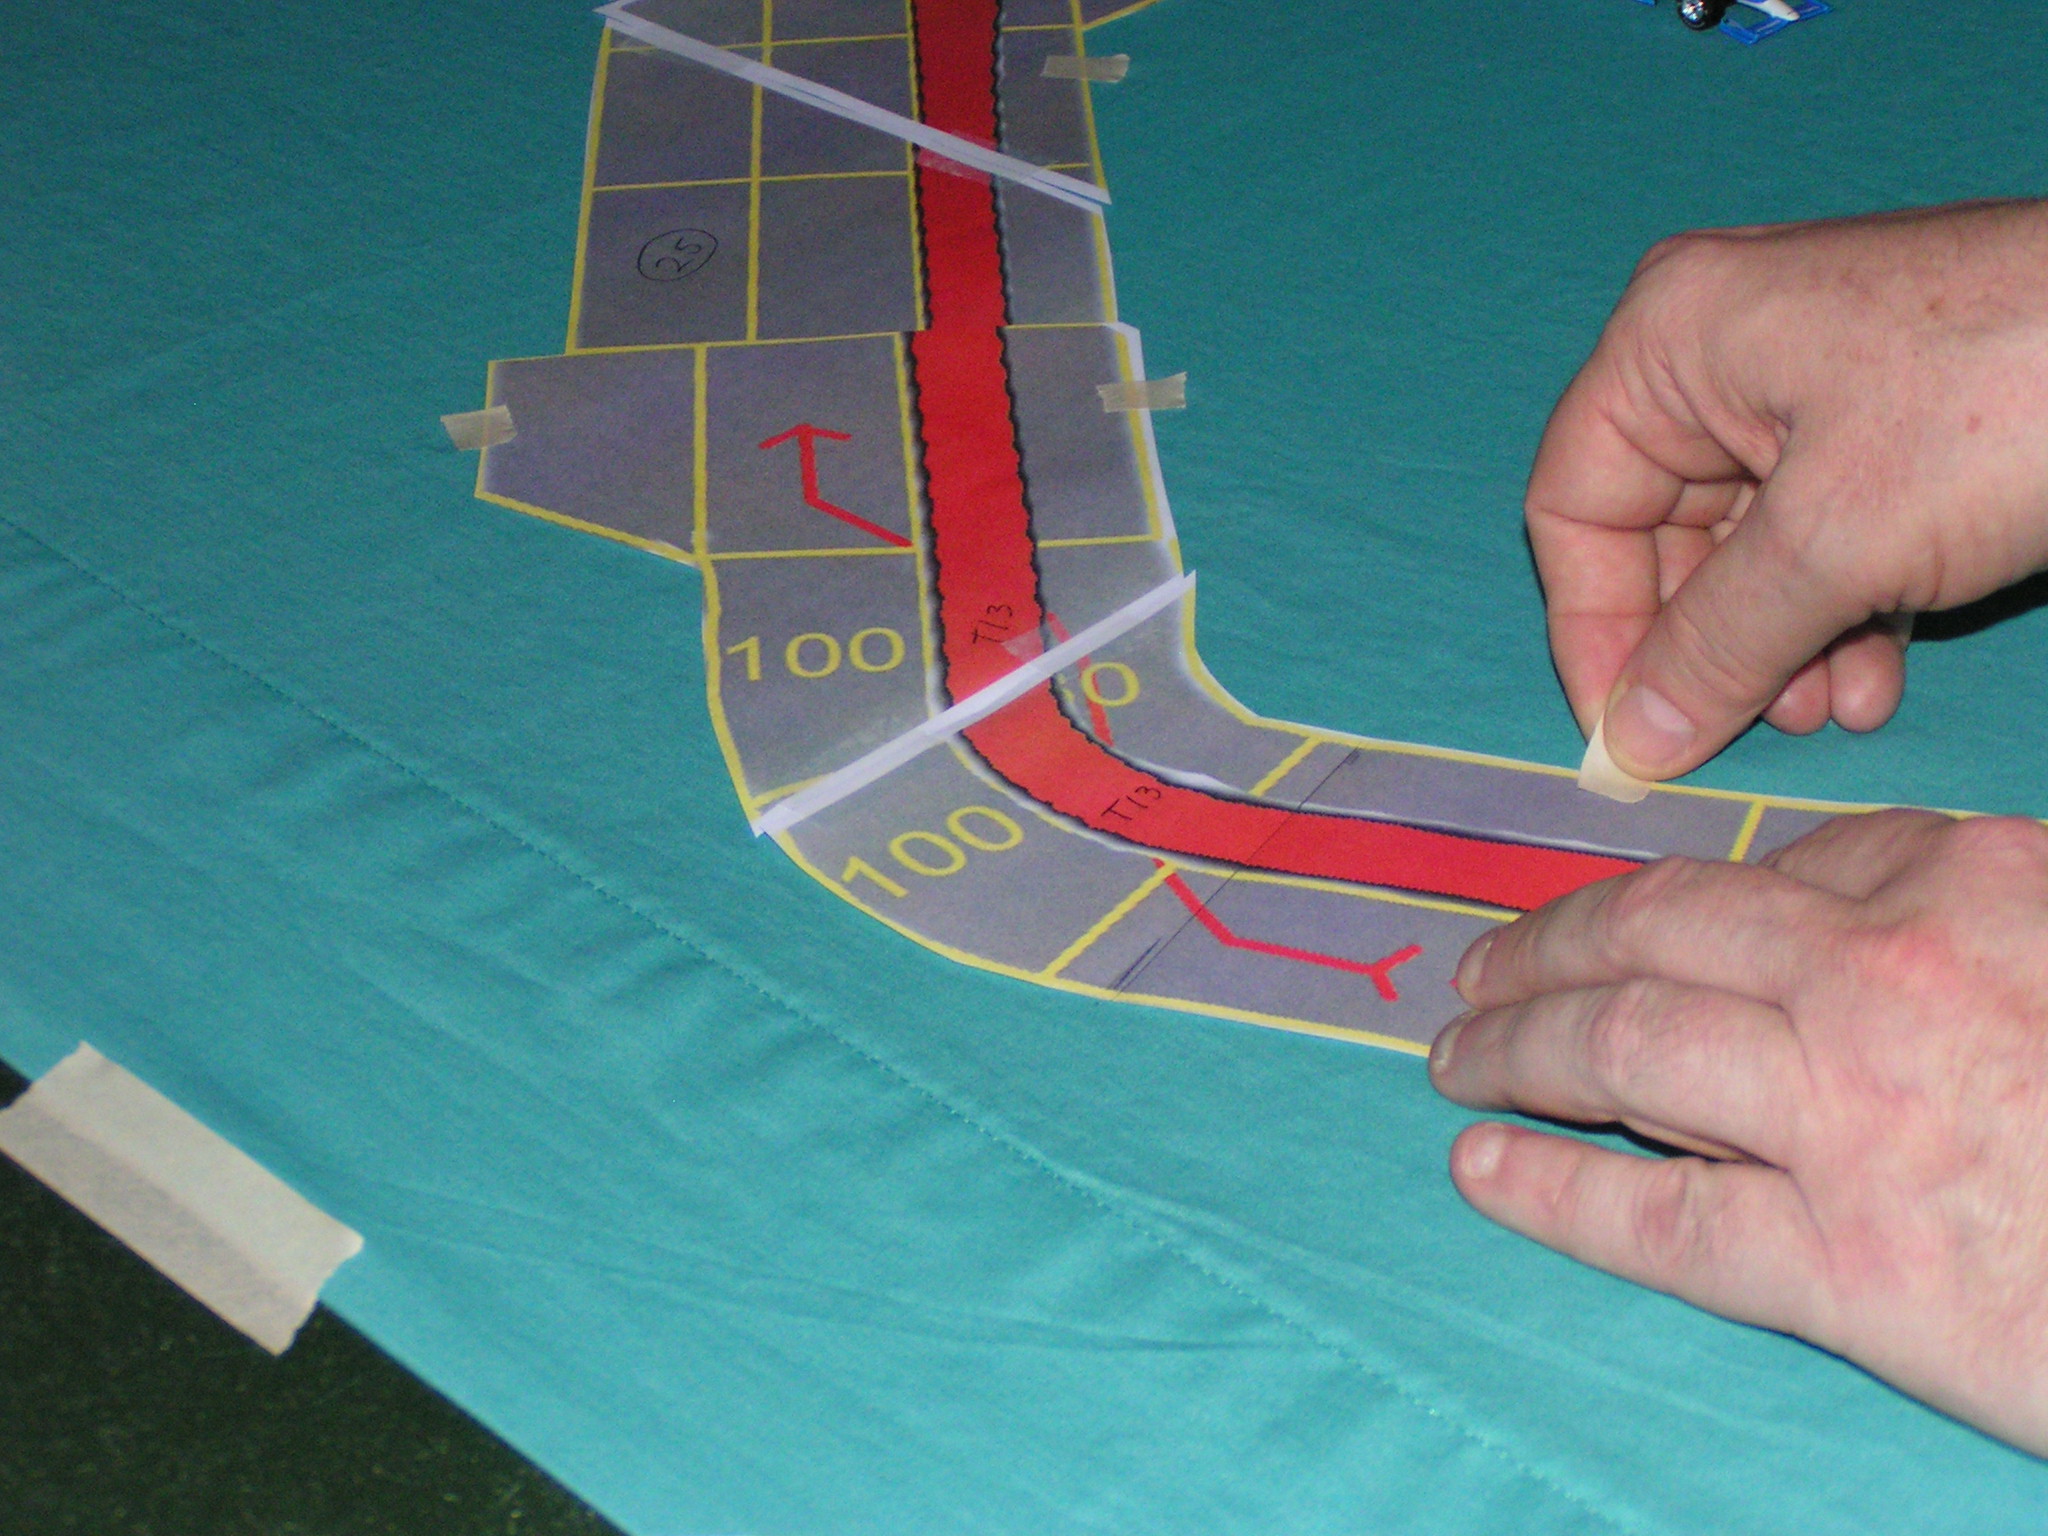
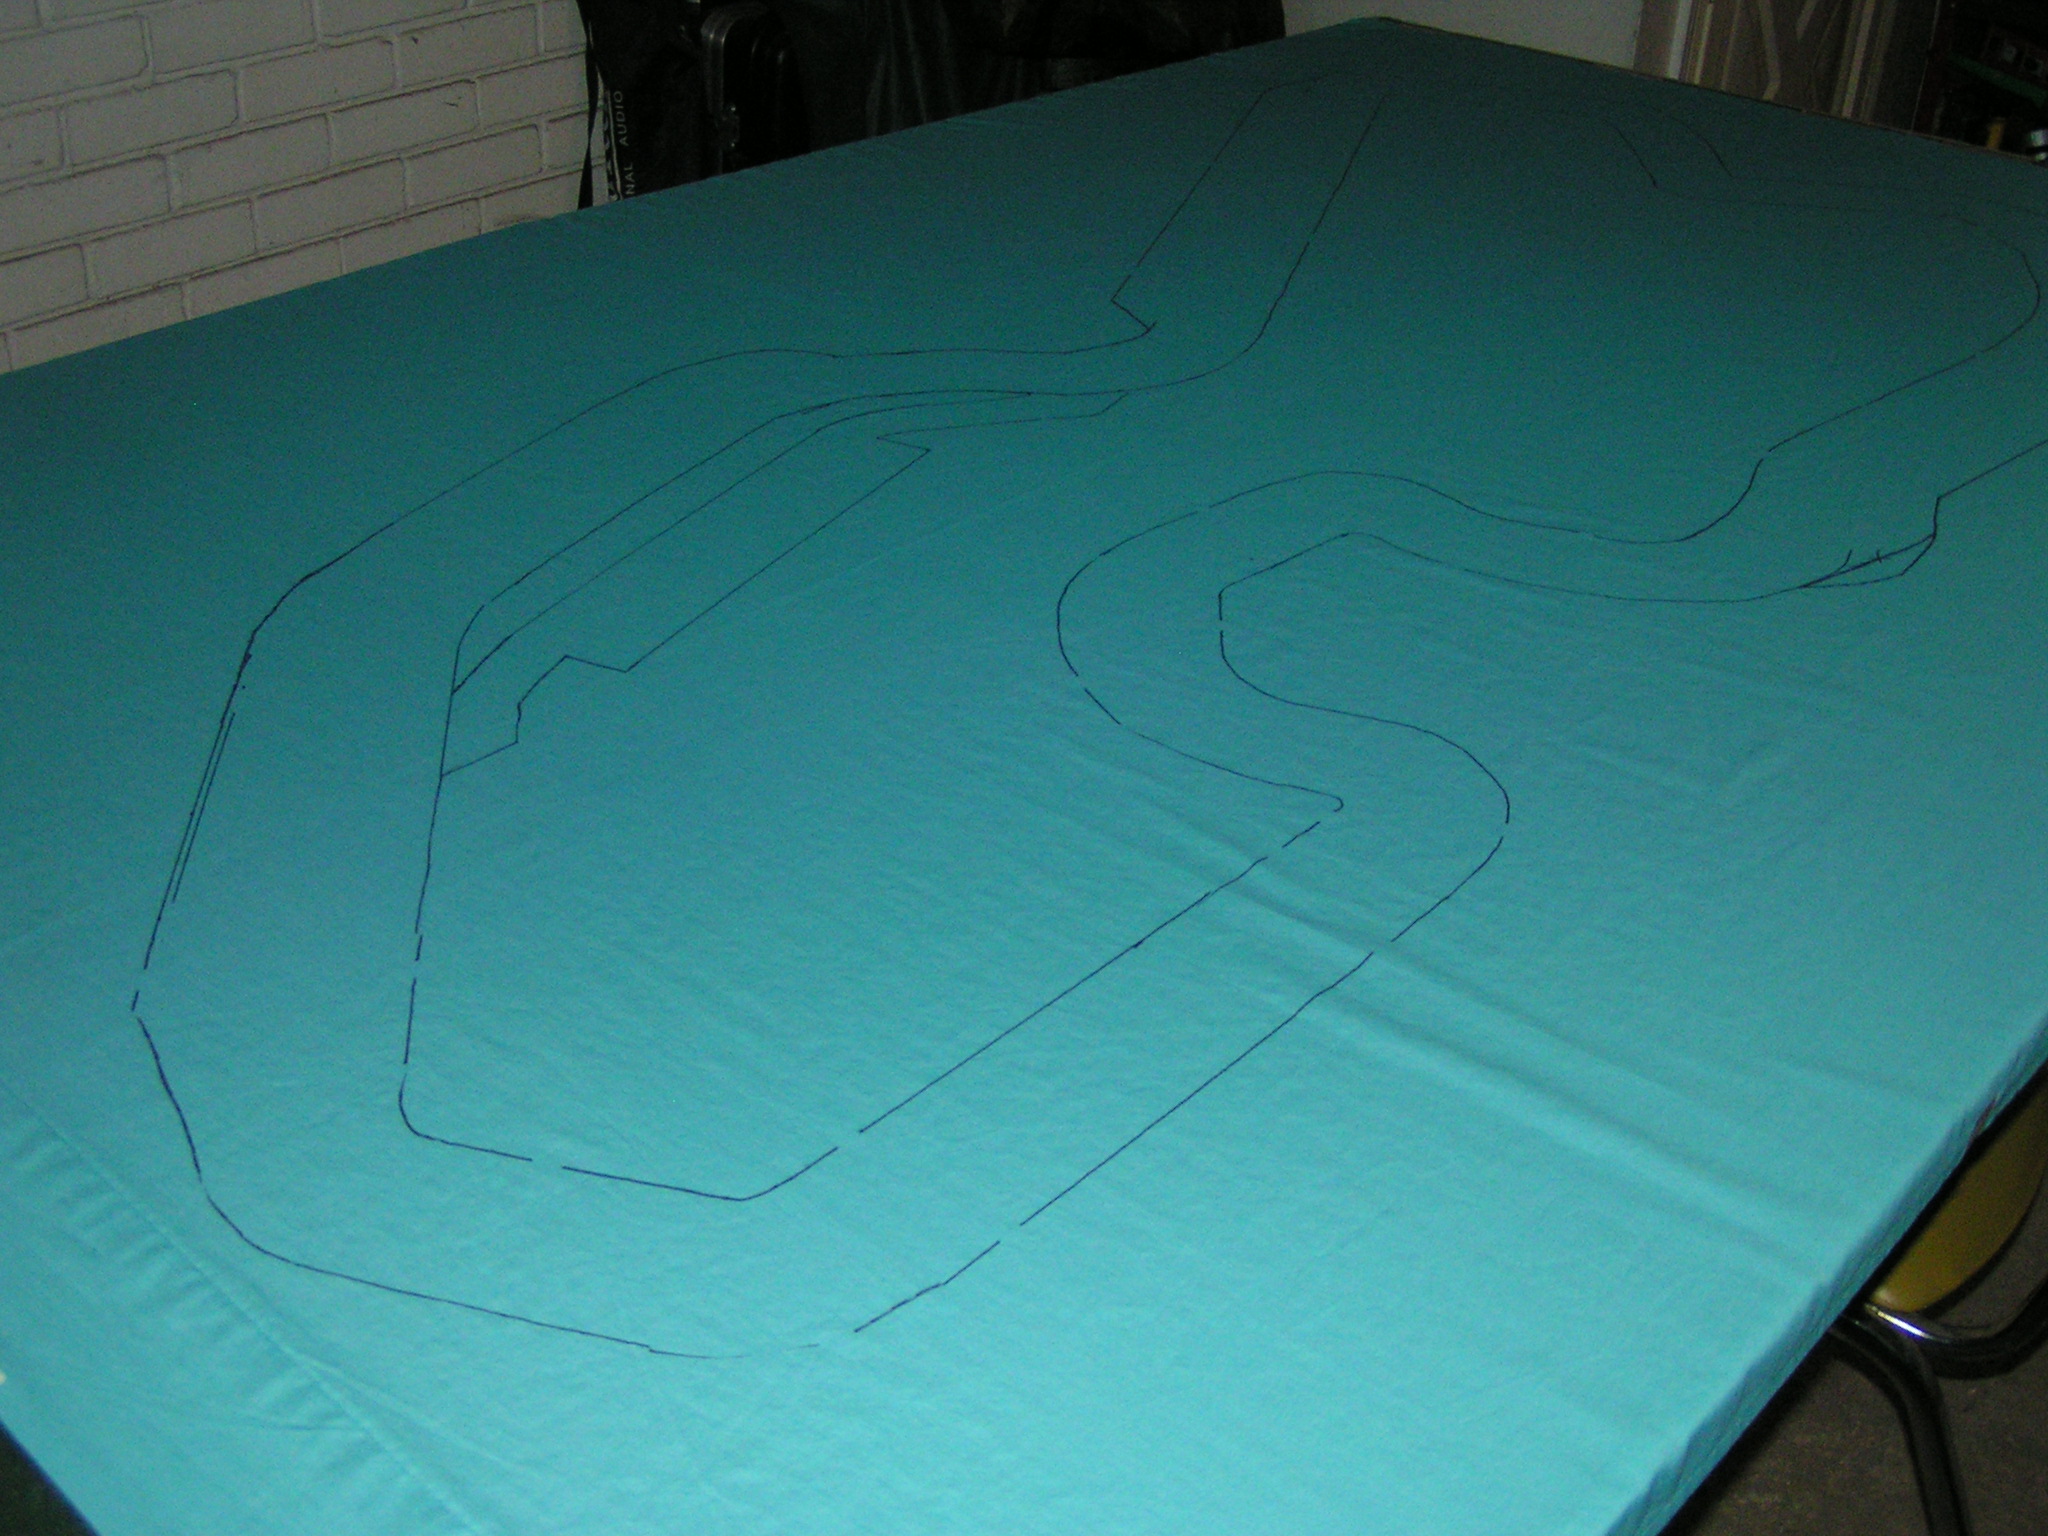
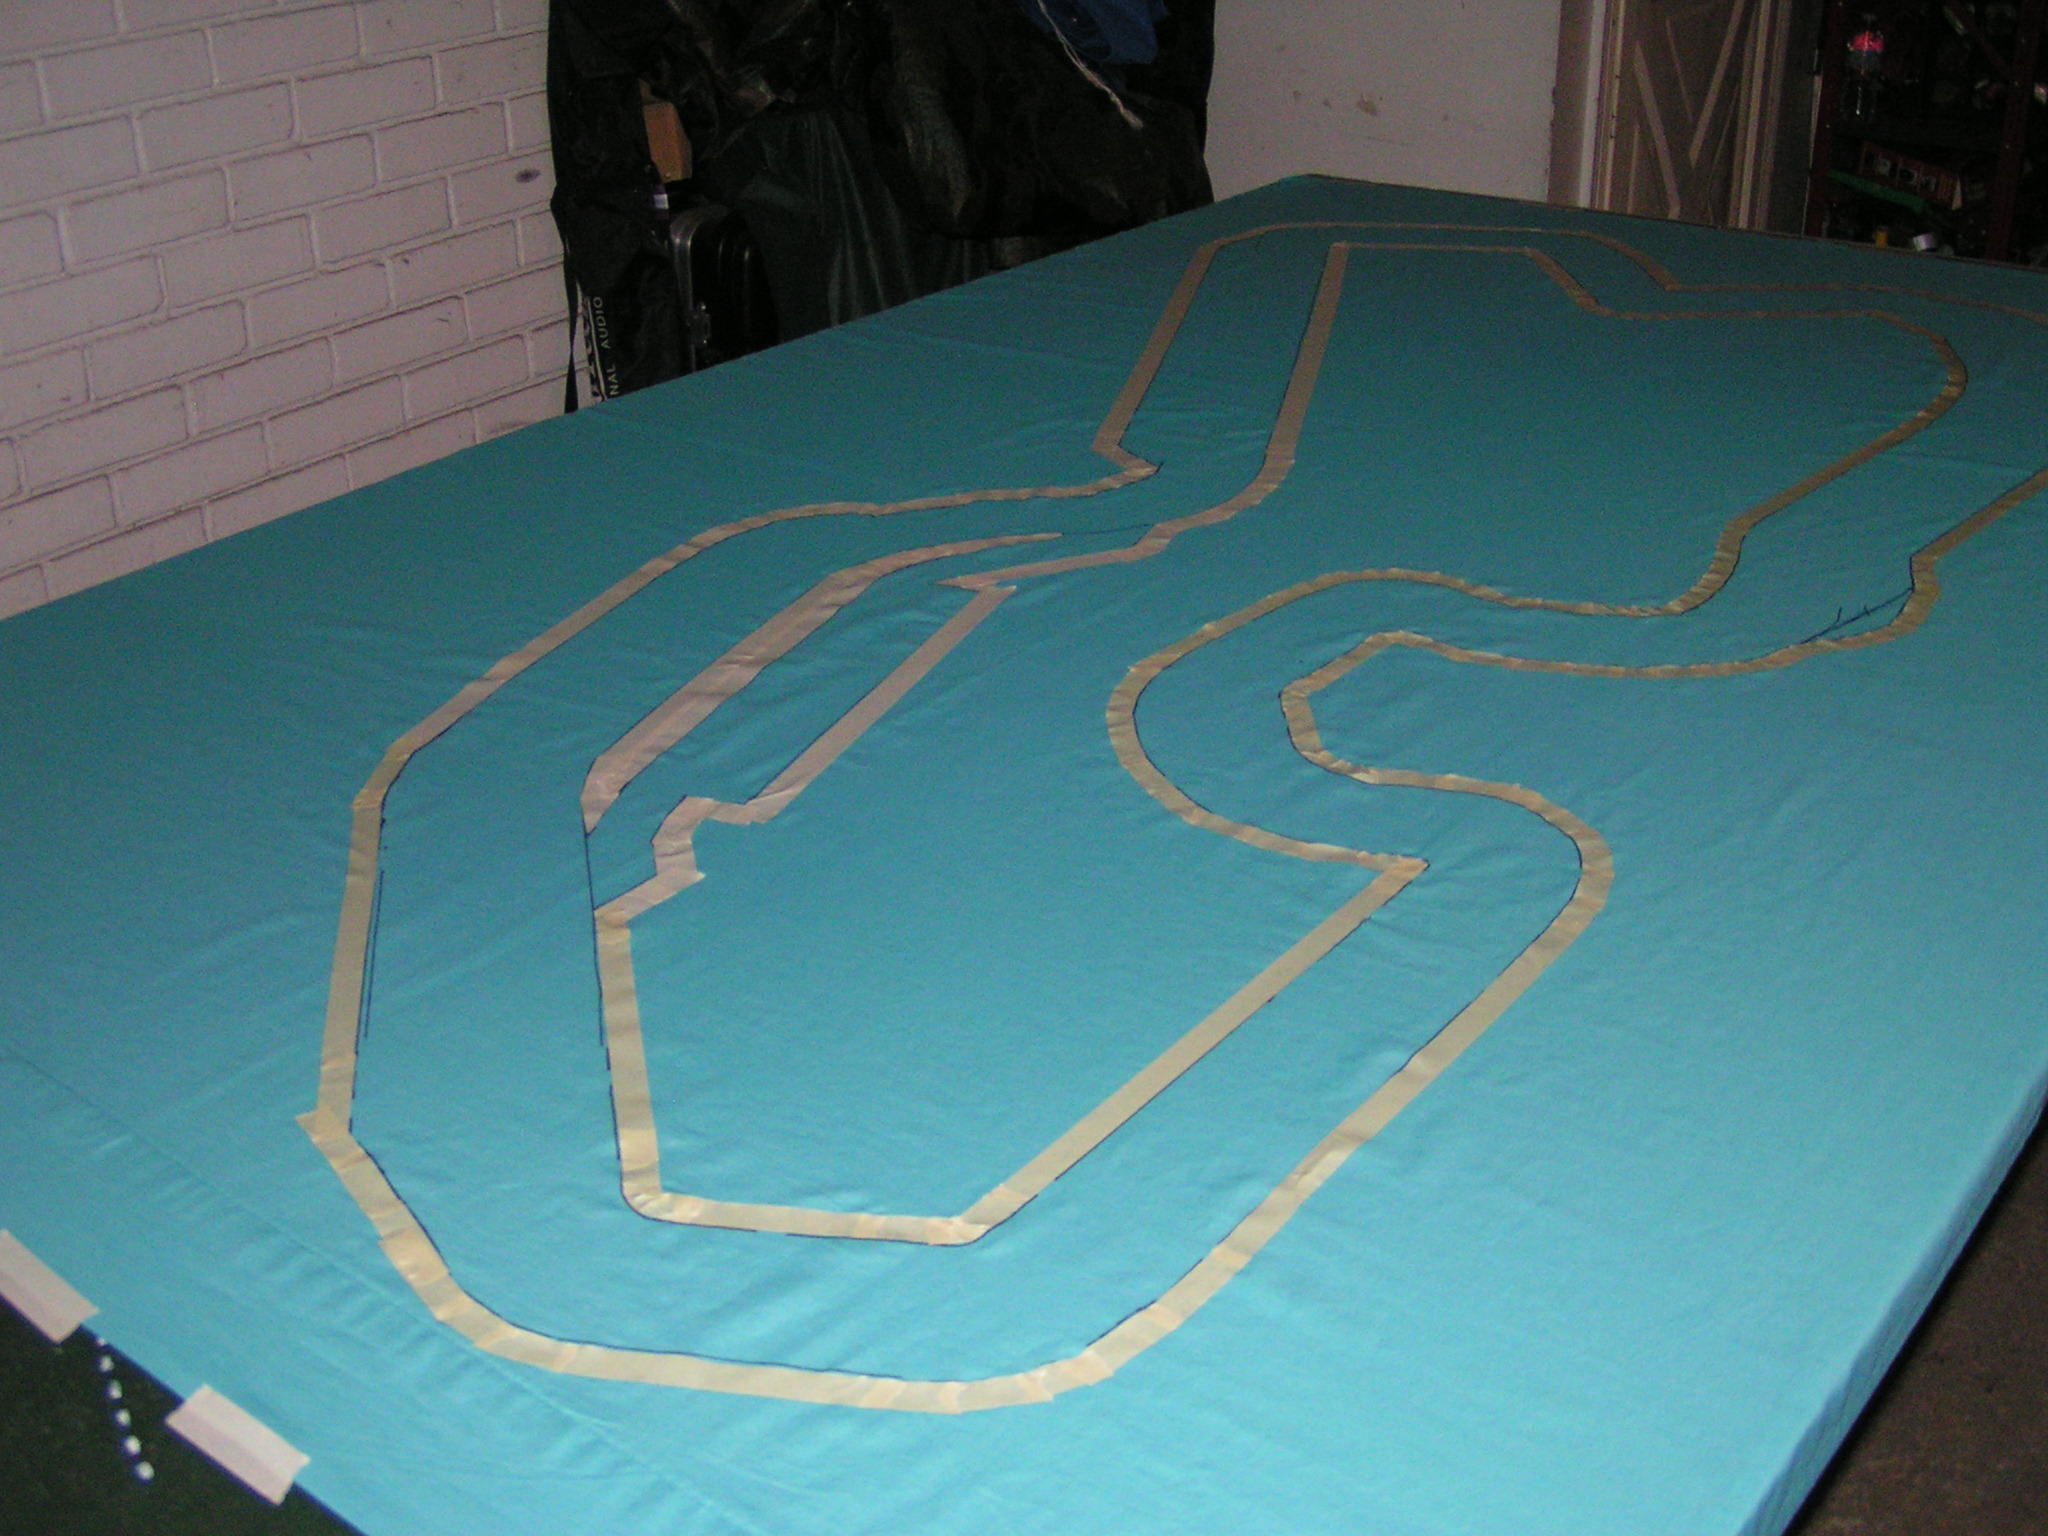
The Monte Carlo track we used to race on.
We used the old Monte Carlo track from one of the Avalon Hill Accessory Pack tracks, except we updated it with the “Nouvelle Chicane.” This is the same track we raced at last year’s Monaco Grand Prix.
After the drivers set up their car’s specs, the drivers secretly bid for starting positions. Each wear chit counted as 1.0, and each skill chit counted as 0.5. Higher bids started in front of lower bids. Ties were resolved by rolling percentage dice, high rolls favored over low rolls.
Mike Cook (1 wear + 12 skill) bid 7.0, and so started in the pole position. Jim Robinson (2 wear + 8 skill) bid 6.0 and started 2nd on the grid. Gary Sturgeon (1 wear + 9 skill) and Richard White (5 wear + 1 skill) tied with bids of 5.5. Sturgeon won the percentage dice-off by ’63’ to ’22,’ so Sturgeon started 3rd and White 4th. Jack Beckman (1 wear + 8 skill) started 5th with a bid of 5.0. Garry Kaluzny (3 wear + 3 skill) started 6th with a bid of 4.5. Bill Worrel (3 wear + 2 skill) started 7th with a bid of 4.0. Brian Robinson (0 wear + 5 skill) started 8th with a bid of 2.5. Mike St. Peter (1 wear + 2 skill) and Greg Lim (0 wear + 4 skill) each bid 2.0, with St. Peter winning the resulting dice-off by ’77’ to ’50’ and so St. Peter was 9th and Lim 10th on the grid. Jim Landis (0 wear + 1 skill) started 11th with a bid of 0.5, and Aric Parr (0 wear + 0 skill) bid nothing and so started in 12th position.
The starting grid for the Monaco Grand Prix with their car specs:
 # Driver (Car)                    Start/Accel/Decel/Top/Wear/Skill/Tires
11 Mike Cook (Camel Lotus)          100   40    40   140  5x   3x   hard
 2 Jim Robinson (Williams)           60   40    40   140  5x   4x   soft
22 Gary Sturgeon (McLaren)          100   40    40   140  5x   3x   soft
 1 Richard White (Brabham)           60   40    60   140  5x   3x   soft
12 Jack Beckman (Ferrari)            60   40    40   140  5x   4x   soft
 8 Garry Kaluzny (Marlboro McLaren)  60   60    40   140  5x   3x   soft
 4 Bill Worrel (Tyrrell)             60   40    40   140  5x   4x   hard
 5 Brian Robinson (Walker Racing)    20   60    60   140  5x   3x   soft
44 Mike St. Peter (Mercedes)         60   40    40   140  5x   4x   soft
13 Greg Lim (GoDaddy)                60   60    40   140  5x   3x   hard
20 Jim Landis (Benetton)             20   60    60   160  5x   2x   hard
14 Aric Parr (Motul BRM)             20   60    60   140  5x   3x   hard
Start = Start Speed (in miles/hour); Accel = Acceleration (in mph); Decel = Deceleration (in mph); Top = Top Speed (in mph); Wear = # of Wear markers (per lap); Skill = # of Skill markers (per lap); Tires = hard or soft tires to begin the race.
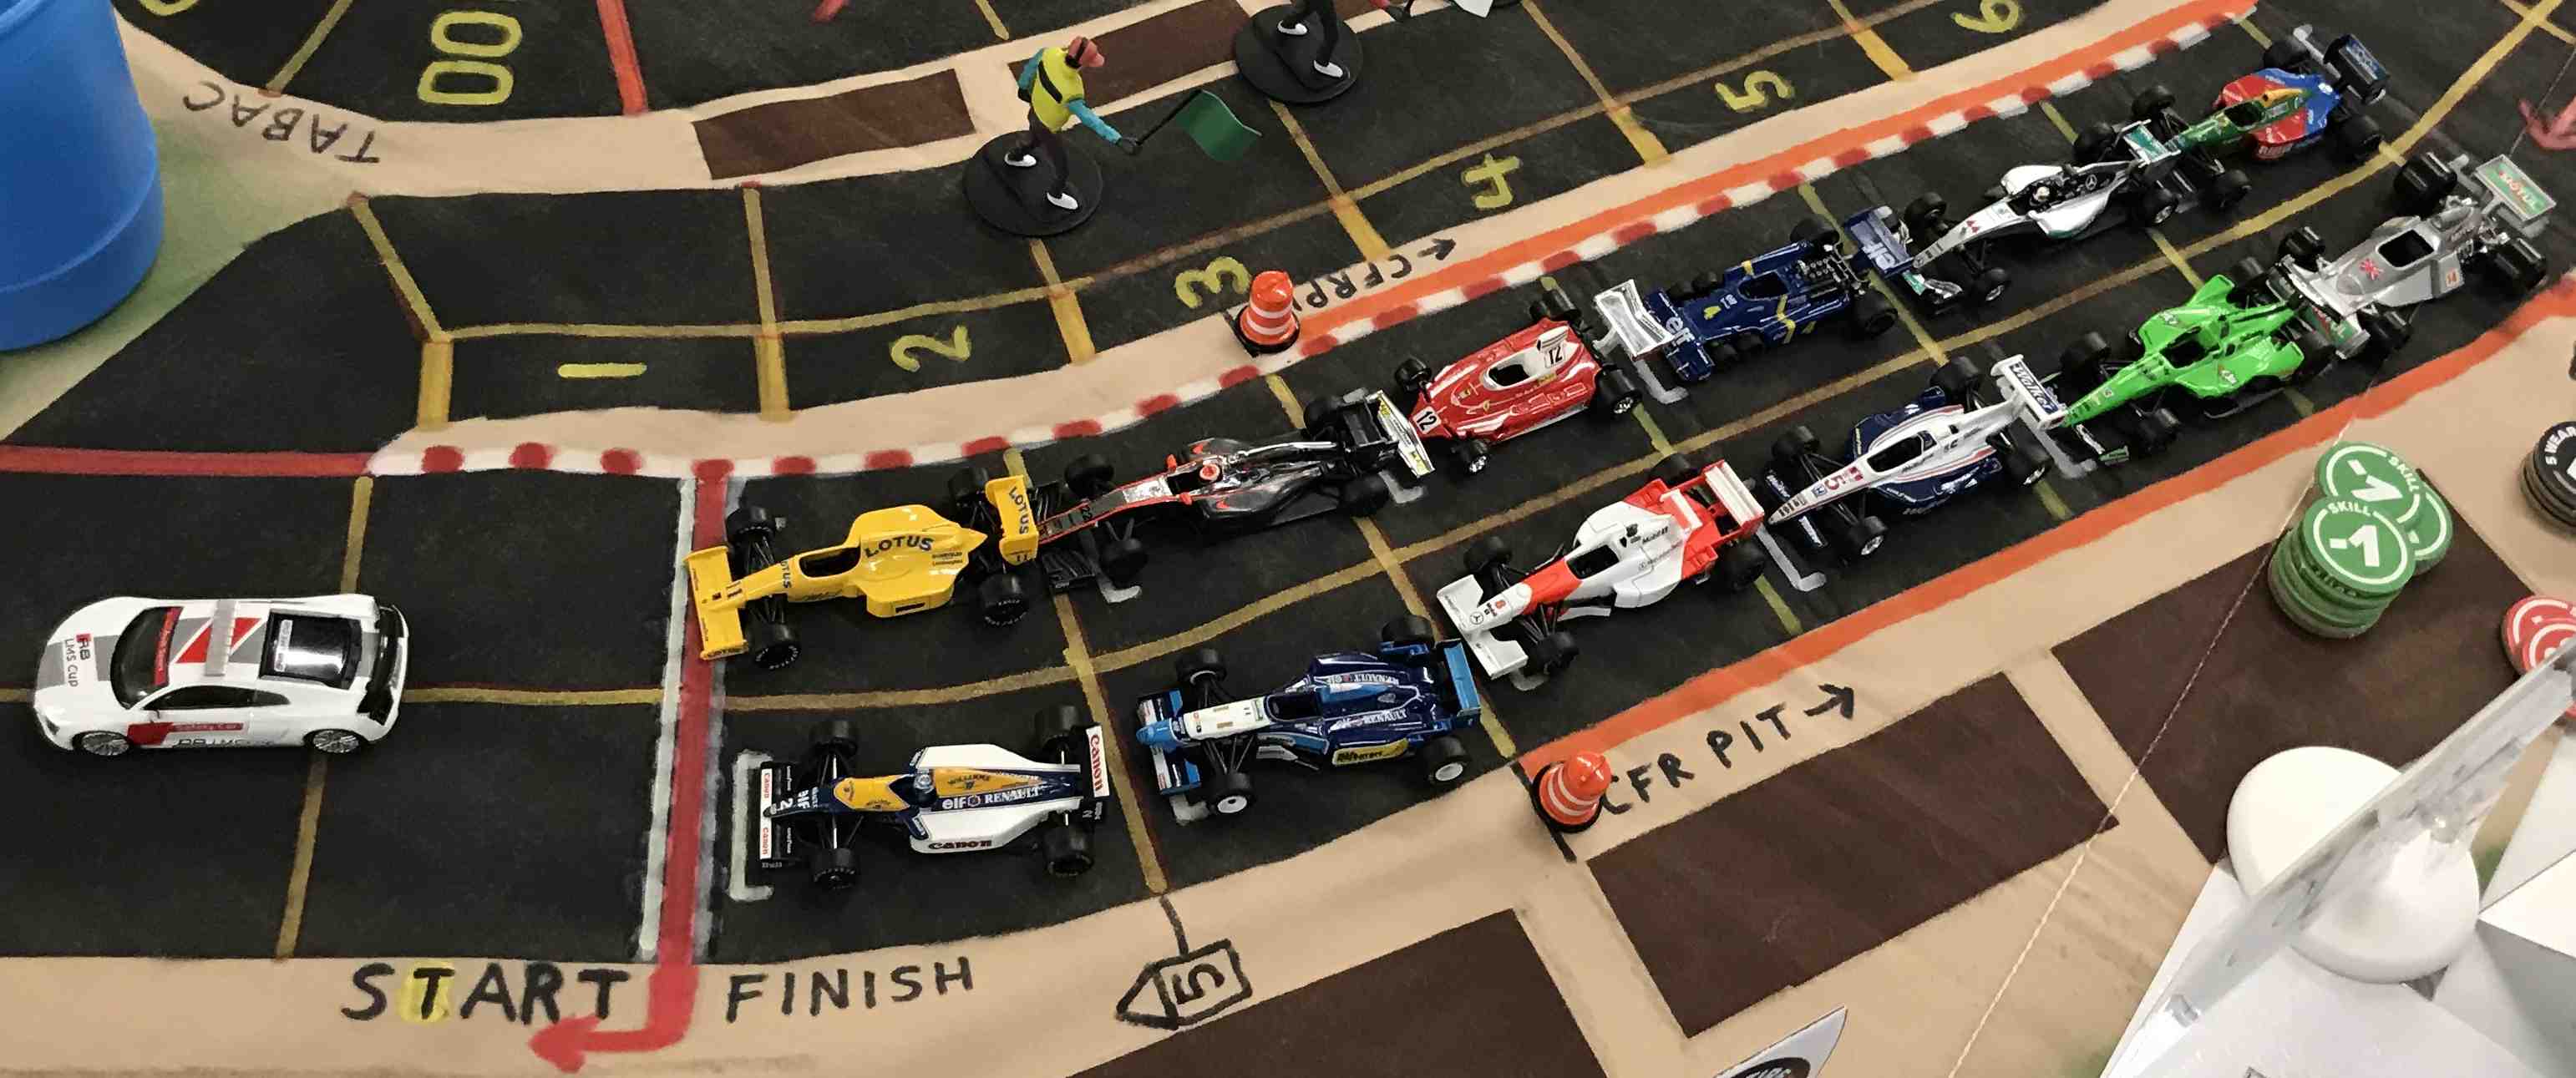
Starting grid for the Monaco G.P. Mike Cook (yellow car) is on the pole (the inside of the track), while Jim Robinson (white/yellow/blue) is next to Cook on the front row. (Greg Lim photo)
As the green flag dropped, Mike Cook roared off with his 100 mph start speed, ending his move in the Ste. Devote corner. Cook started on hard tires, and did not want to risk increasing his start speed by rolling dice — and besides, ending up in the middle of Ste. Devote was a great place to end his first turn. Gary Sturgeon, the only other car with a 100 mph start speed, used a wear (since he was on soft tires) to increase his start speed to 120 mph. That allowed Sturgeon to pass Jim Robinson (who had used a wear to increase his start speed to 80 mph), leaving Sturgeon in 2nd place on the outside of Ste. Devote. Richard White used a wear to boost his starting speed to 80 mph. He eschewed the cornering arrow, instead taking the inside lane of the track. Jack Beckman, although on soft tires, elected to roll dice and try to boost his start speed “the hard way.” Although Beckman used two -1 skill chits, he rolled a ’12’ and so moved off at only 40 mph, instead of the 80 mph he had hoped for. Both Garry Kaluzny and Bill Worrel passed Beckman at the start. Kaluzny only plotted 60 mph, figuring there wouldn’t be any spaces to move into at 80 mph, while Worrel plotted 80 mph and so moved up next to Kaluzny. The rest of the field started somewhat cautiously.
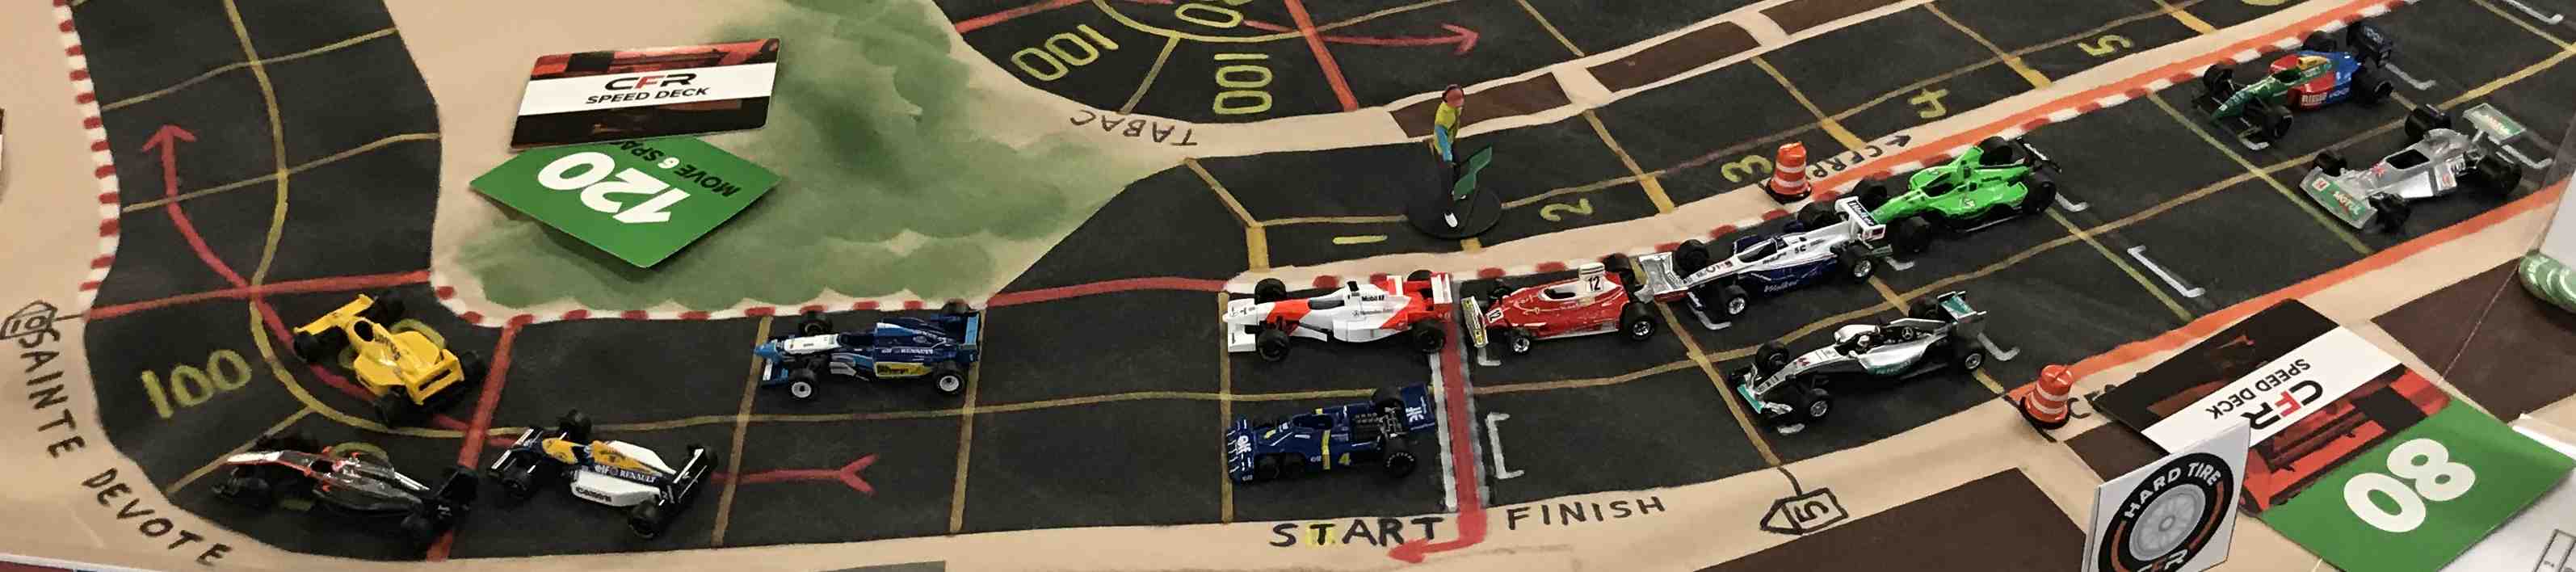
Cook and Sturgeon roar into the lead over J. Robinson and White (note White is driving a different model of Brabham for this race). Then came Kaluzny, Worrel, Beckman, B. Robinson, St. Peter, Lim, Landis, and Parr. (Greg Lim photo)
Mike St. Peter completed a forced-pass through Brian Robinson & Beckman at Ste. Devote, vaulting St. Peter into 7th (after St. Peter started 9th).
Cook continued to lead during the 1st lap, and Sturgeon mostly stayed in 2nd. Jim Robinson briefly challenged Sturgeon for 2nd at Mirabeau Haute, but then Sturgeon ducked to the inside at the Hairpin and re-took the position, only to have Robinson re-take 2nd at Mirabeau Bas after the Hairpin. Then Sturgeon got back into 2nd going through the Nouvelle Chicane. Richard White made a -3 chance roll at Portier, having also spent a wear at Portier and 2 wear on the previous corner (Mirabeau Bas).

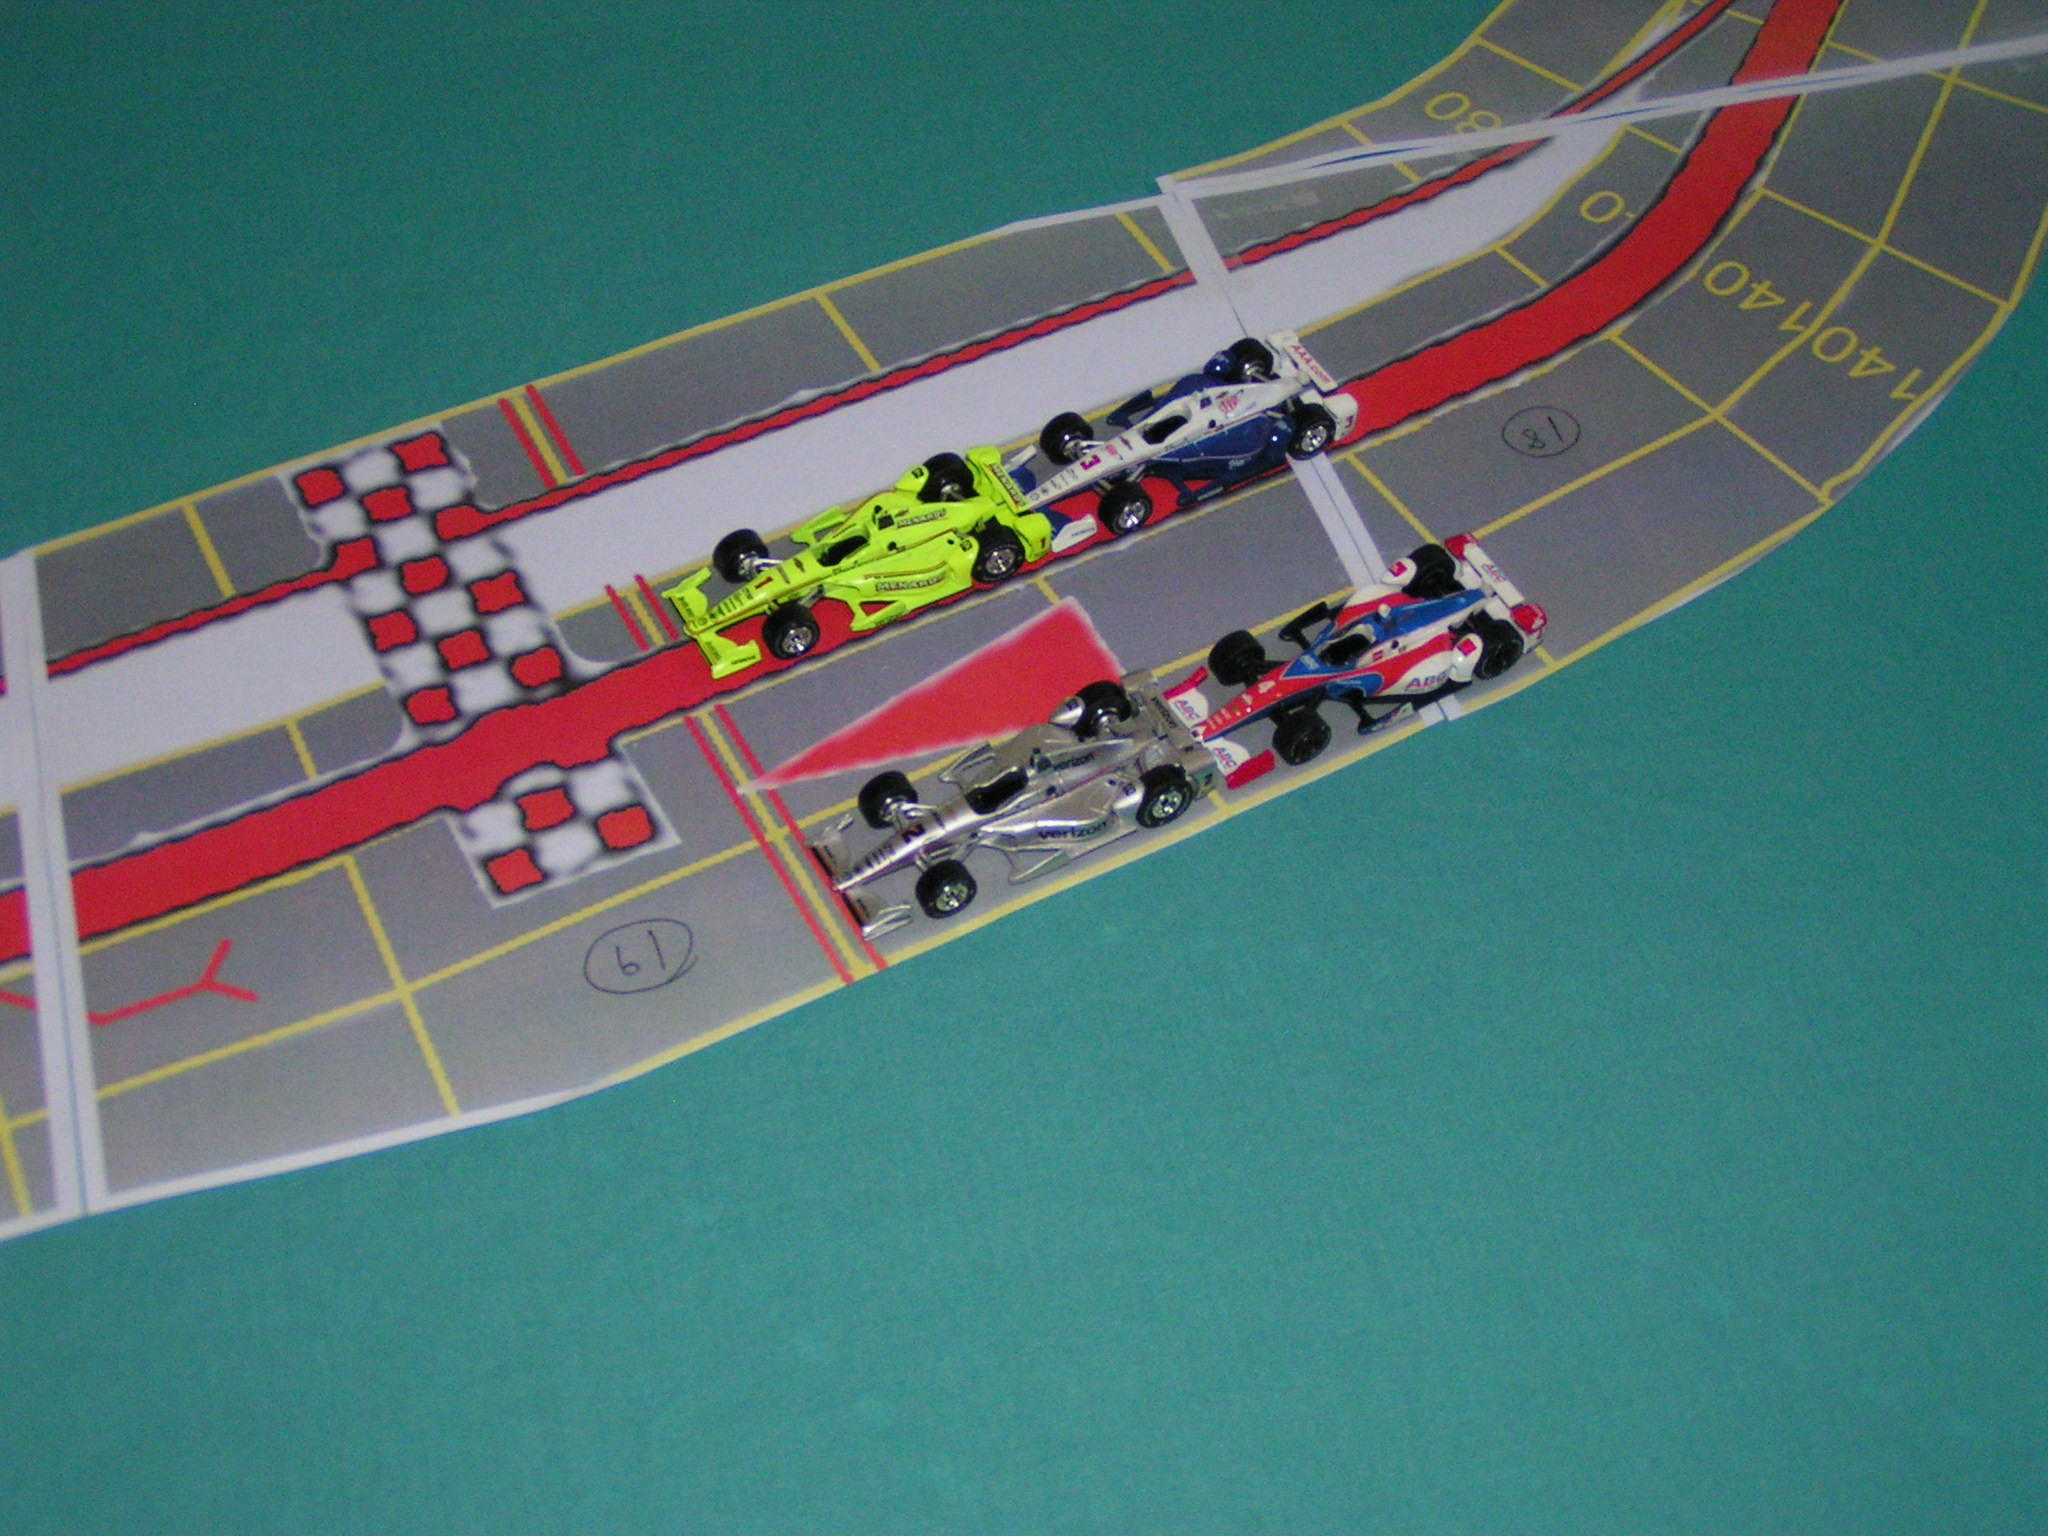
Cook leads by 5 spaces at Tabac on the 1st lap. The other cars in order: Sturgeon; J. Robinson; Kaluzny; White; Worrel; St. Peter; Lim; Landis; Beckman; Parr; and B. Robinson.
After passing through La Rascasse, Cook was the first car to pull into the pits. Although his car had started on hard tires, Cook had burned through all of his wear and so stopped for fresh tires. A move later, Sturgeon joined Cook in the pits. Lim attempted a forced pass of Worrel at La Rascasse, but failed and spun short of the corner. Lim was able to recover nicely, though, as with his 60 mph start speed and acceleration, he continued on at 60 mph through Rascasse, and pulled even with Richard White on the far side of that corner.
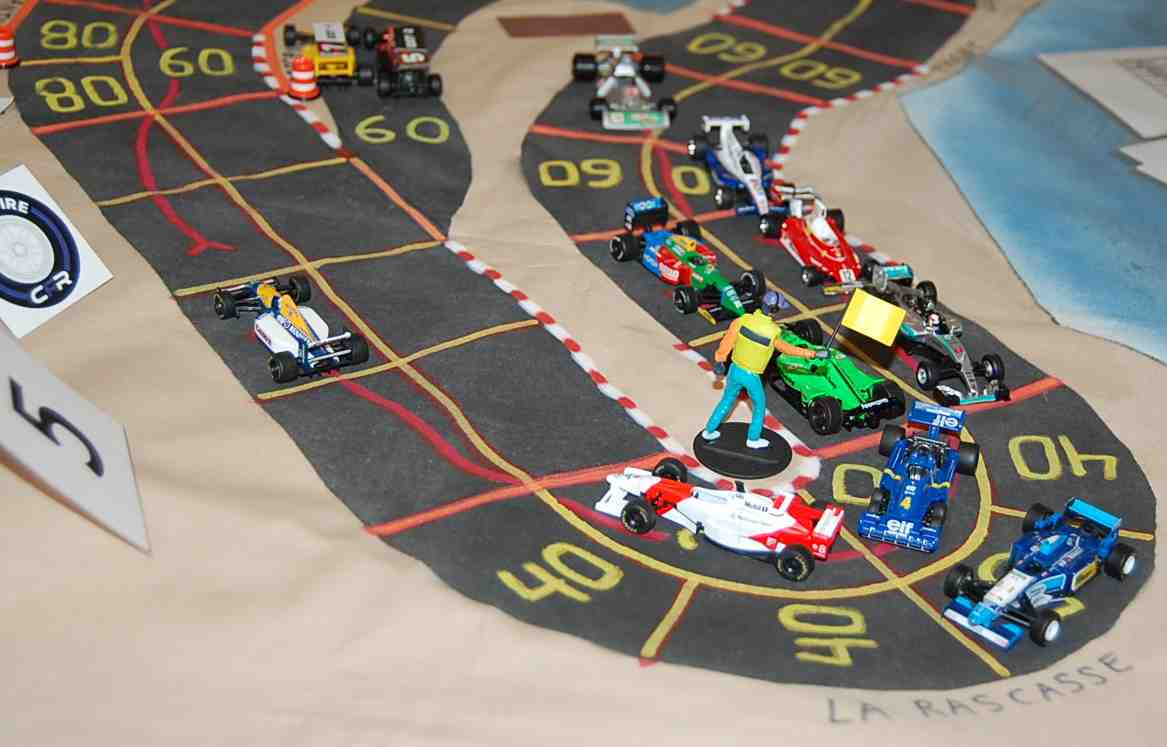
Cook and Sturgeon in the pits; Lim spins at La Rascasse.
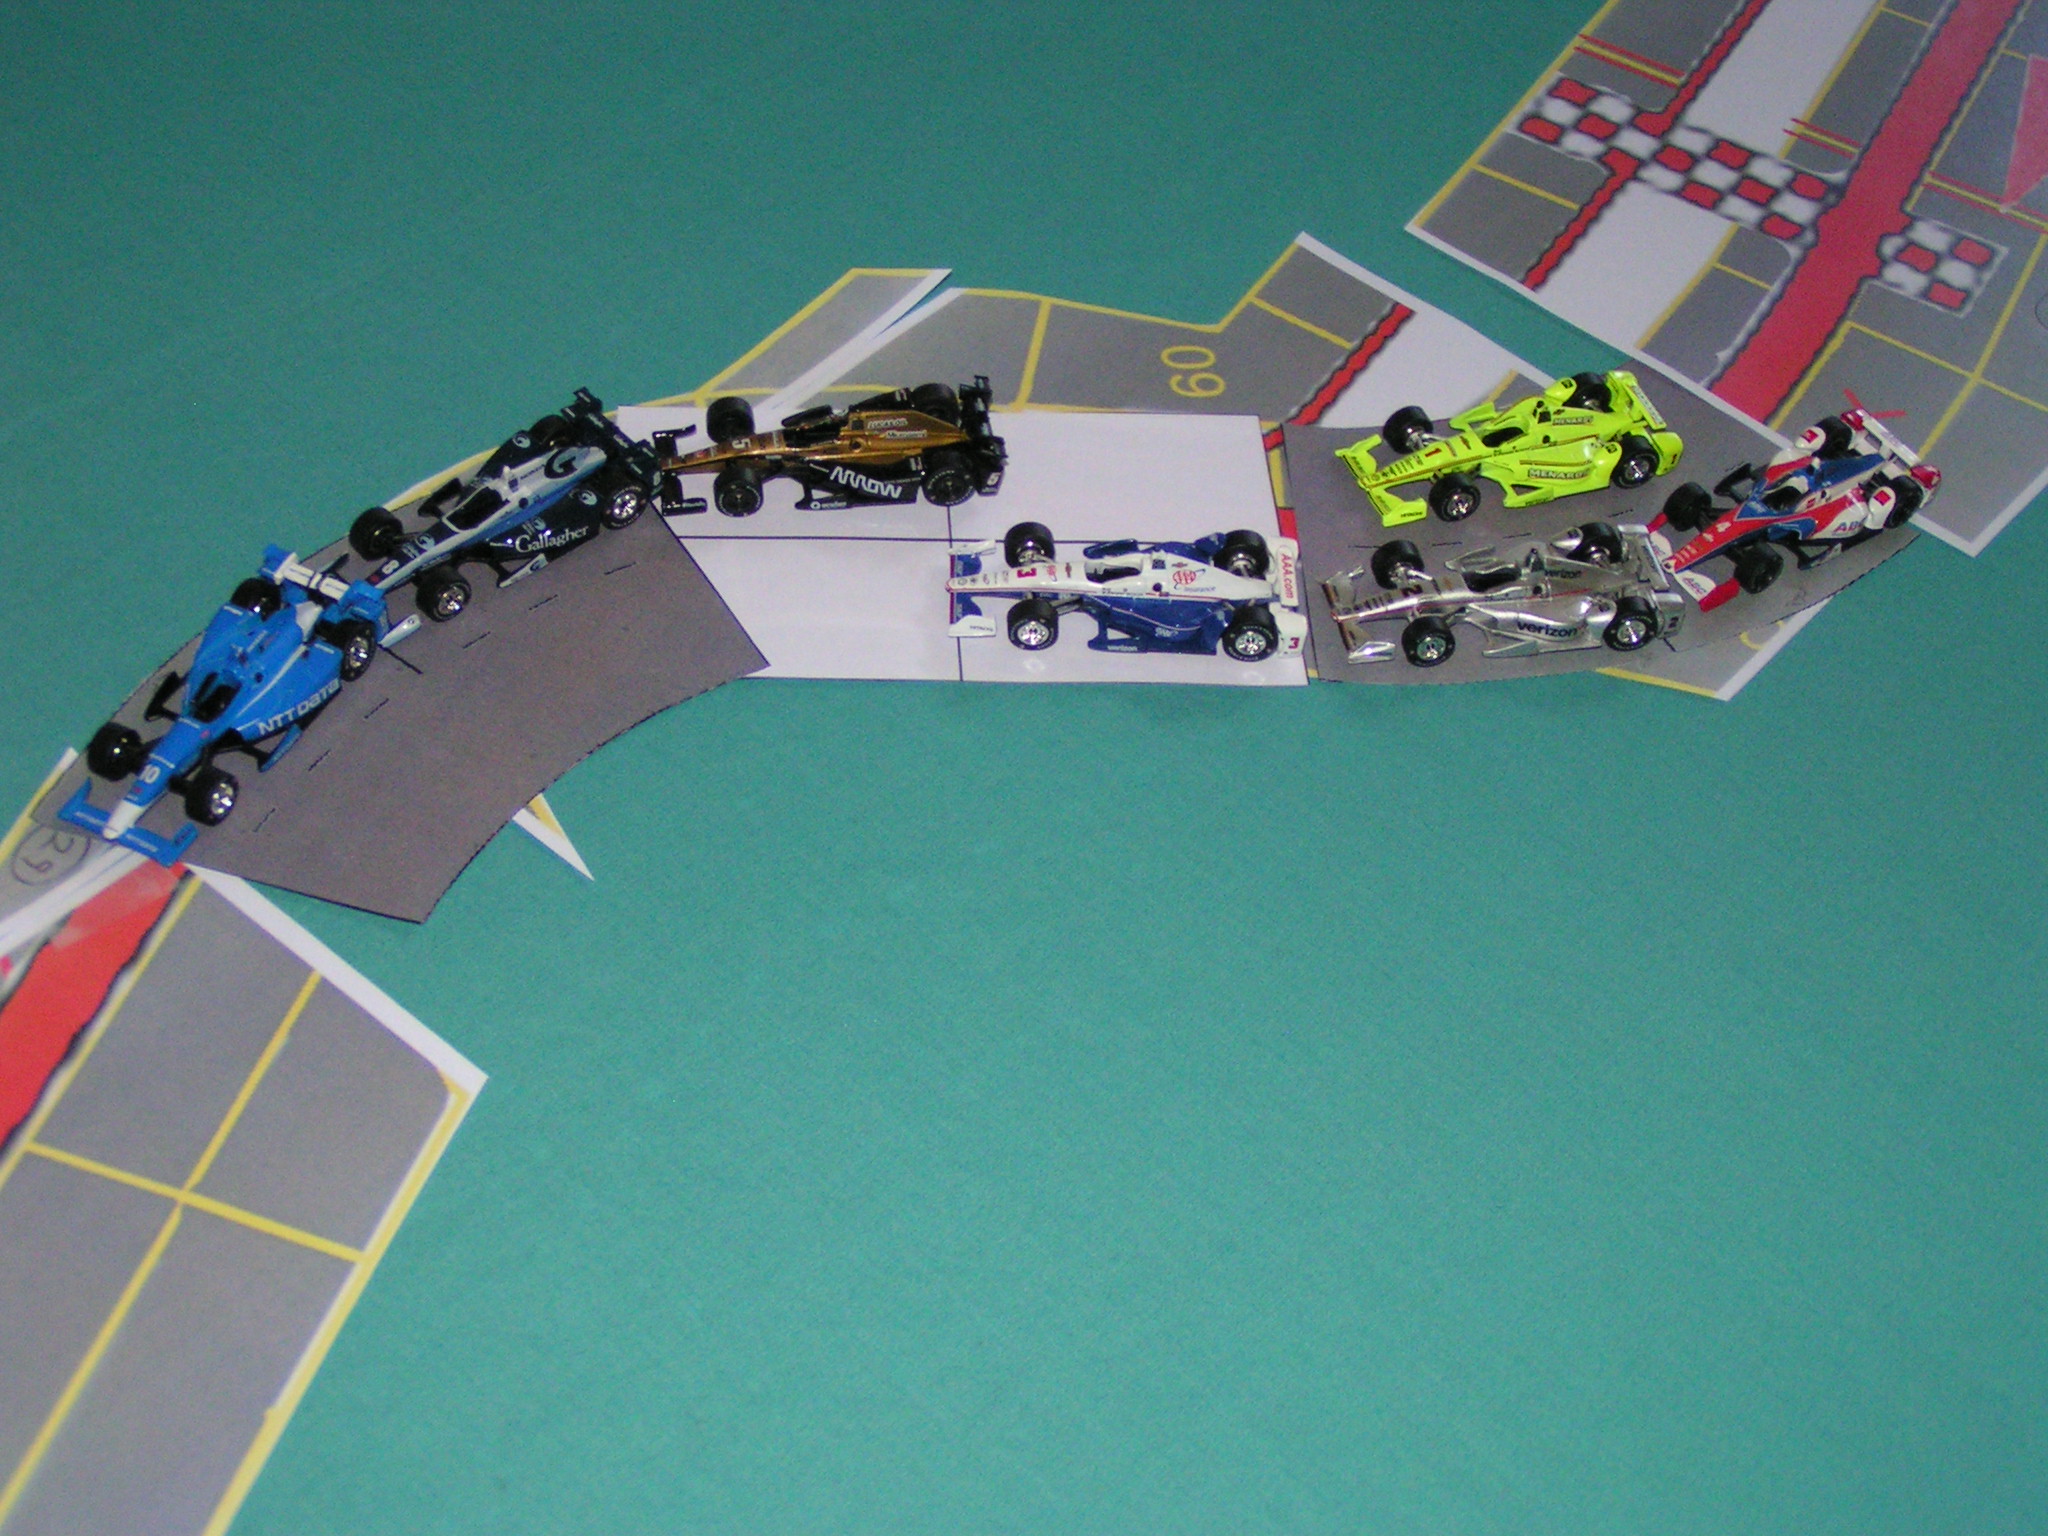
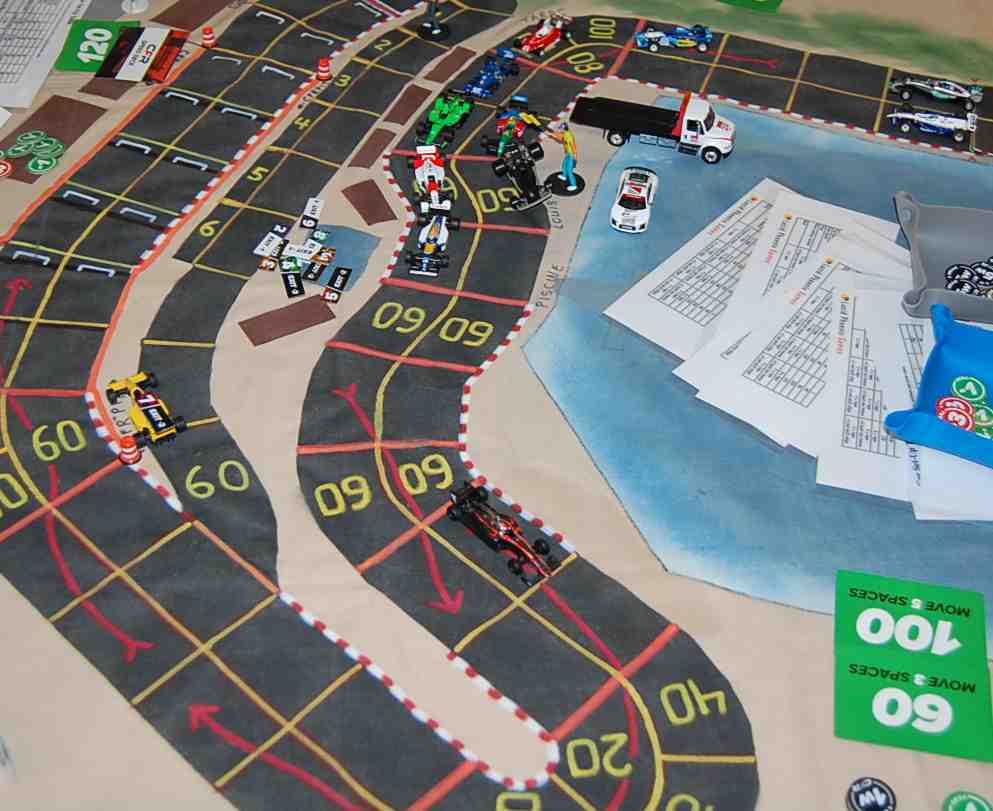
Just as Cook was leaving the pits and re-entering the track, Jim Robinson and Kaluzny pulled into the pits. By the time Sturgeon got back on the track, Cook had a 7-space lead.
Frantic action in the pits as Cook leads Sturgeon by 7 spaces. In the pits are B. Robinson, Worrel, Lim, White, Beckman, and St. Peter. Jim Robinson and Kaluzny have just been placed back on the track, just to the outside of Parr, who did not pit. Just in front of those three cars is the Benetton of Landis, who also did not pit.
The official order at the end of the 1st lap: Cook (0); Sturgeon (+1); Landis (+8); Kaluzny (+2); Parr (+7); J. Robinson (-4); Worrel (0); Lim (+2); Beckman (-4); St. Peter (-1); White (-7); and B. Robinson (-4). The numbers in parentheses indicate how many places a driver either gained (+) or lost (-) from their starting position.
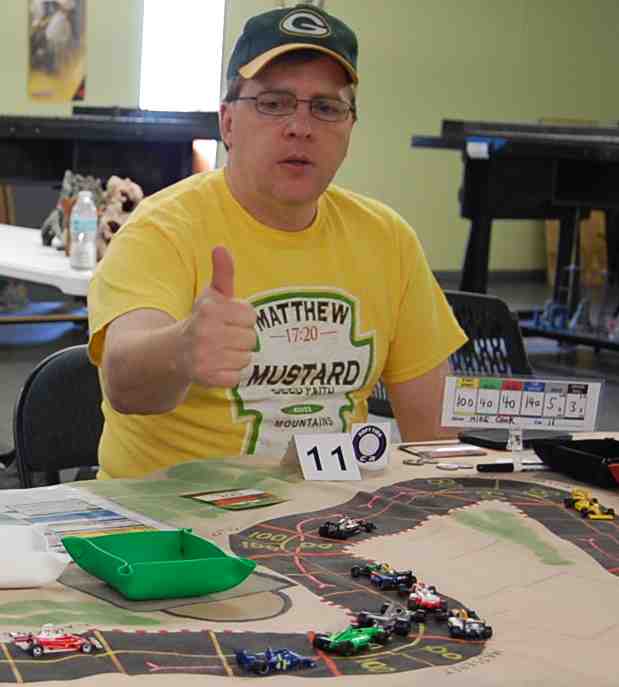
Mike Cook indicates “thumbs up” to show he has his next move plotted. It could also mean that everything is going great as he still leads by 6 spaces through Mirabeau Haute.
During the 2nd lap, Cook cruised with a huge lead. As Cook went into the Nouvelle Chicane for the 2nd time, his lead over Sturgeon was 9 spaces. Sturgeon then led by 6 spaces over Jim Robinson. The rest of the pack were all fighting tooth and nail (or would that be wing and wheel-rim?) through every corner.
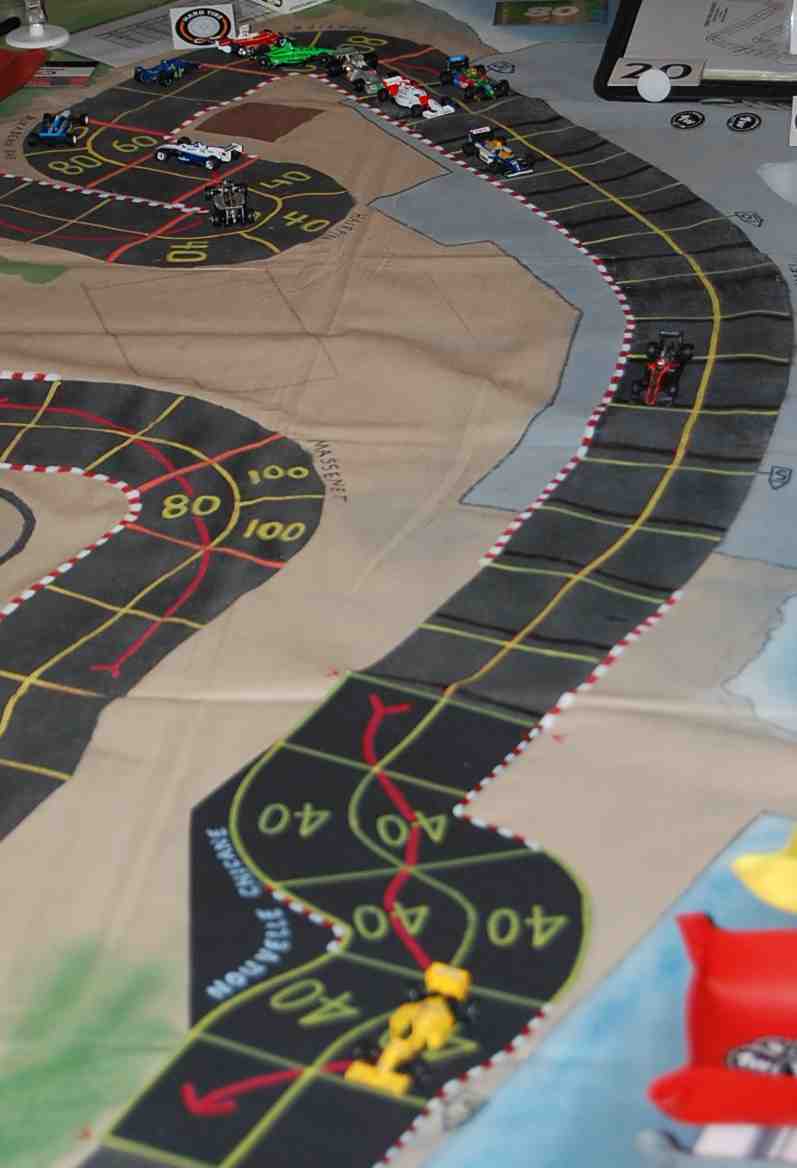
Cook leads by a huge margin into the Nouvelle Chicane.
Among the pursuing cars, J. Robinson and Kaluzny were having a fierce battle for 3rd place. Parr and Landis were right behind, battling for 5th place. Beckman, Worrel, and White were duking it out over 8th place.
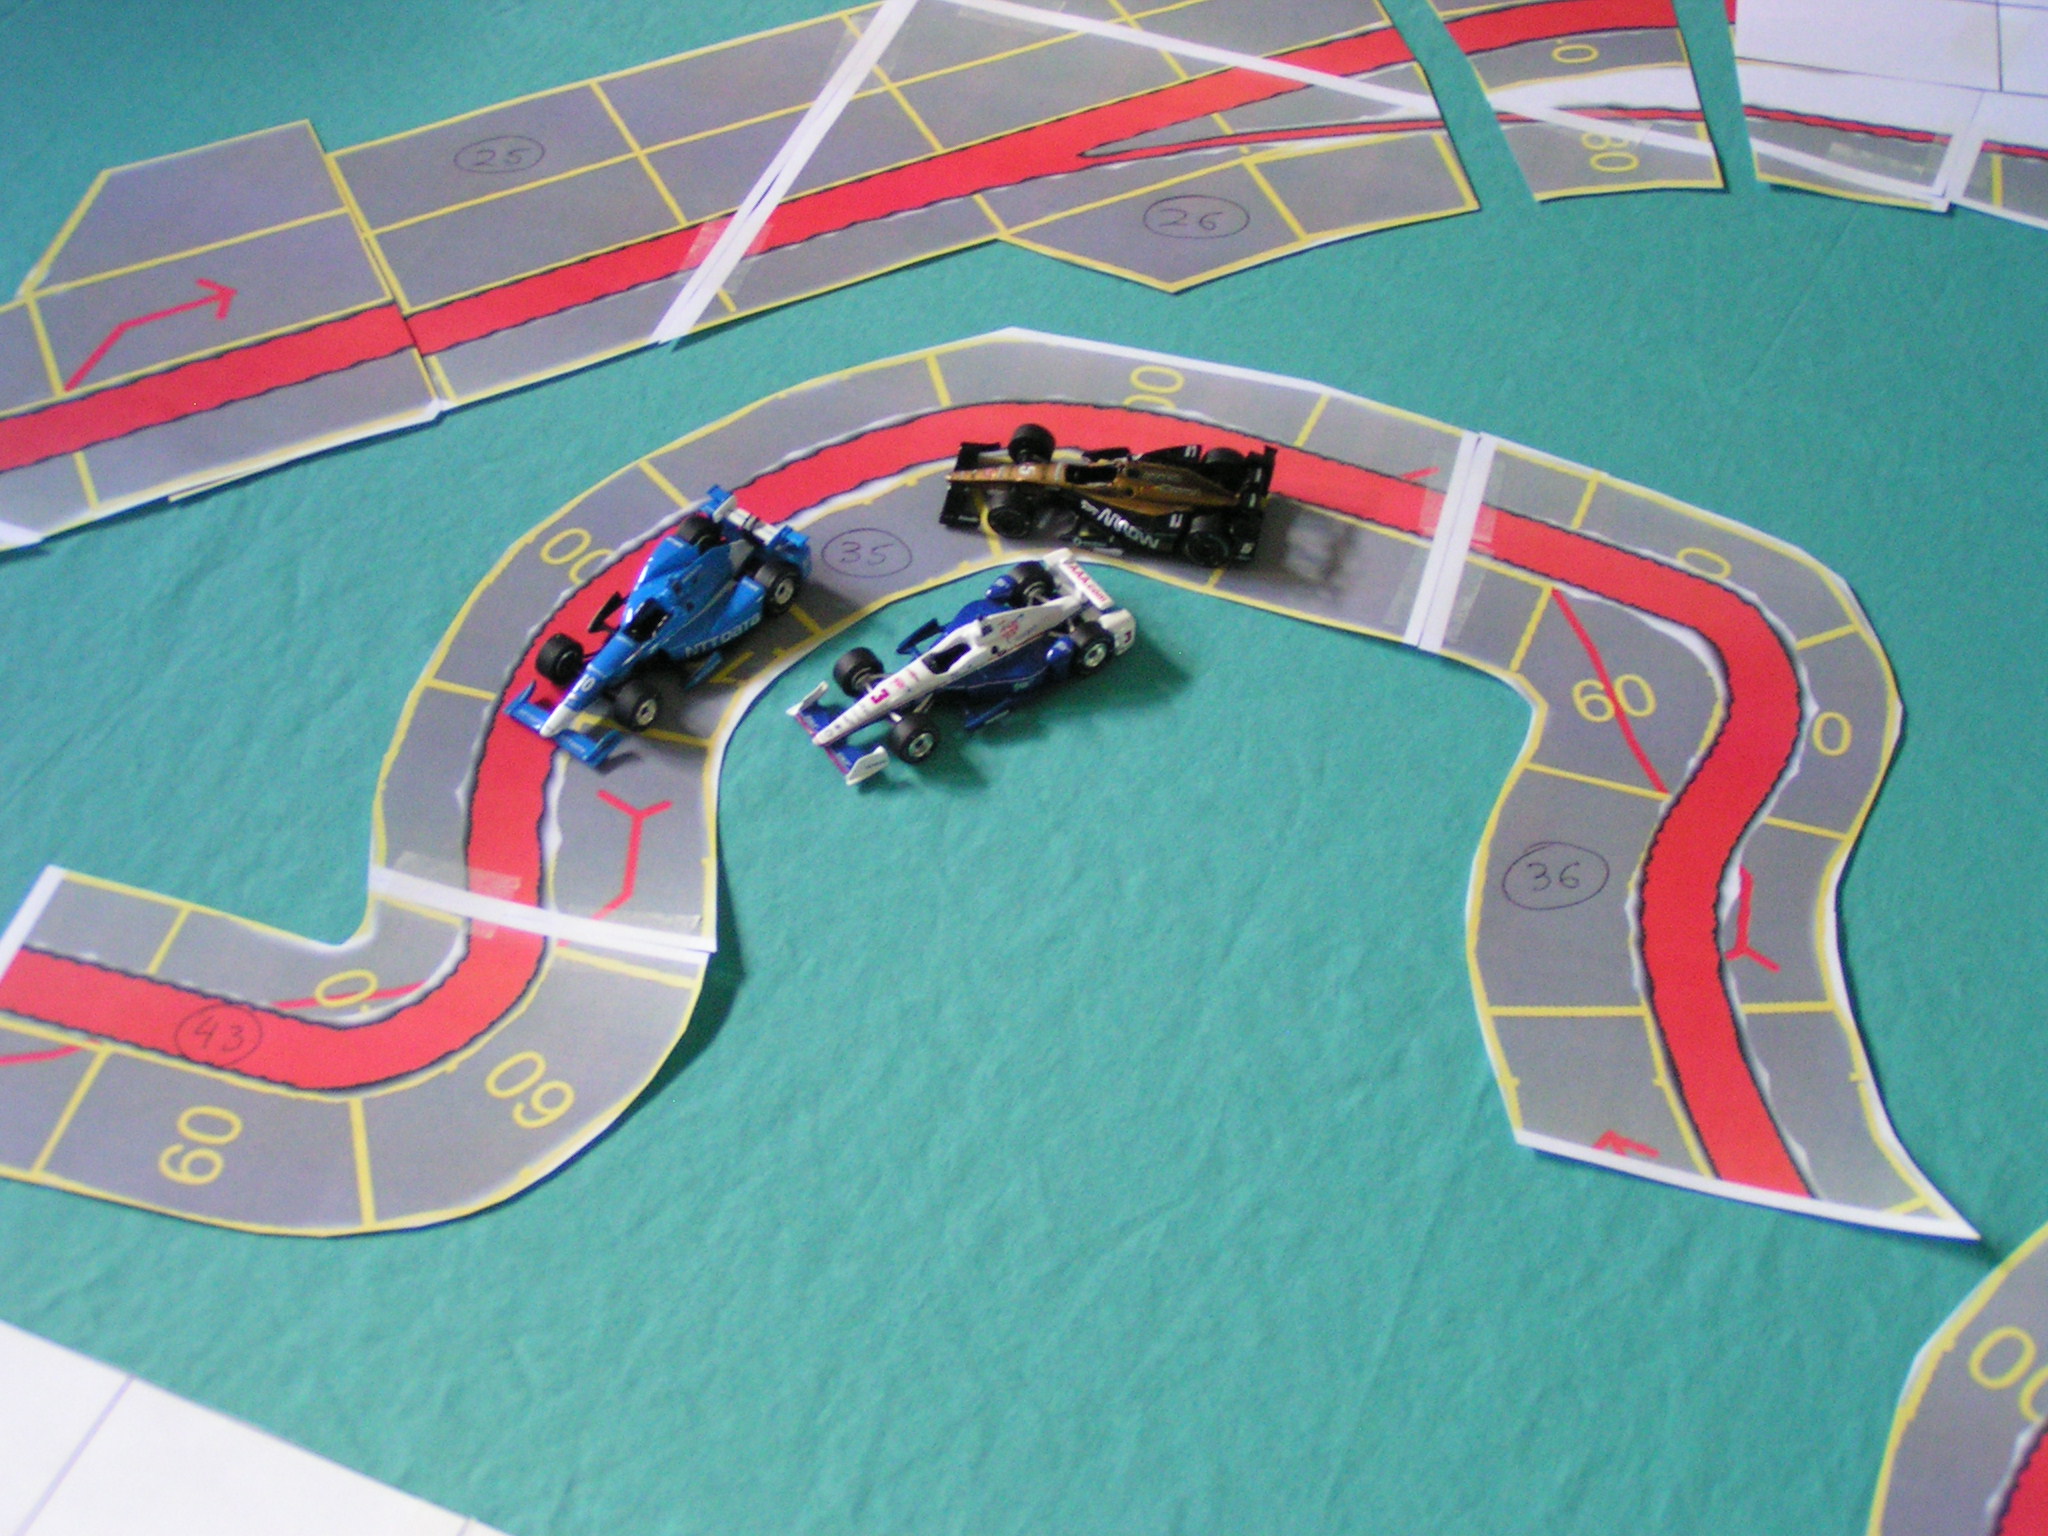
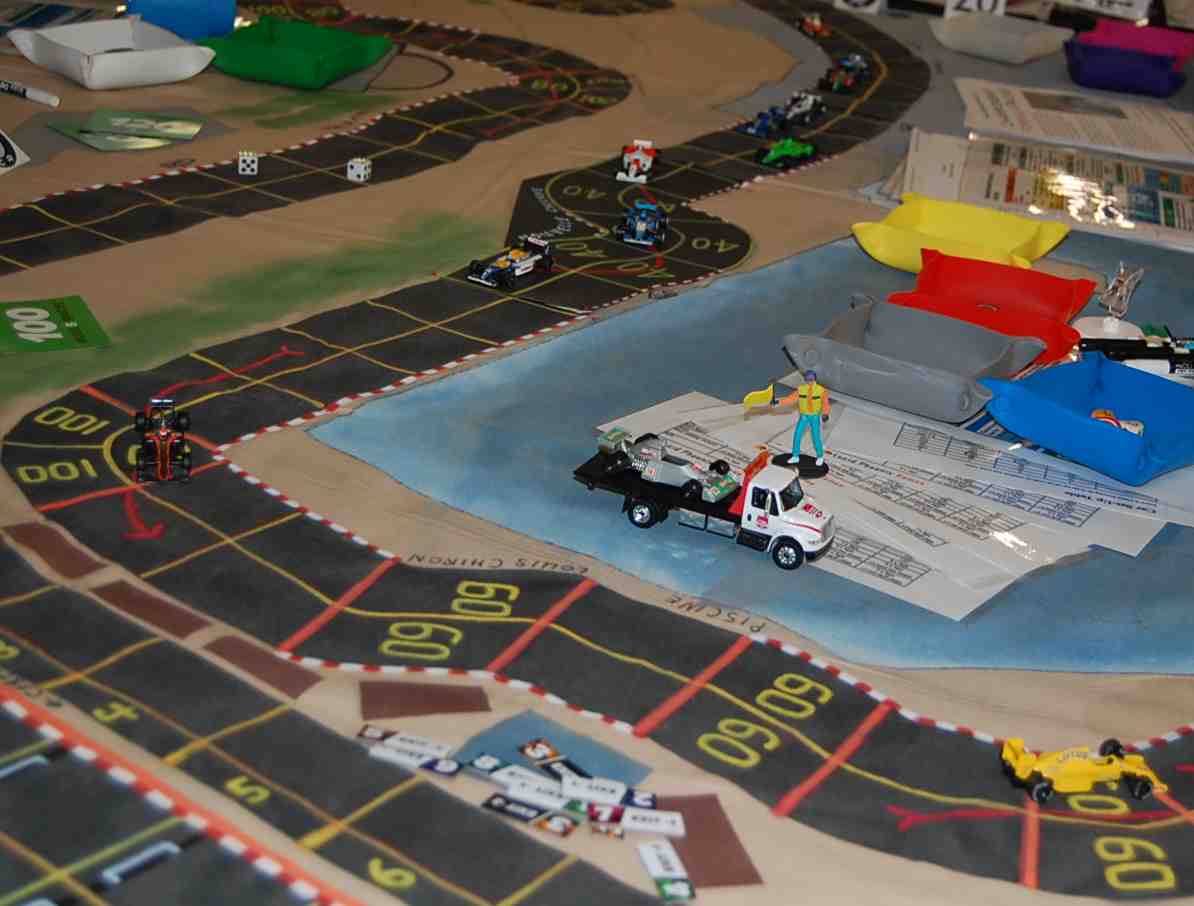
Then, when the leader Cook pulled into the pits for the 2nd time, Parr crashed his gray Motul BRM at the first of the “swimming pool” corners, now known as the “Louis Chiron” corner.
Aric Parr crashed at Louis Chiron, by the swimming pool. The race leader, Mike Cook, is already in the pits, and 2nd-place Sturgeon is approaching La Rascasse. The rest of the order on the track is J. Robinson, Kaluzny, Landis, Lim, Worrel, Beckman, White, B. Robinson, and St. Peter.
Cars making pit stops at the end of the 2nd lap were Cook, Sturgeon, J. Robinson, Kaluzny, Lim, Landis, Worrel, and Beckman. All of those drivers were making their 2nd pit stop of the race except for Landis, who was making his 1st stop. All of the pitting drivers came returned to the track shod with soft tires. Not stopping were White, B. Robinson, and St. Peter. The non-pitting trio were all on hard tires, and so each regained two wear chits.
The official order after two laps: Cook (0); Sturgeon (+1); White (+1); J. Robinson (-2); B. Robinson (+3); Kaluzny (0); Lim (+3); Landis (+3); St. Peter (0); Worrel (-3); and Beckman (-6). Parr (0) did not complete the lap, and was classified 12th with a DNF.
At last, the final lap! Cook was just about coasting to an easy win, and Sturgeon was a fairly safe 2nd place. Through Ste. Devote and up the hill to the Massenet corner, White and J. Robinson were dueling for 3rd place. Brian Robinson, Kaluzny, Lim, and Landis were in a tight knot of cars fighting for 5th place. St. Peter and Worrel were battling for 9th place, and Beckman had fallen to last, 5 spaces behind the nearest cars. But, by the Mirabeau Haute corner, Worrel, St. Peter, and Beckman had all closed the gap to the four cars in front of them.

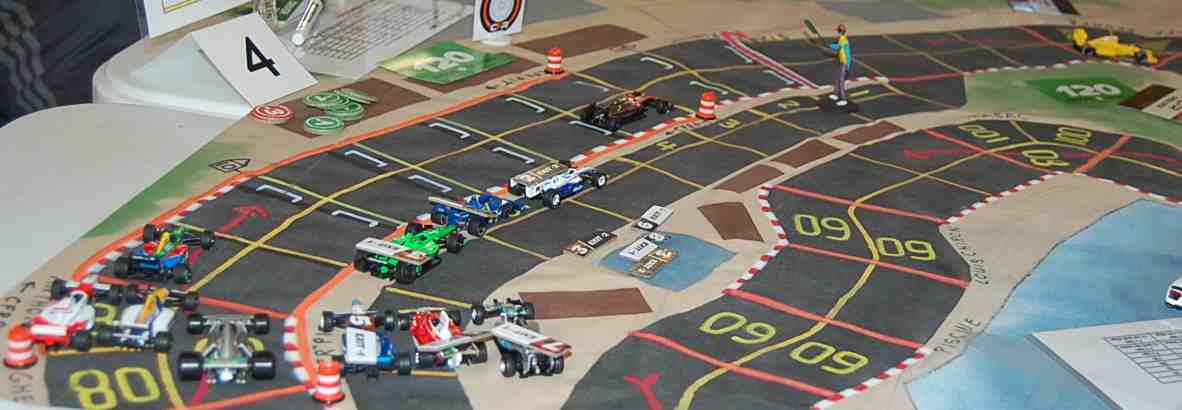
Going up the hill to Massenet, and cars are all strung out. Cook’s yellow car leads at the far right of the picture, and Beckman’s car is at the back of the pack at the far left.
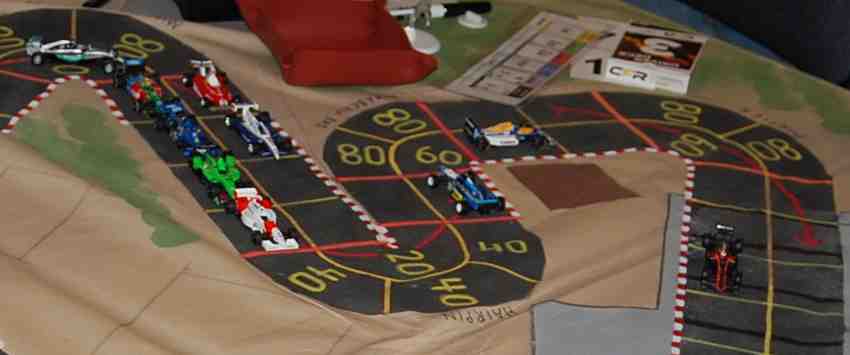
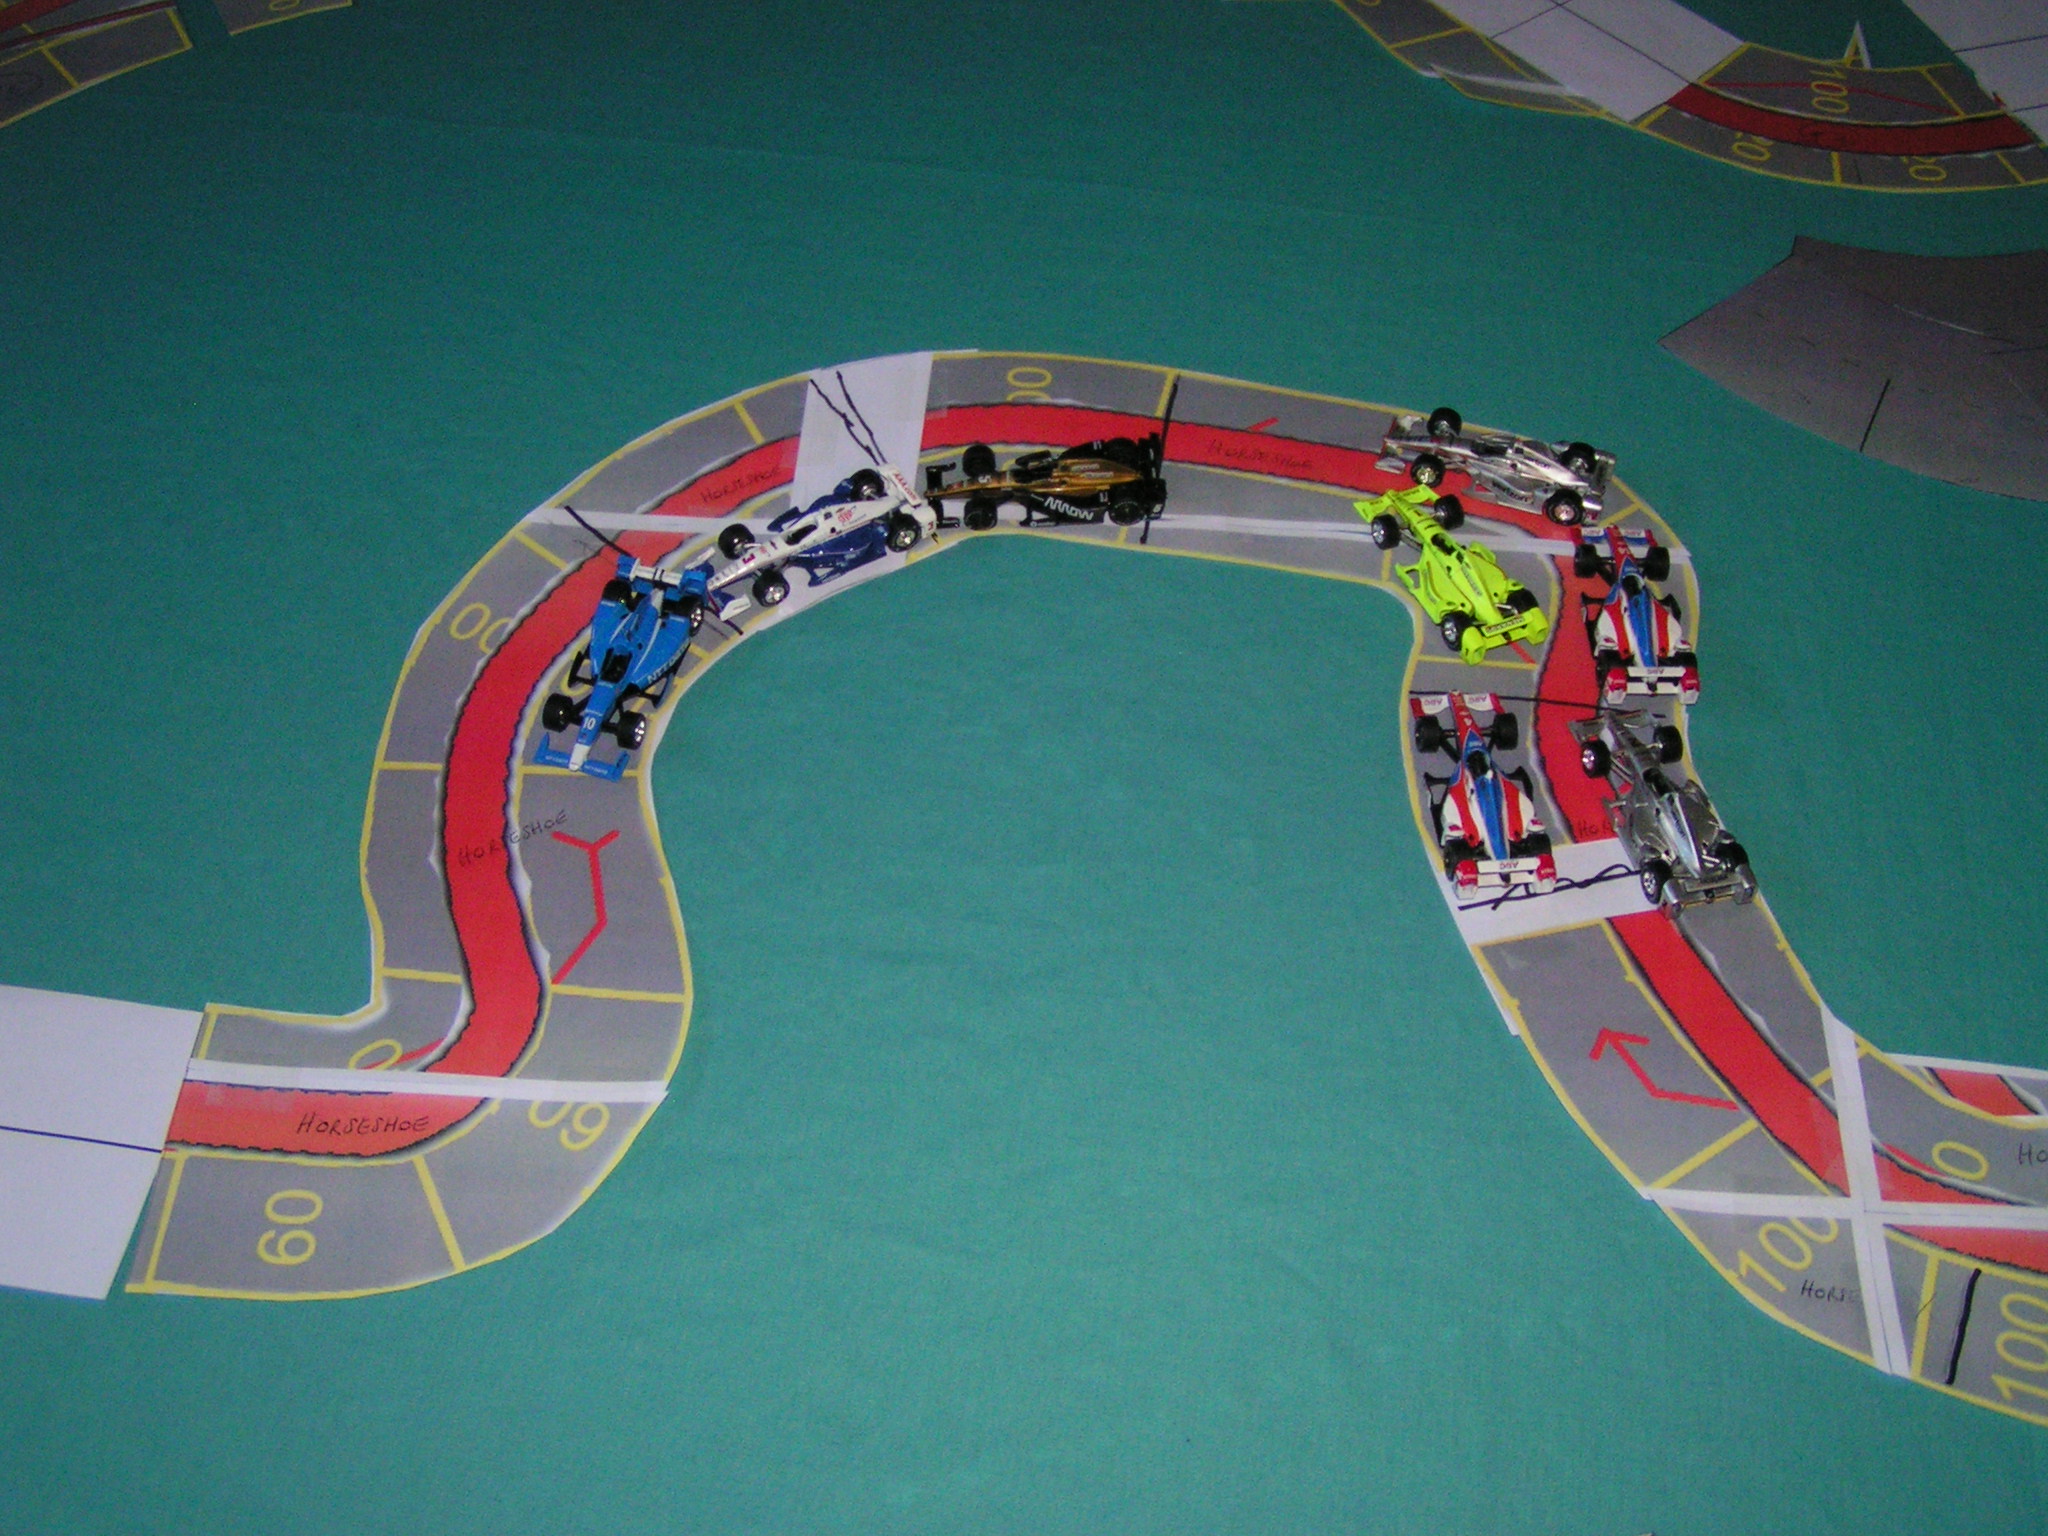
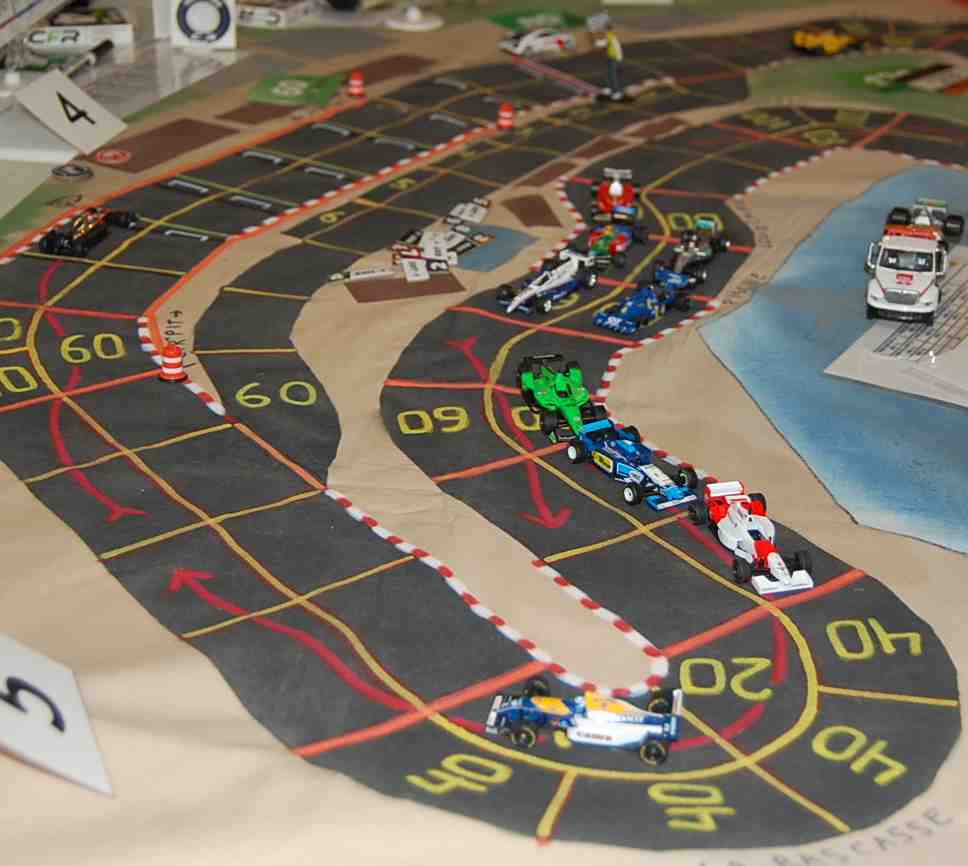
The pack has closed up. Sturgeon, in 2nd, is at the right, followed by J. Robinson and White. Then 5th through 11th places (Kaluzny, Lim, B. Robinson, Worrel, Landis, Beckman, and St. Peter) are all bunched up in front of the Hairpin.
Then as the pack slithered through the Hairpin, Mirabeau Bas, and Portier, Kaluzny got just a little in front of his competitors. This was turning into the most exciting part of the Monaco Grand Prix, as a number of cars were battling for a few points-paying positions. Beckman, in an attempt to slow for the Hairpin, rolled a ’10’ on an unmodified deceleration roll, and that reduced his deceleration spec to 20 mph until the end of the race. Then, coming out of Portier shortly afterwards, Beckman failed an unmodified overacceleration roll, and that reduced his car’s acceleration to only 20 mph.
The race is heating up near the Nouvelle Chicane!
As expected, Mike Cook (o) won as easily as a race can be won while playing Championship Formula Racing, winning by 10 spaces over Gary Sturgeon (+1) in 2nd place. Those two finished one-two in 2017, in similar fashion. The battle, now, was for 3rd. J. Robinson had managed to get ahead of White at the Nouvelle Chicane, and Robinson was now trying to stay ahead of a hard-charging Kaluzny, as Kaluzny had finally been able to pass White in the swimming pool corners.
Cook wins easily (yellow car at upper right of picture). Sturgeon (car at upper left) is approaching the checkered flag). The battle for 3rd continues as J. Robinson holds 3rd at Rascasse from Kaluzny, White, Lim, Worrel, B. Robinson, Landis, St. Peter, and Beckman.
Jim Robinson now saw his way clear for 3rd place coming out of La Rascasse, as he held a 2-space lead over Kaluzny, and only the Anthony Noghes corner remained before the finish line. Kaluzny was feeling assured of finishing no lower than 4th, as Richard White had just crashed in La Rascasse, and Greg Lim was stuck in that corner with the rest of the pack behind.
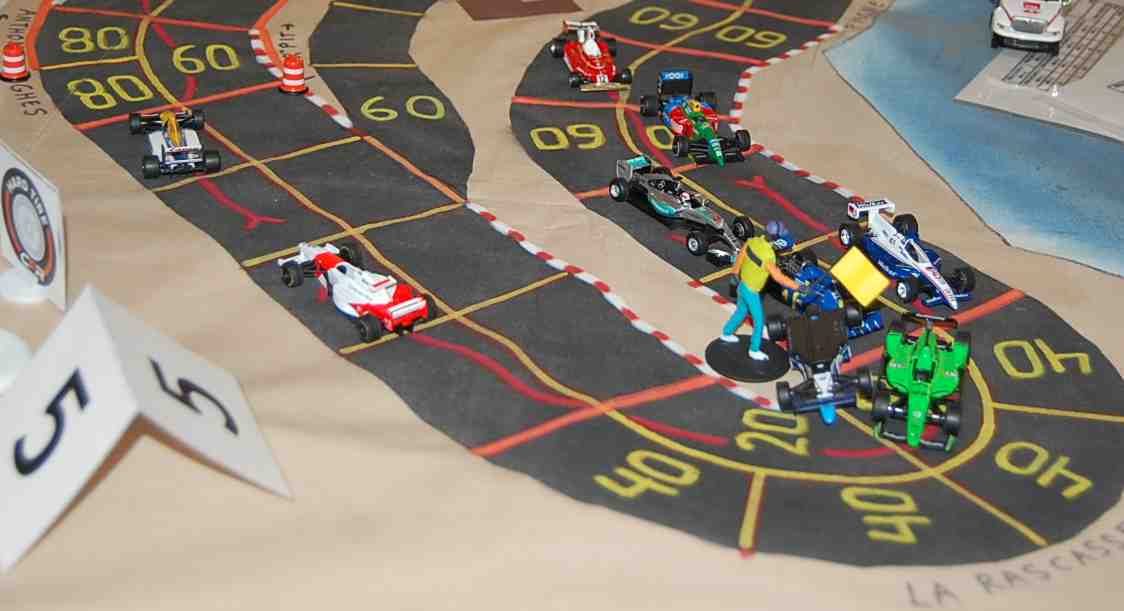
Richard White crashes at La Rascasse while Jim Robinson and Garry Kaluzny head towards 3rd and 4th place.
As it was, Garry Kaluzny managed to pull alongside Jim Robinson as they crossed the finish line, but Robinson (-1) managed to hang on to 3rd place over Kaluzny (+2). It was a sort of reverse of the finish at Monza, where Kaluzny had just stayed ahead of Robinson, except that at Monza the duo were battling for 1st place. Greg Lim (+5) then took an uncontested 5th place. And then finally Bill Worrel (+1) was able to hold off Brian Robinson for 6th place and the final point. Brian Robinson (+1) finished 7th. Eighth through 10th places went to: 8th-Jim Landis (+3); 9th-Mike St. Peter (0); 10th-Jack Beckman (-5). Beckman nursed his car home about 10 spaces behind the 9th place car of St. Peter, but Beckman was determined to bring his car home at Monaco in 2018 after crashing his car on the final corner of the same track in 2017. Classified 11th was Richard White (-7) with a DNF due to a crash, and Aric Parr was classified 12th, for the same reason.
Points awarded at the Monaco Grand Prix: Cook 10; Sturgeon 6; Jim Robinson 4; Kaluzny 3; Lim 2; and Worrel 1.
The points standings of the 2018 CFR-Detroit season after four of eight races:
Place Driver (Car)                    Points
  1   Richard White (Brabham)           23
  2   Mike Cook (Camel Lotus)           17
  3   Jim Robinson (Williams)           16
  4   Garry Kaluzny (Marlboro McLaren)  13
  5T  Gary Sturgeon (McLaren)           10
  5T  Bill Worrel (Tyrrell)             10
  7T  Jack Beckman (Ferrari)             4
  7T  Brian Robinson (Walker Racing)     4
  9T  Aric Parr (Motul BRM)              2
  9T  Joel Lauder (HSBC Jaguar)          2
  9T  Greg Lim (GoDaddy)                 2
 12   Mike St. Peter (Mercedes)          1
 13T  Jim Landis (Benetton)              0
 13T  Mark Moellering (McLaren)          0
 13T  Gary Kempen (Williams)             0
 13T  Chuck Modzinski (Arrows)           0
 13T  Jim Lauder (Shadow)                0
The next race of the 2018 CFR-Detroit racing campaign is the Detroit Grand Prix, raced on the Belle Isle track this year. It will be at RIW Hobbies & Games in Livonia, Michigan, on September 15.