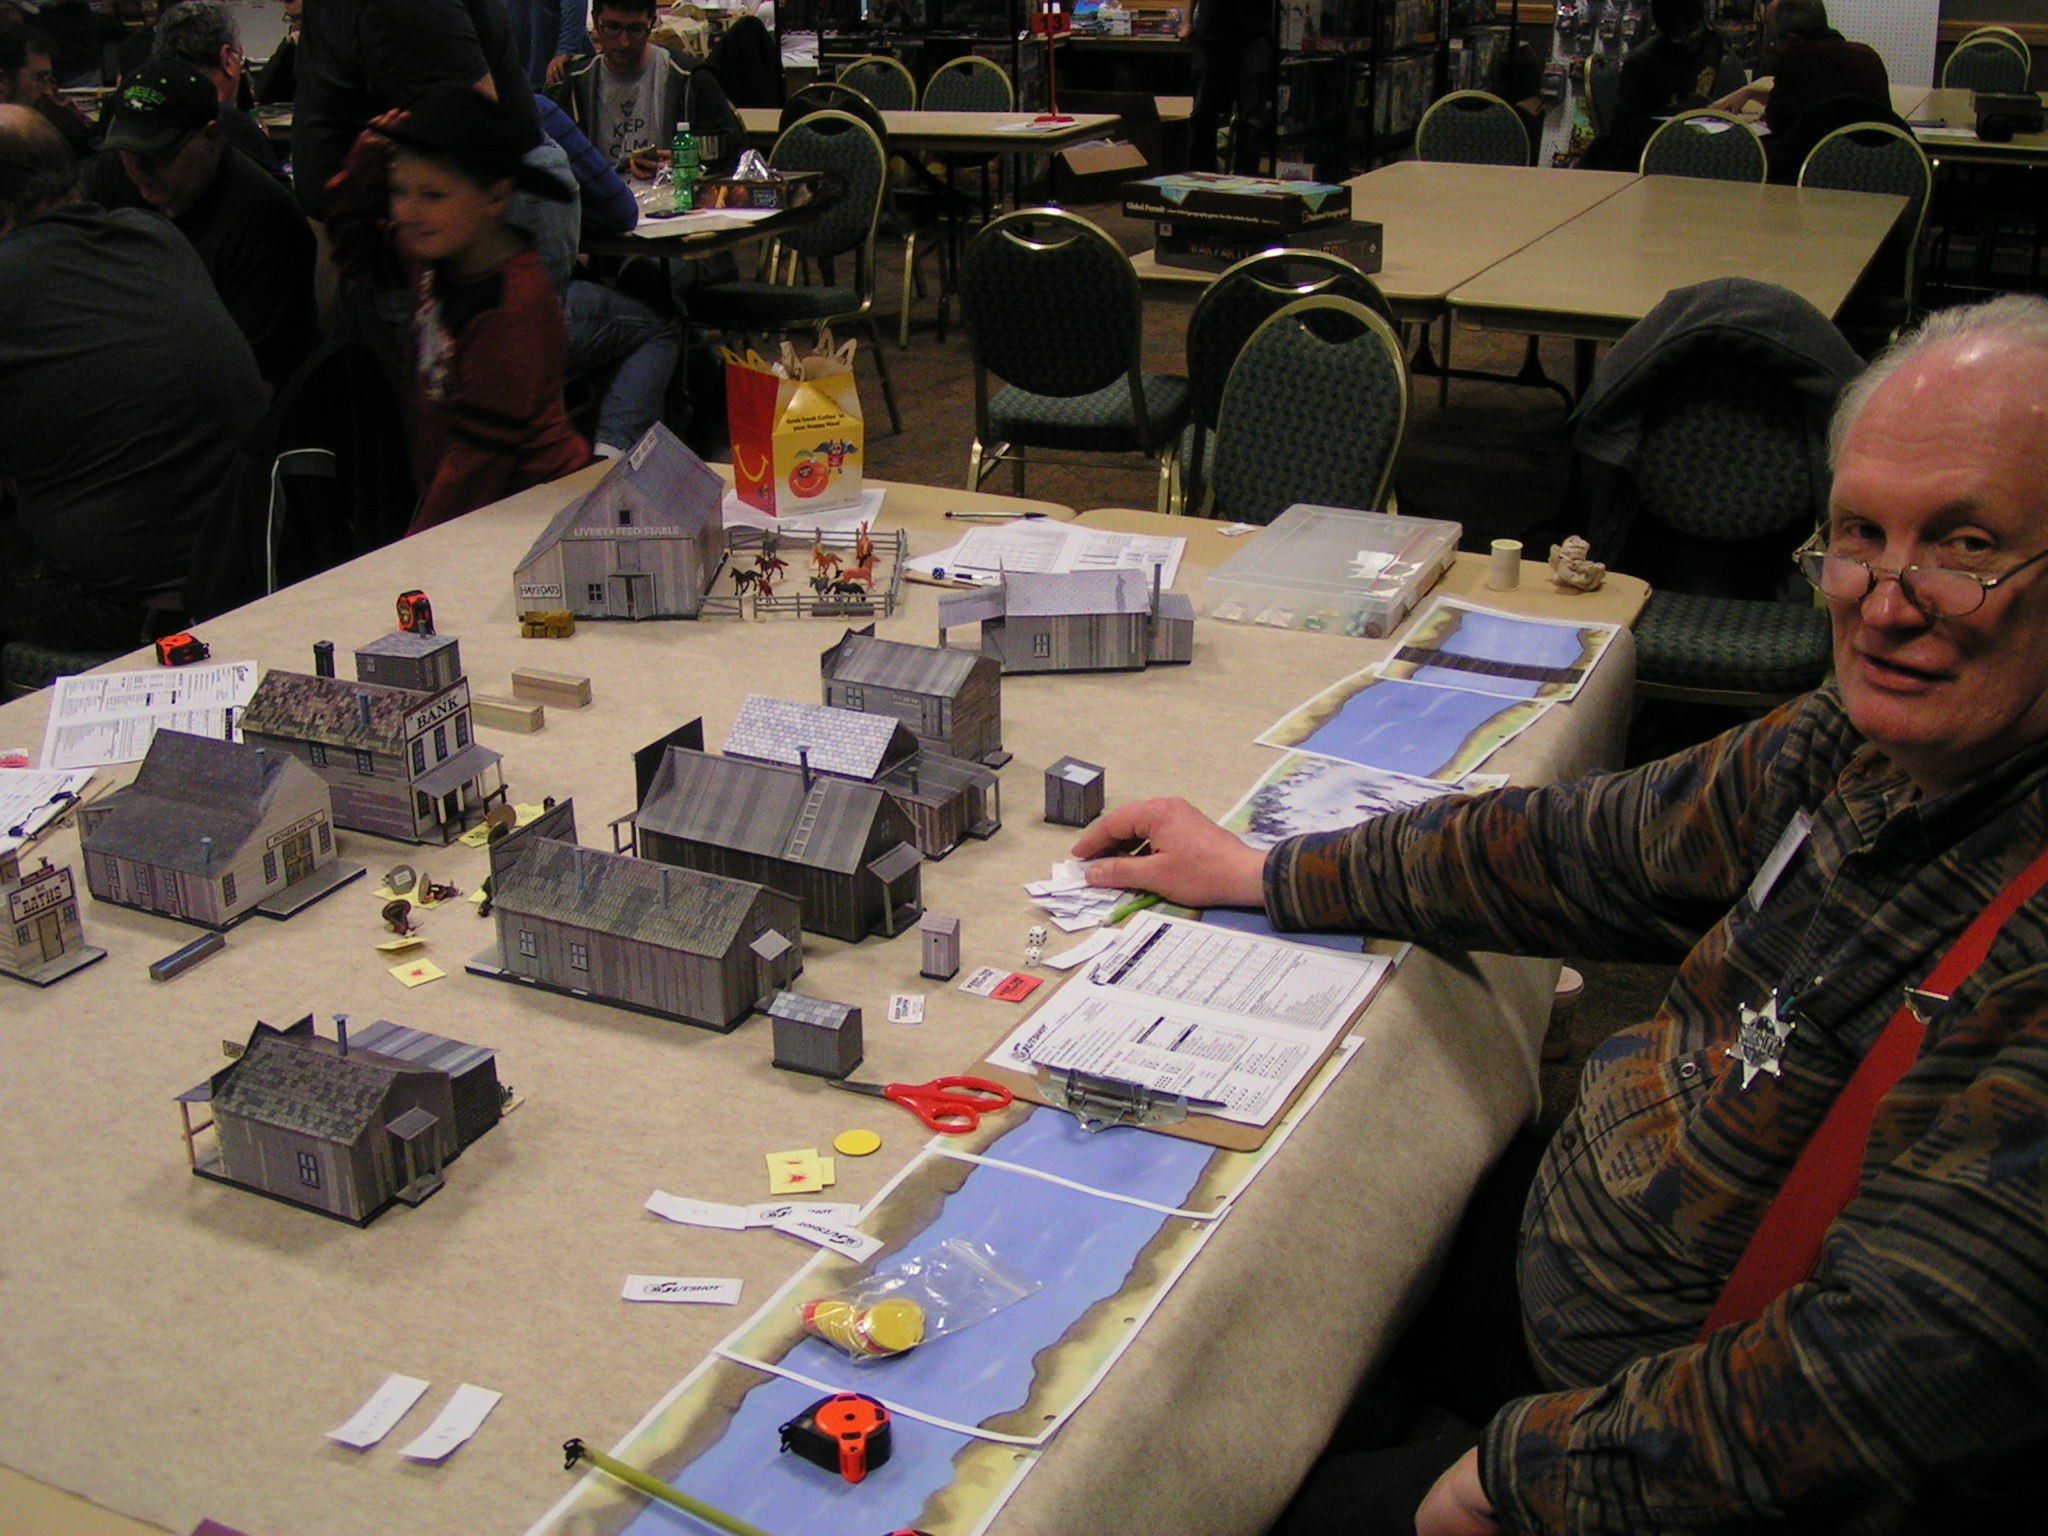
We had our most recent demo race of Championship Formula Racing at Imperium Games in Wixom, Michigan, on Friday, July 7. (Imperium Games was up until recently known as Flat Land Games. It had a recent change of ownership.) We once again used one of the magnificent large-scale tracks made by Richard White many years ago.
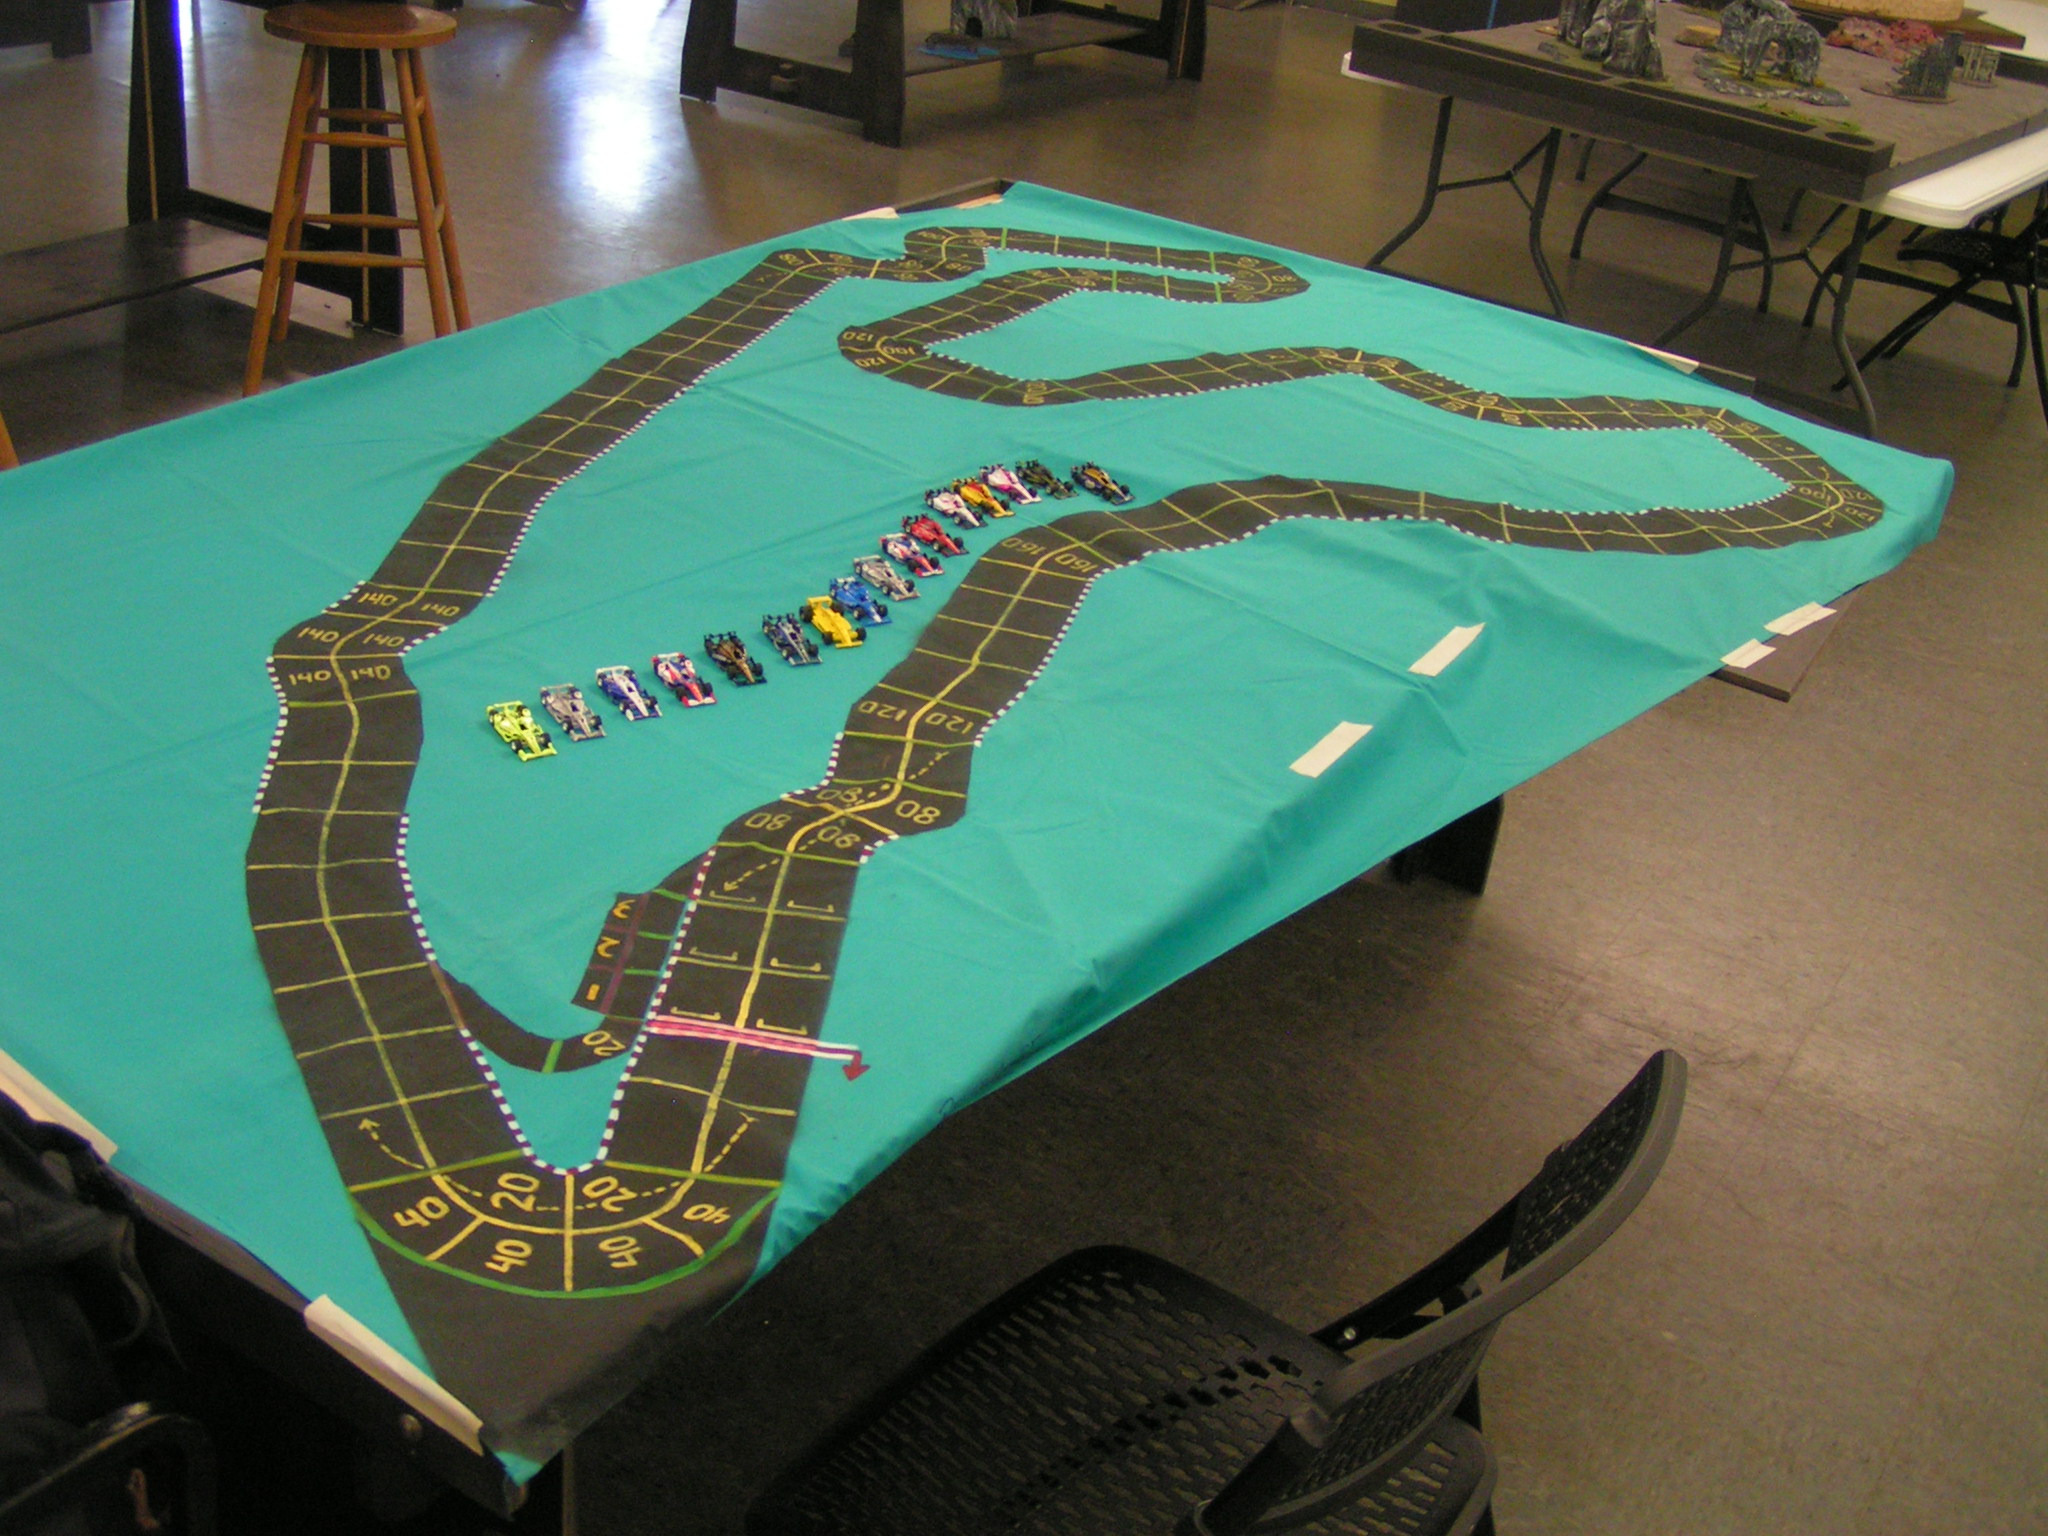
Spa-Francorchamps track (1981-2003 configuration)
I lined up my available 1:64 scale IndyCars for drivers to use as Jack Beckman had not yet shown up with his many Formula One cars. Traffic was exceptionally bad on I-96 west of I-275. I tried to get to Imperium Games by 5:00 pm, but I didn’t arrive until around 5:45 pm. The Imperium Games staff were very helpful in converting one of the lower miniatures tables by removing the edge rail from one side of the table, and providing a plywood extension under the part of the track in the upper right of the above picture. In other words, the Spa track is wider than a 4 foot x 8 foot table — it needs about a 5 foot by 8 foot table.
Not too long after I set up the track, Jim Landis arrived, followed by Jim Robinson and Greg Lim. Jack Beckman got to the track around 6:45 pm. We got rolling a little past 7:00 pm.
Starting positions in Championship Formula Racing are handled on a “bid” basis. Each driver bids some of his starting Wear or Skill chits, with each Wear counting as one and each Skill counts as 1/2. Jim Robinson and I each bid 1.5 (1 Wear and 1 Skill each), Jack Beckman bid only 0.5 (a single Skill chit), and Jim Landis and Greg Lim each bid nothing. So then Jim Robinson and me had to roll dice for starting position, with Jim getting the pole, and I started on the front row next to him. Jack was 3rd, and Jim Landis and Greg diced for starting 4th and 5th.
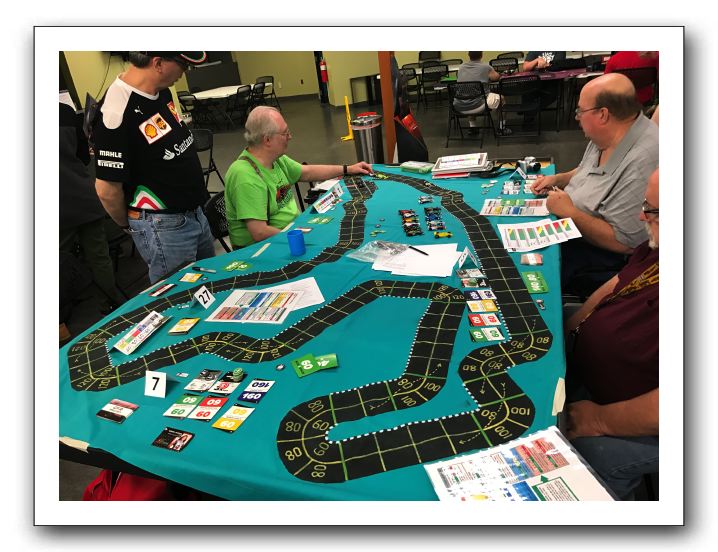
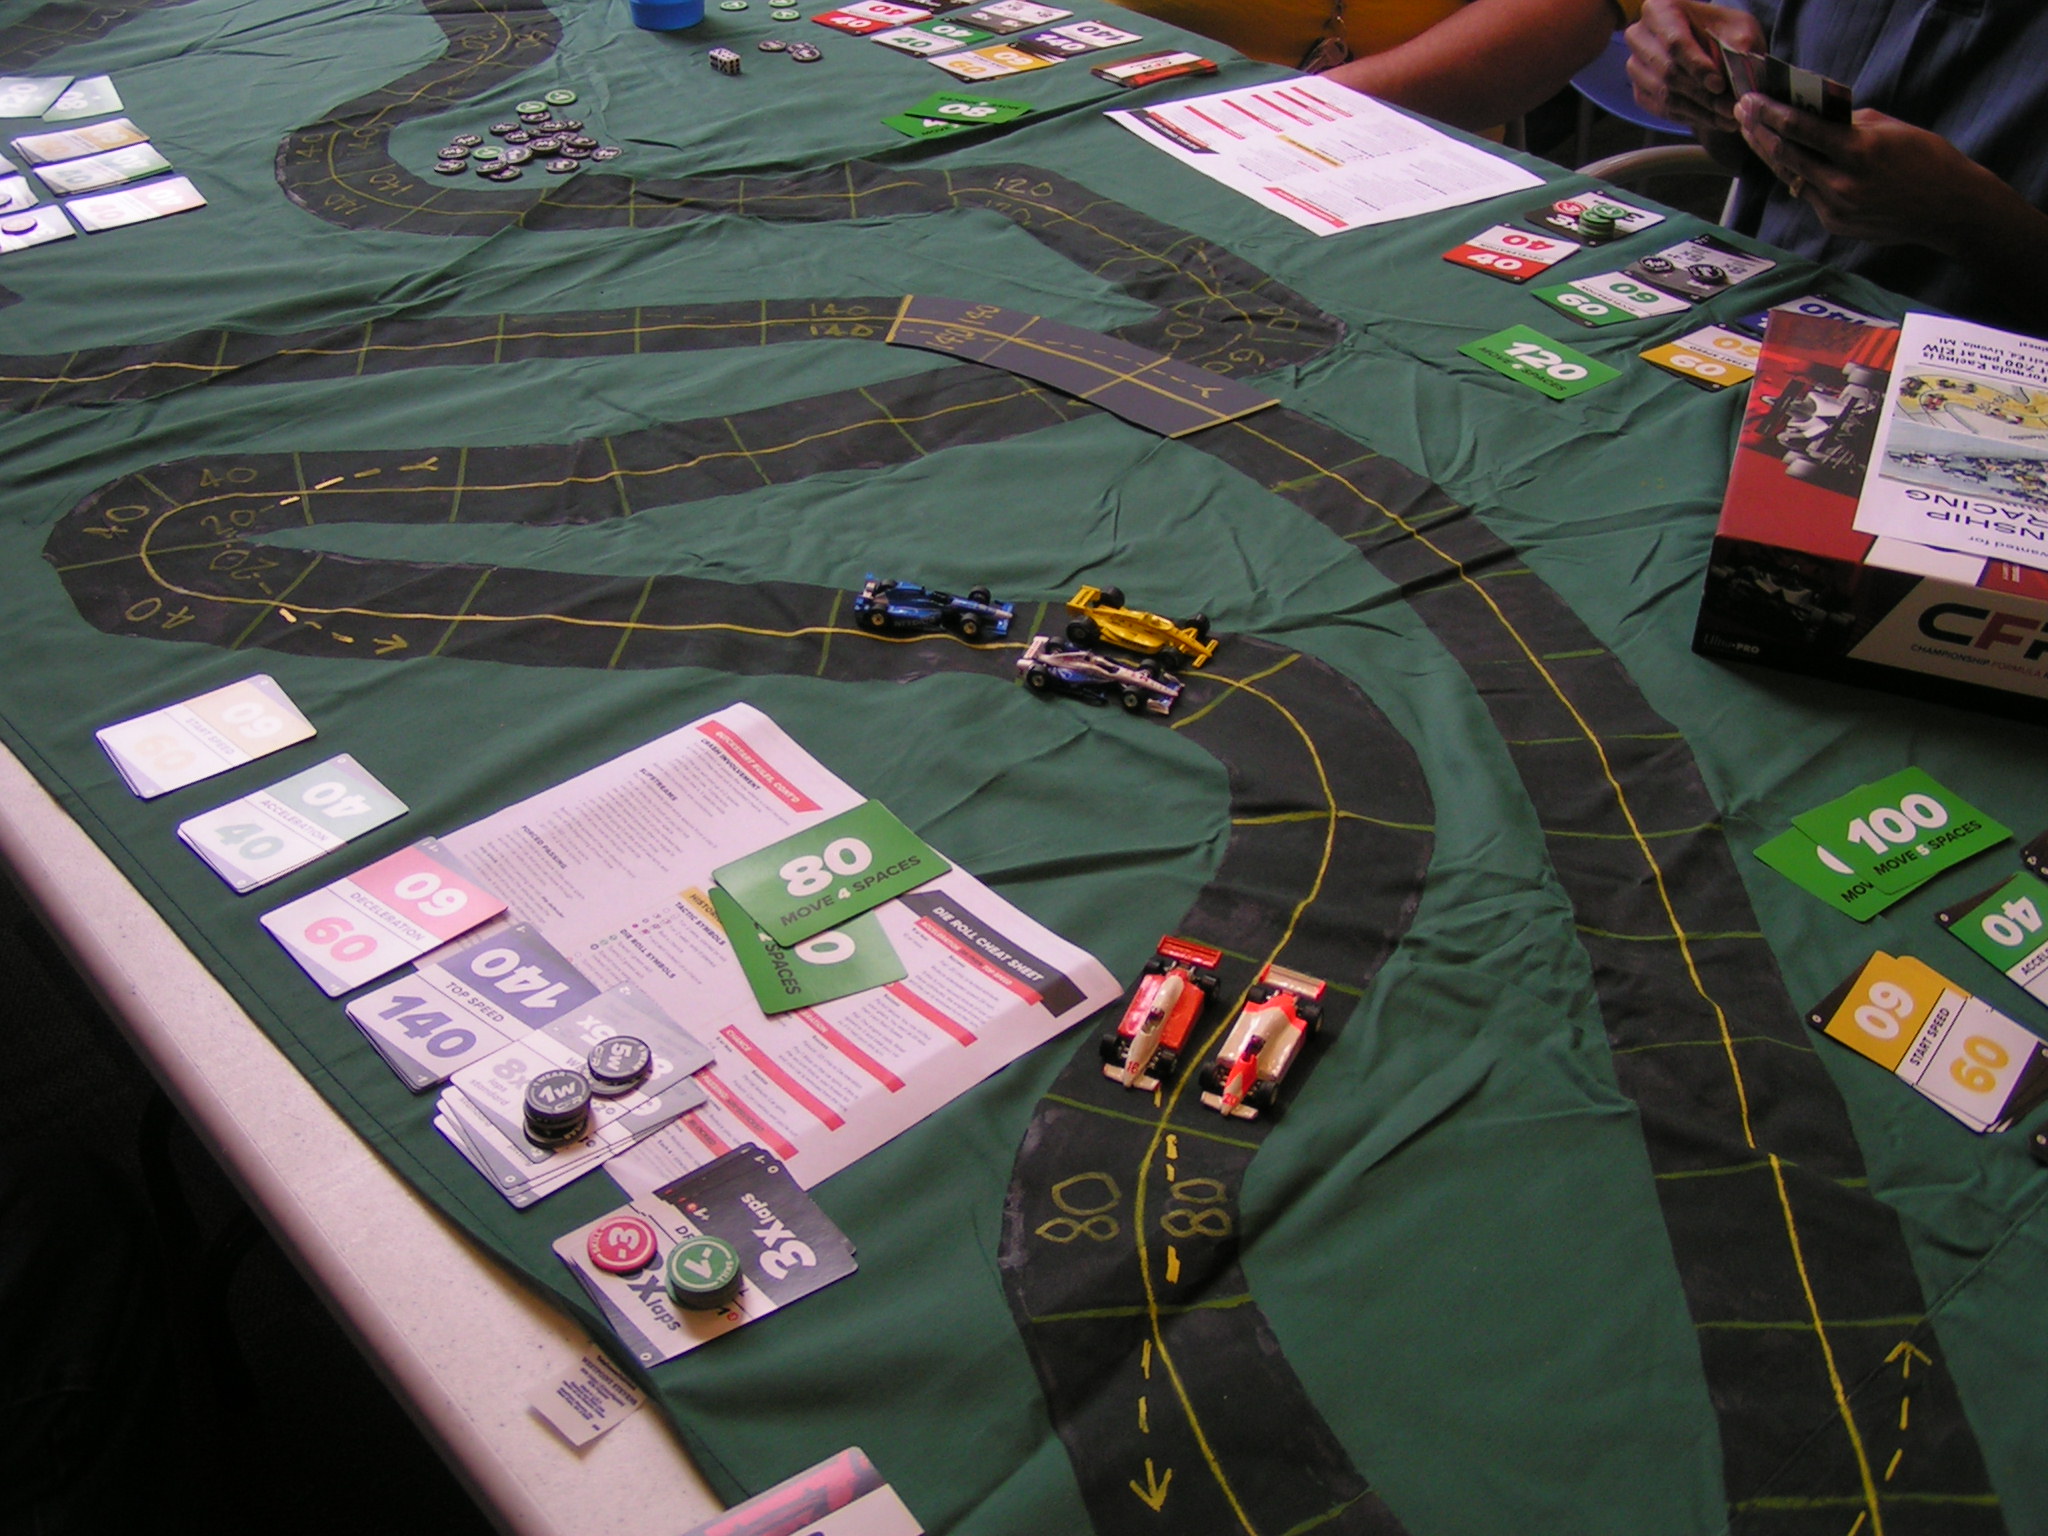
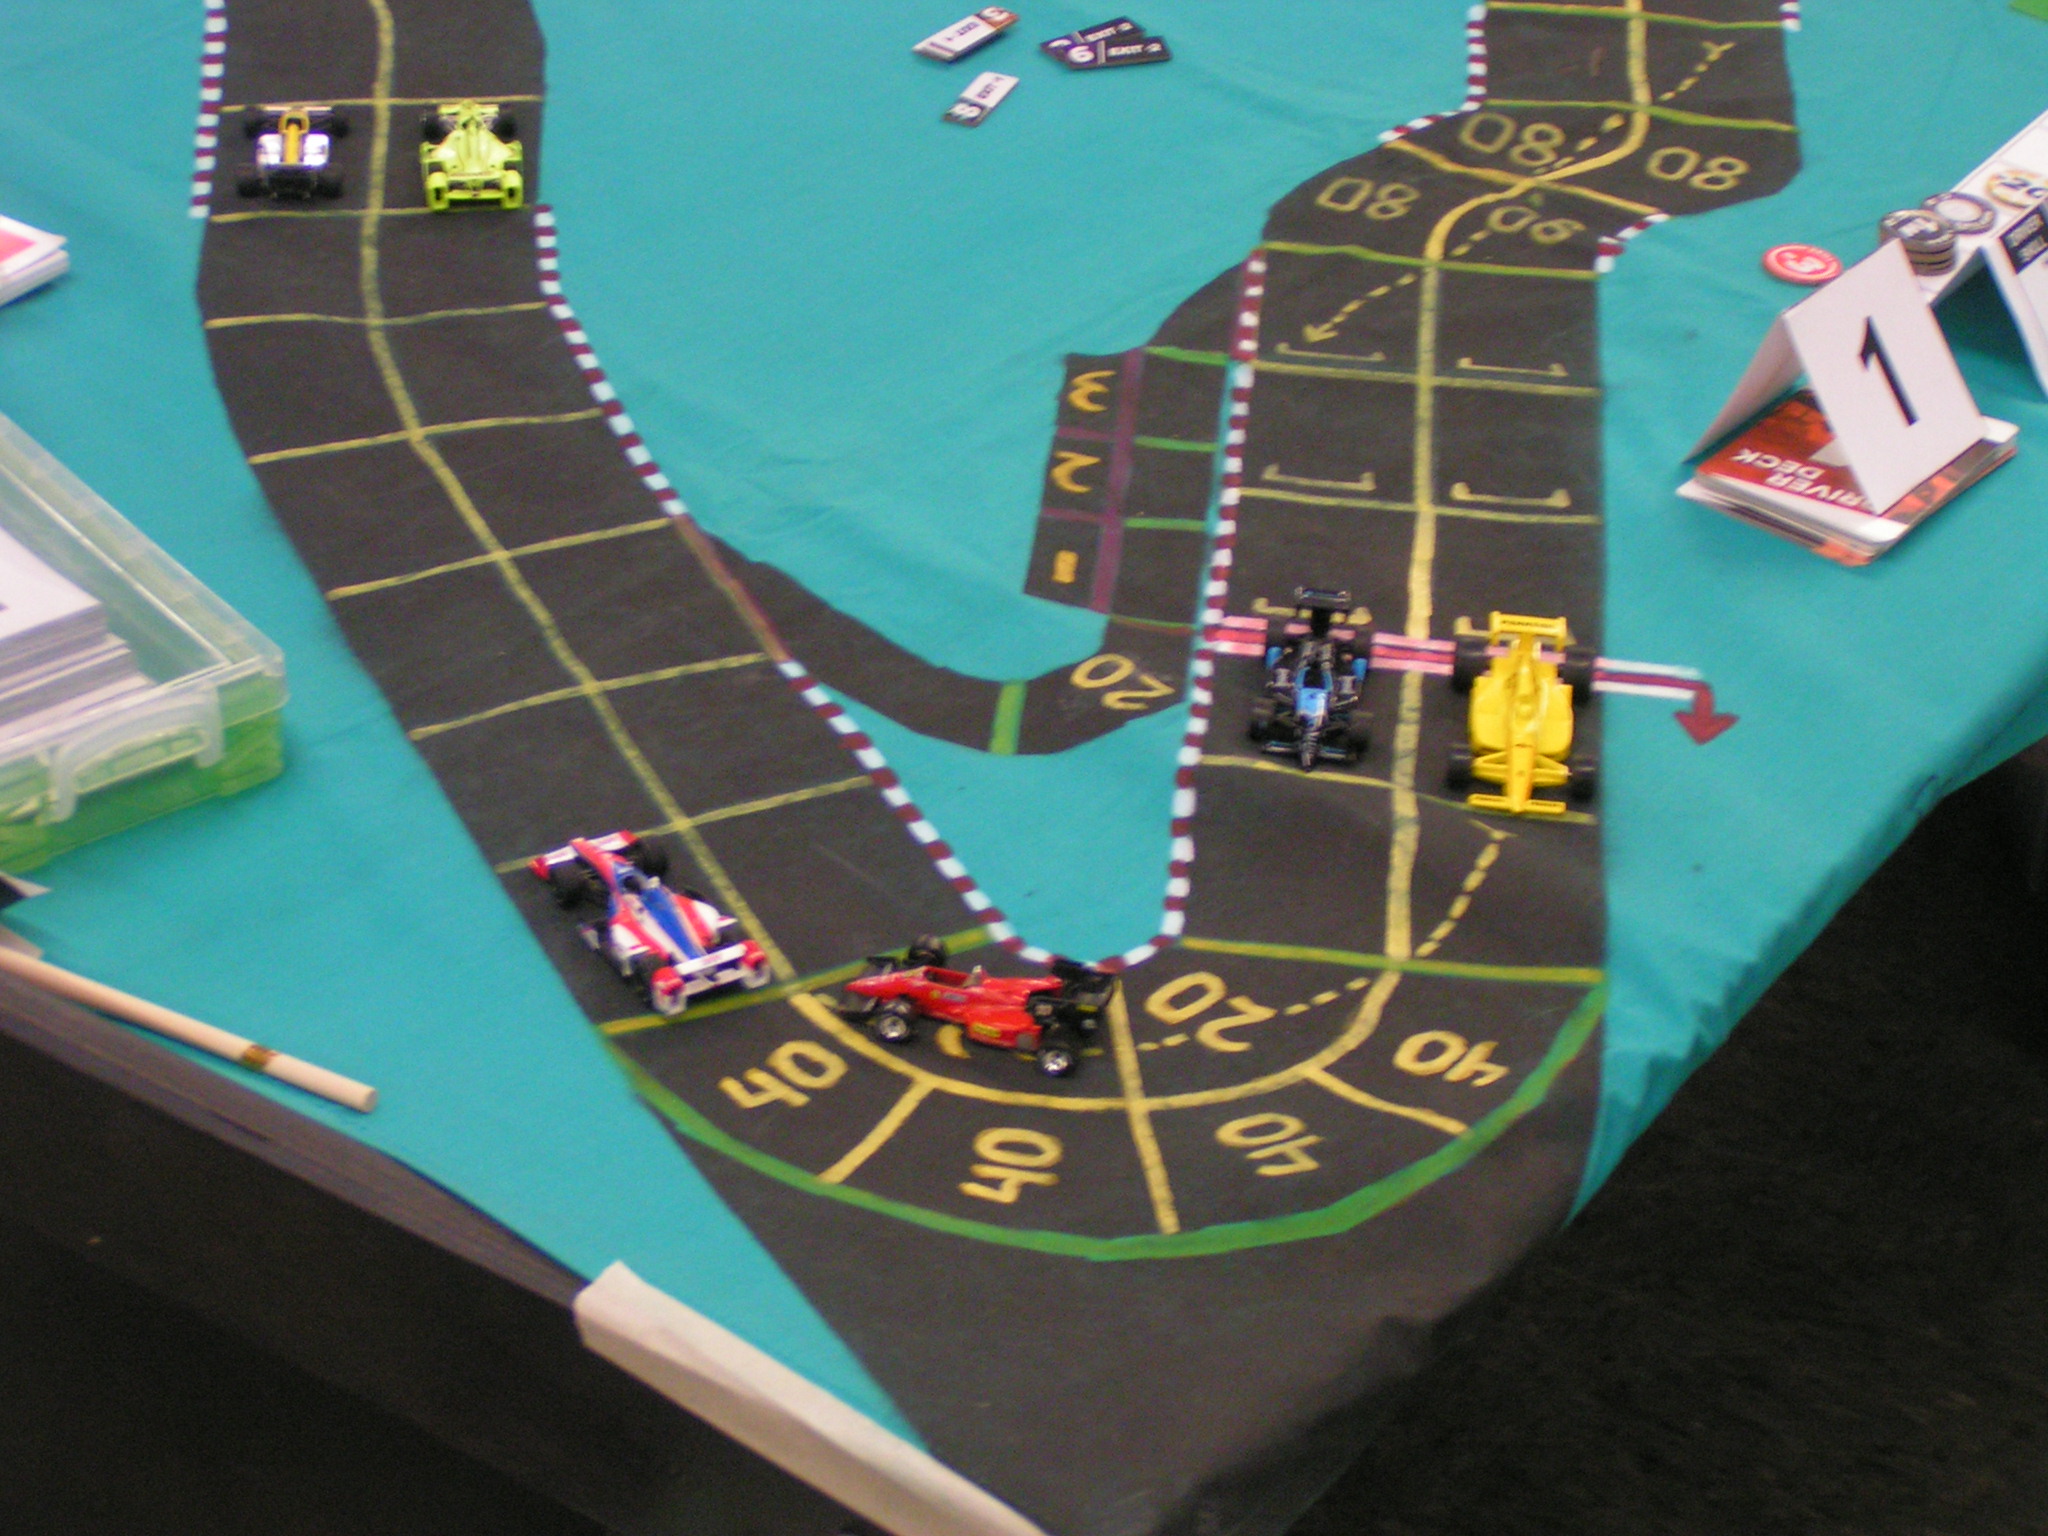
The Spa race is on. Cars are just past the first turn. L-to-R: Jack Beckman, Garry Kaluzny, Jim Landis, Jim Robinson (Greg Lim Photo).
We got about a half-lap into our 3 lap race, when a sixth driver, Chris Mogle, showed up. We paused the race so he could build his car’s specifications, then we placed him on the track just behind the 5th place car. We also deducted 3 Wear from Chris, as that is how much Wear the 5th place car had used up to that point in the race.
I had finally convinced the other drivers to use the Tire and Pit Stop rules for CFR. We also specified that each car would have to use both hard and soft tires at some point during the race. I started on hard tires, but switched to soft tires at the end of the first lap when I pulled into the pits. To my surprise, all five other cars also pulled into the pits.
Basically, if you use the pit stop rules in CFR, your car starts with less wear than it would have available if you weren’t using the pit rules. For example, I put +1 build point into my Wear when I set up my car. Without using the pit stop rules, I would have received 7 Wear per lap. Since we were racing 3 laps, that means I would have started with 21 Wear for the race, and once it was used up it could not be replenished. However, with the pit rules, I only received 4 Wear per lap, meaning I only started with 12 Wear. However, when you pit, you come out of the pits with your full complement of Wear. I was planning on pitting twice in the 3 laps, so I would theoretically have 12 + 12 + 12 = 36 Wear to use, instead of just the 21 Wear I would have had if we had not used the pit rules. Now, to balance all that, when you pit your car is stationary for two turns, so you would lose track position to other cars that stayed out on the track.
So, after burning through 10 Wear on my first lap (also having used one Wear in bidding for starting position), I pitted, but so did everyone else. Some drivers had not burned all of their starting Wear, so when they “topped off” their Wear, they effectively lost a couple/few Wear.
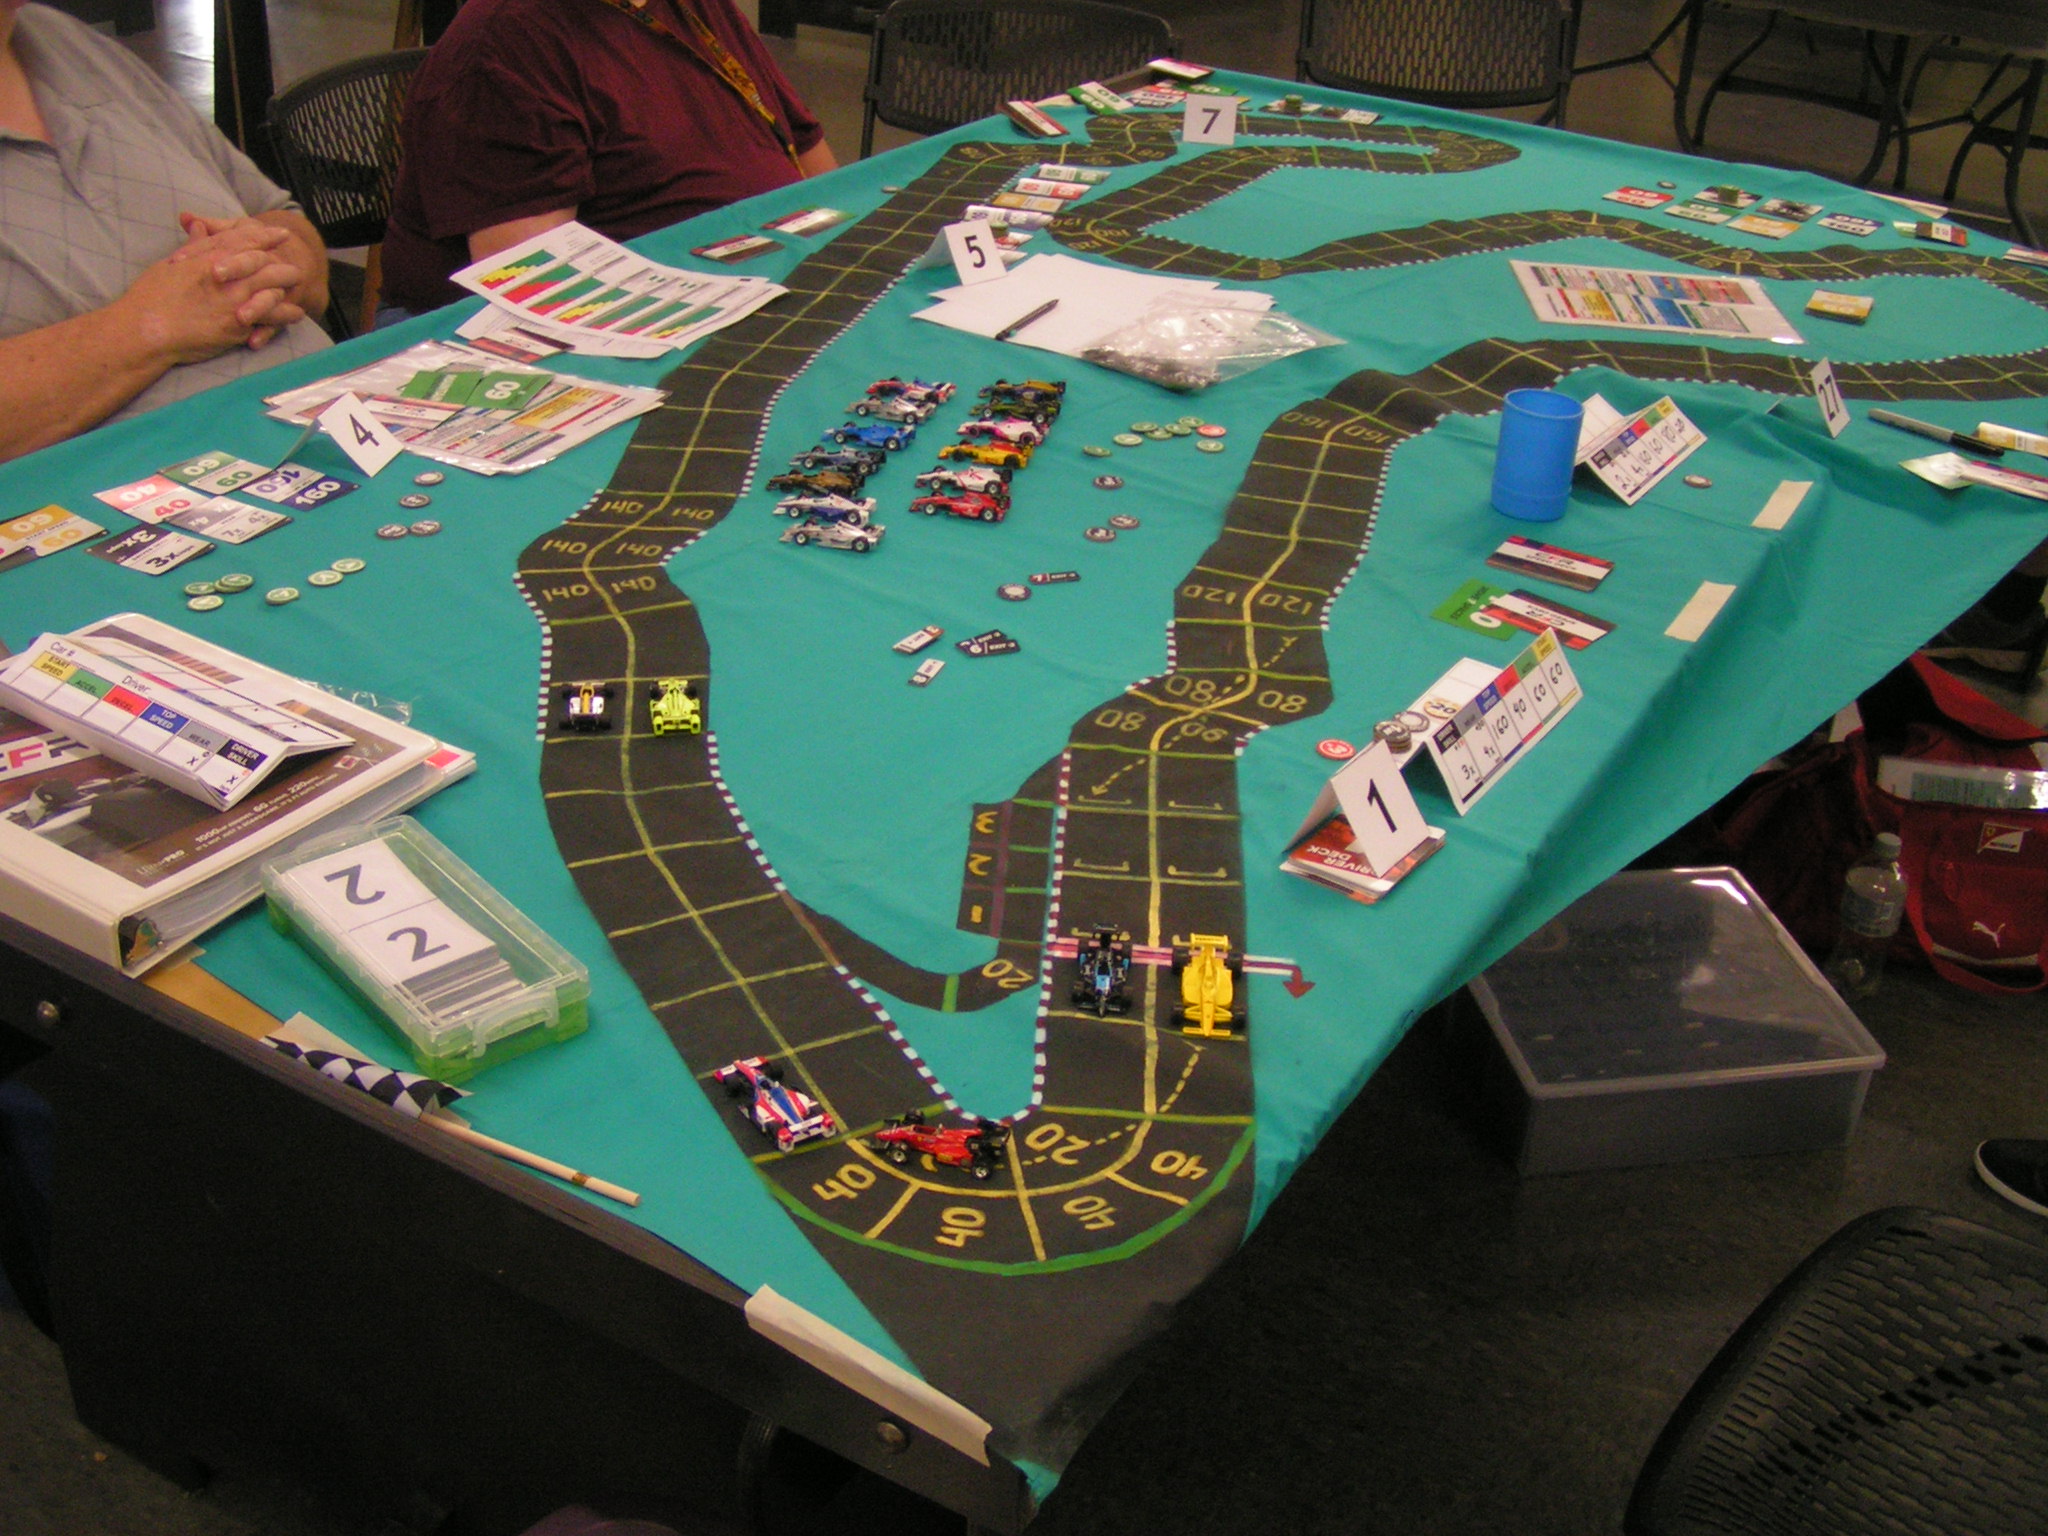
After pit stops, the cars are back on the track, starting their 2nd lap (of 3) on the Spa track.
So, shortly after starting the 2nd lap, I failed a Deceleration dice roll, which reduced my car’s Deceleration from 40 mph to 20 mph. This wasn’t a huge handicap on the Spa track, as there are only a couple of places where you really need to decelerate by more than 20 mph, and when I needed to decelerate by 40 mph I could spend a Wear to slow down.
A close up of cars at the La Source hairpin turn at Spa-Francorchamps.
At the end of the 2nd lap, five of the six cars pitted again, and surprisingly, I was still in the lead. I held the lead all the way until the end. Then, on the next to last turn, I finished my move one space short of the finish line, but moving at 120 mph. For my next turn, I need to reduce my speed to 60 mph to avoid entering the slow hairpin turn which was only three spaces past the finish line. However, since I was out of Wear, I couldn’t use any Wear to slow down more than my damaged 20 mph Deceleration. I could only add a single dice roll to try to decelerate by a total of 40 mph. That would have left my car traveling at 80 mph, which would put me into the corner after the finish line. Since I didn’t have any Wear, I could only have entered that corner at 60 mph without crashing, and I would have had to take a Chance dice roll if I entered the corner at 60 mph. So, my car crashed, and according to the rules, if your car crashes after crossing the finish line, it is considered to have NOT finished the race!
That meant that Jack Beckman took the win, as he had been in 2nd place, very close behind my car. I believe Jim Robinson was 2nd, and Jim Landis was 3rd (or was it the other way around?), and Chris Mogle was 4th, and Greg Lim was 5th. I (Garry Kaluzny) was 6th, although I would not have received any points if we had been racing for points.
However, after we had all packed up the game components, and I was headed home, I realized that I totally forgot about “late braking”! I could have used a Deceleration dice roll to get down to 80 mph (from 120 mph), and then after I moved at least one space on the track, I could have used late braking to scrub off another 20 mph by taking another Deceleration roll. I also had a -1 and a -3 Skill markers, which I could have exchanged the -3 Skill marker for three -1 Skill markers, meaning I could have made both Deceleration rolls with -2 Skill applied, meaning I would have only failed either roll if I rolled a 12 on 2d6. Of course, if I had failed either of those Deceleration rolls, my car would also have been out of the race, but each roll had a 35 in 36 chance of succeeding.
It just goes to show that even us “experienced” Speed Circuit/CFR drivers can fail an internal “brain” roll and forget about applying a rule when it is vitally needed!
Jack and I were hoping to run a demo race of CFR at the Metro Detroit Gamers’ MichiCon at Oakland University in August, but that game con, tentatively scheduled for August 4-5, is not happening for certain. So, if MichiCon does not take place on August 4-5, I will probably have more CFR demo races in Canton and Wayne on August 5. And then we will probably have our final demo race at Guild of Blades on Friday, August 11. We then hope to start racing for points on Friday, September 8.
Check out our CFR-Detroit web page.
Posted by Garry Kaluzny